Change store
Stores near:Everyday Arts & Crafts






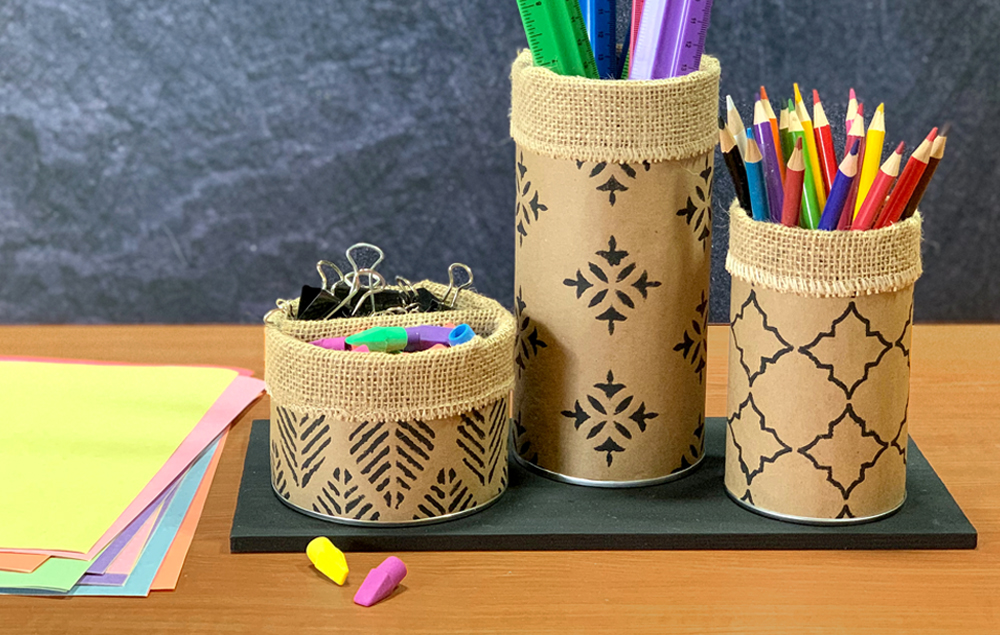

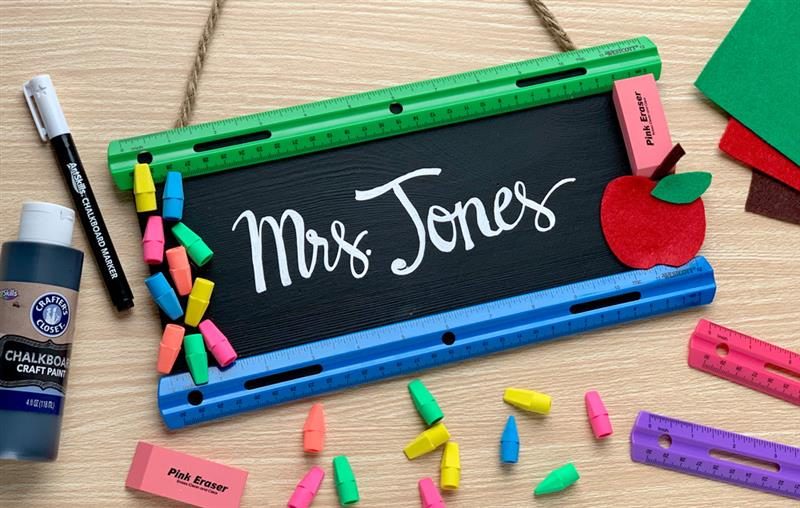

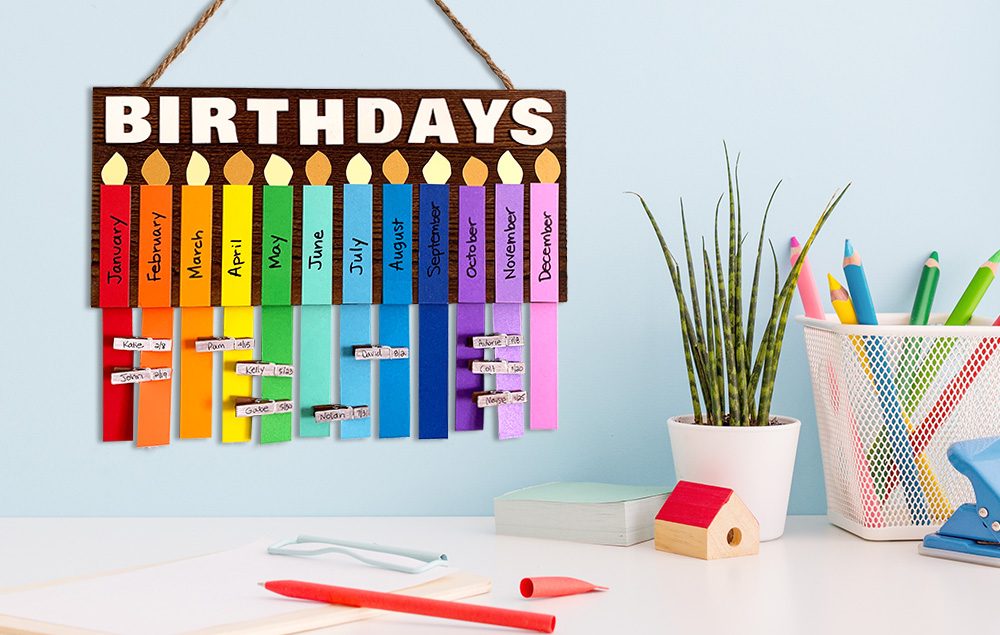


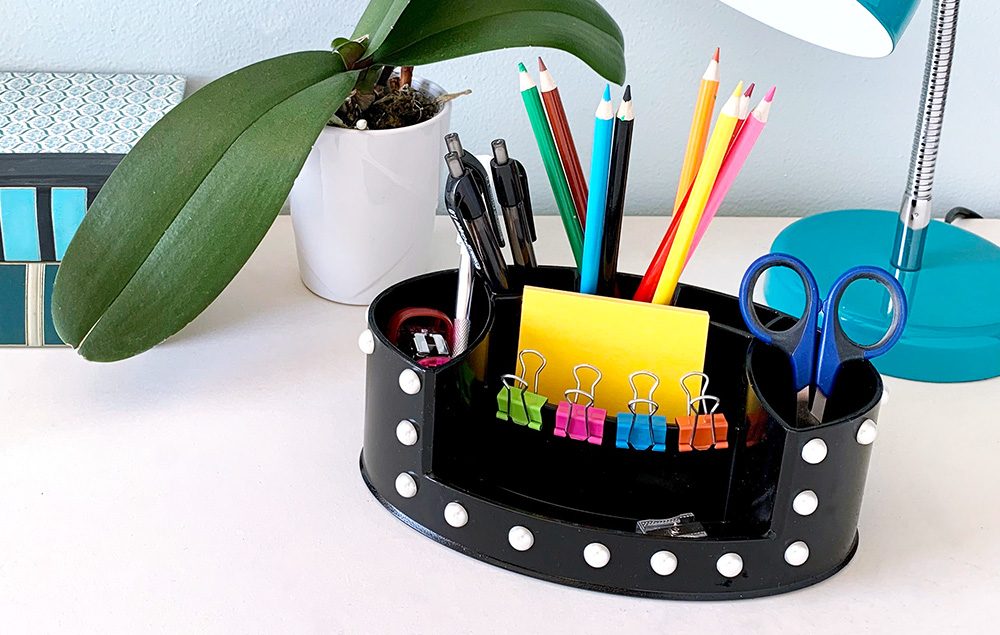
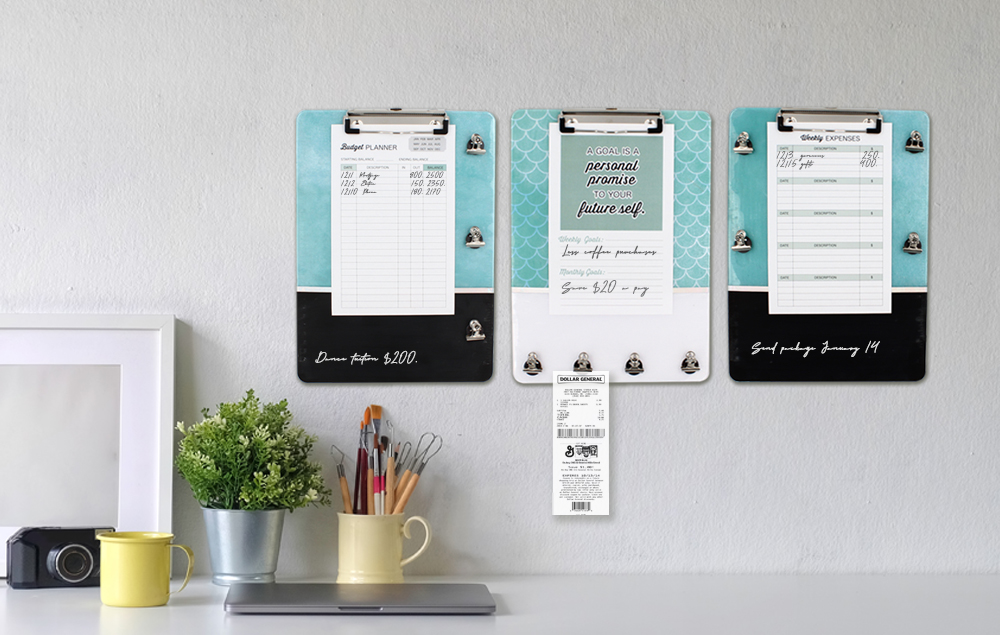
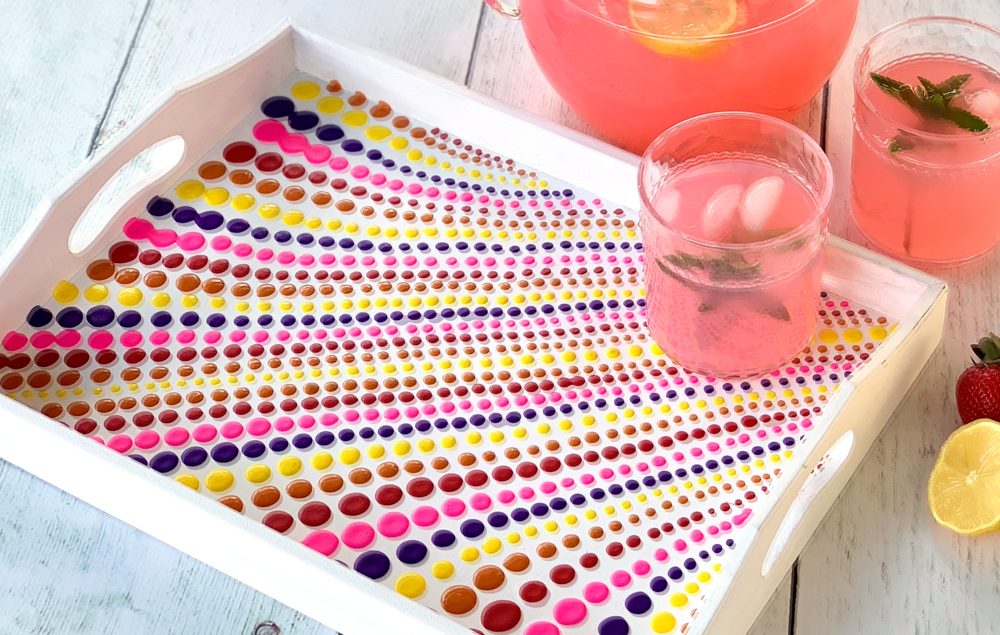

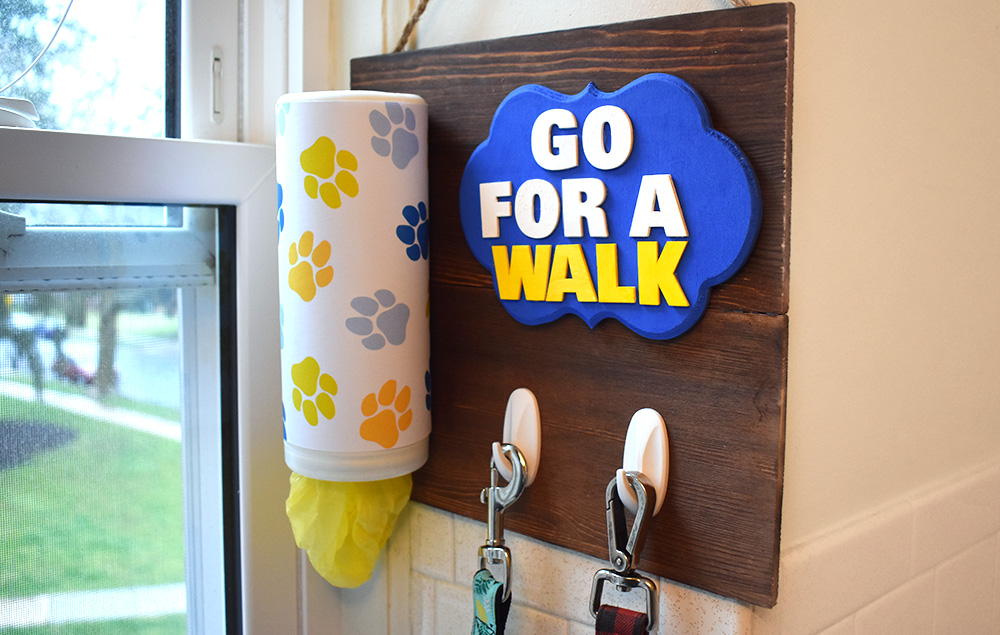
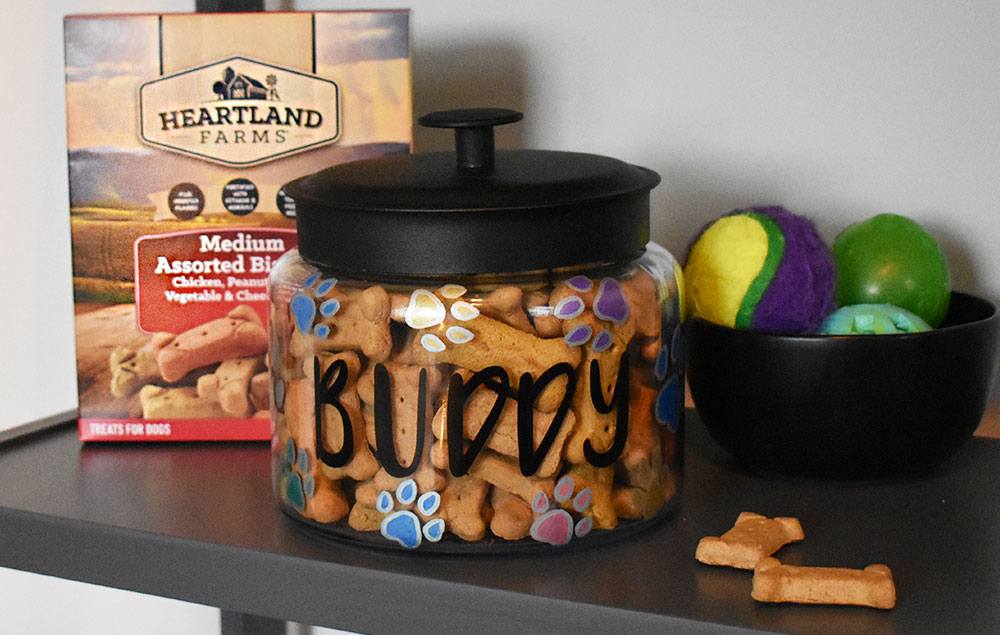
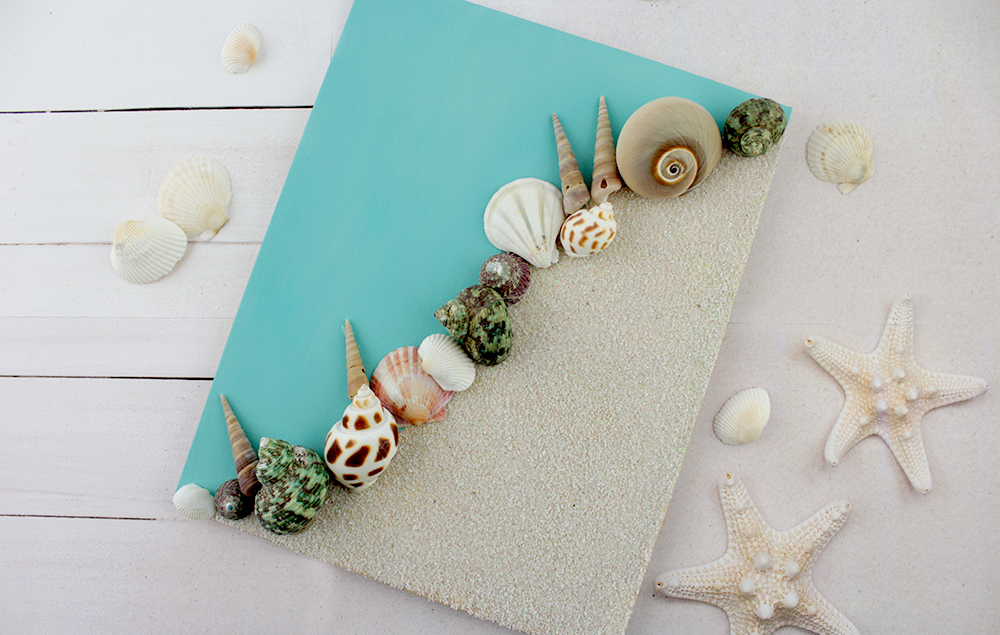


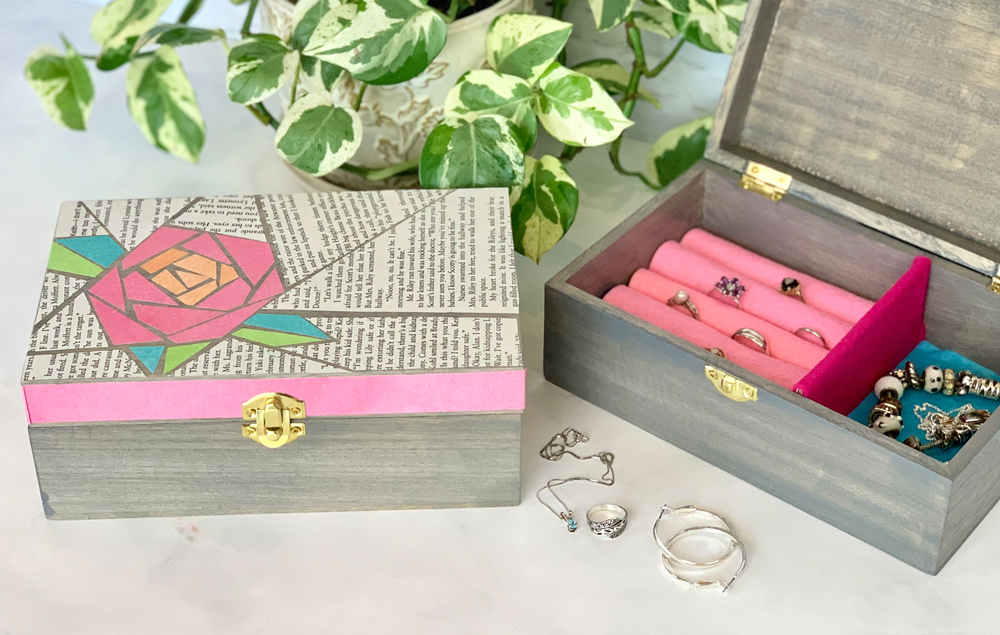
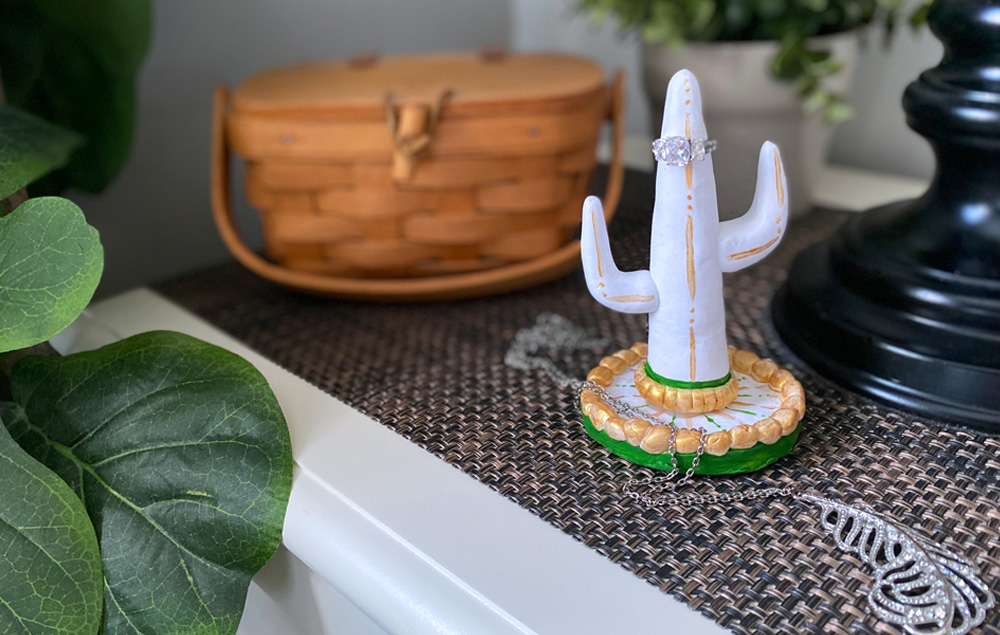
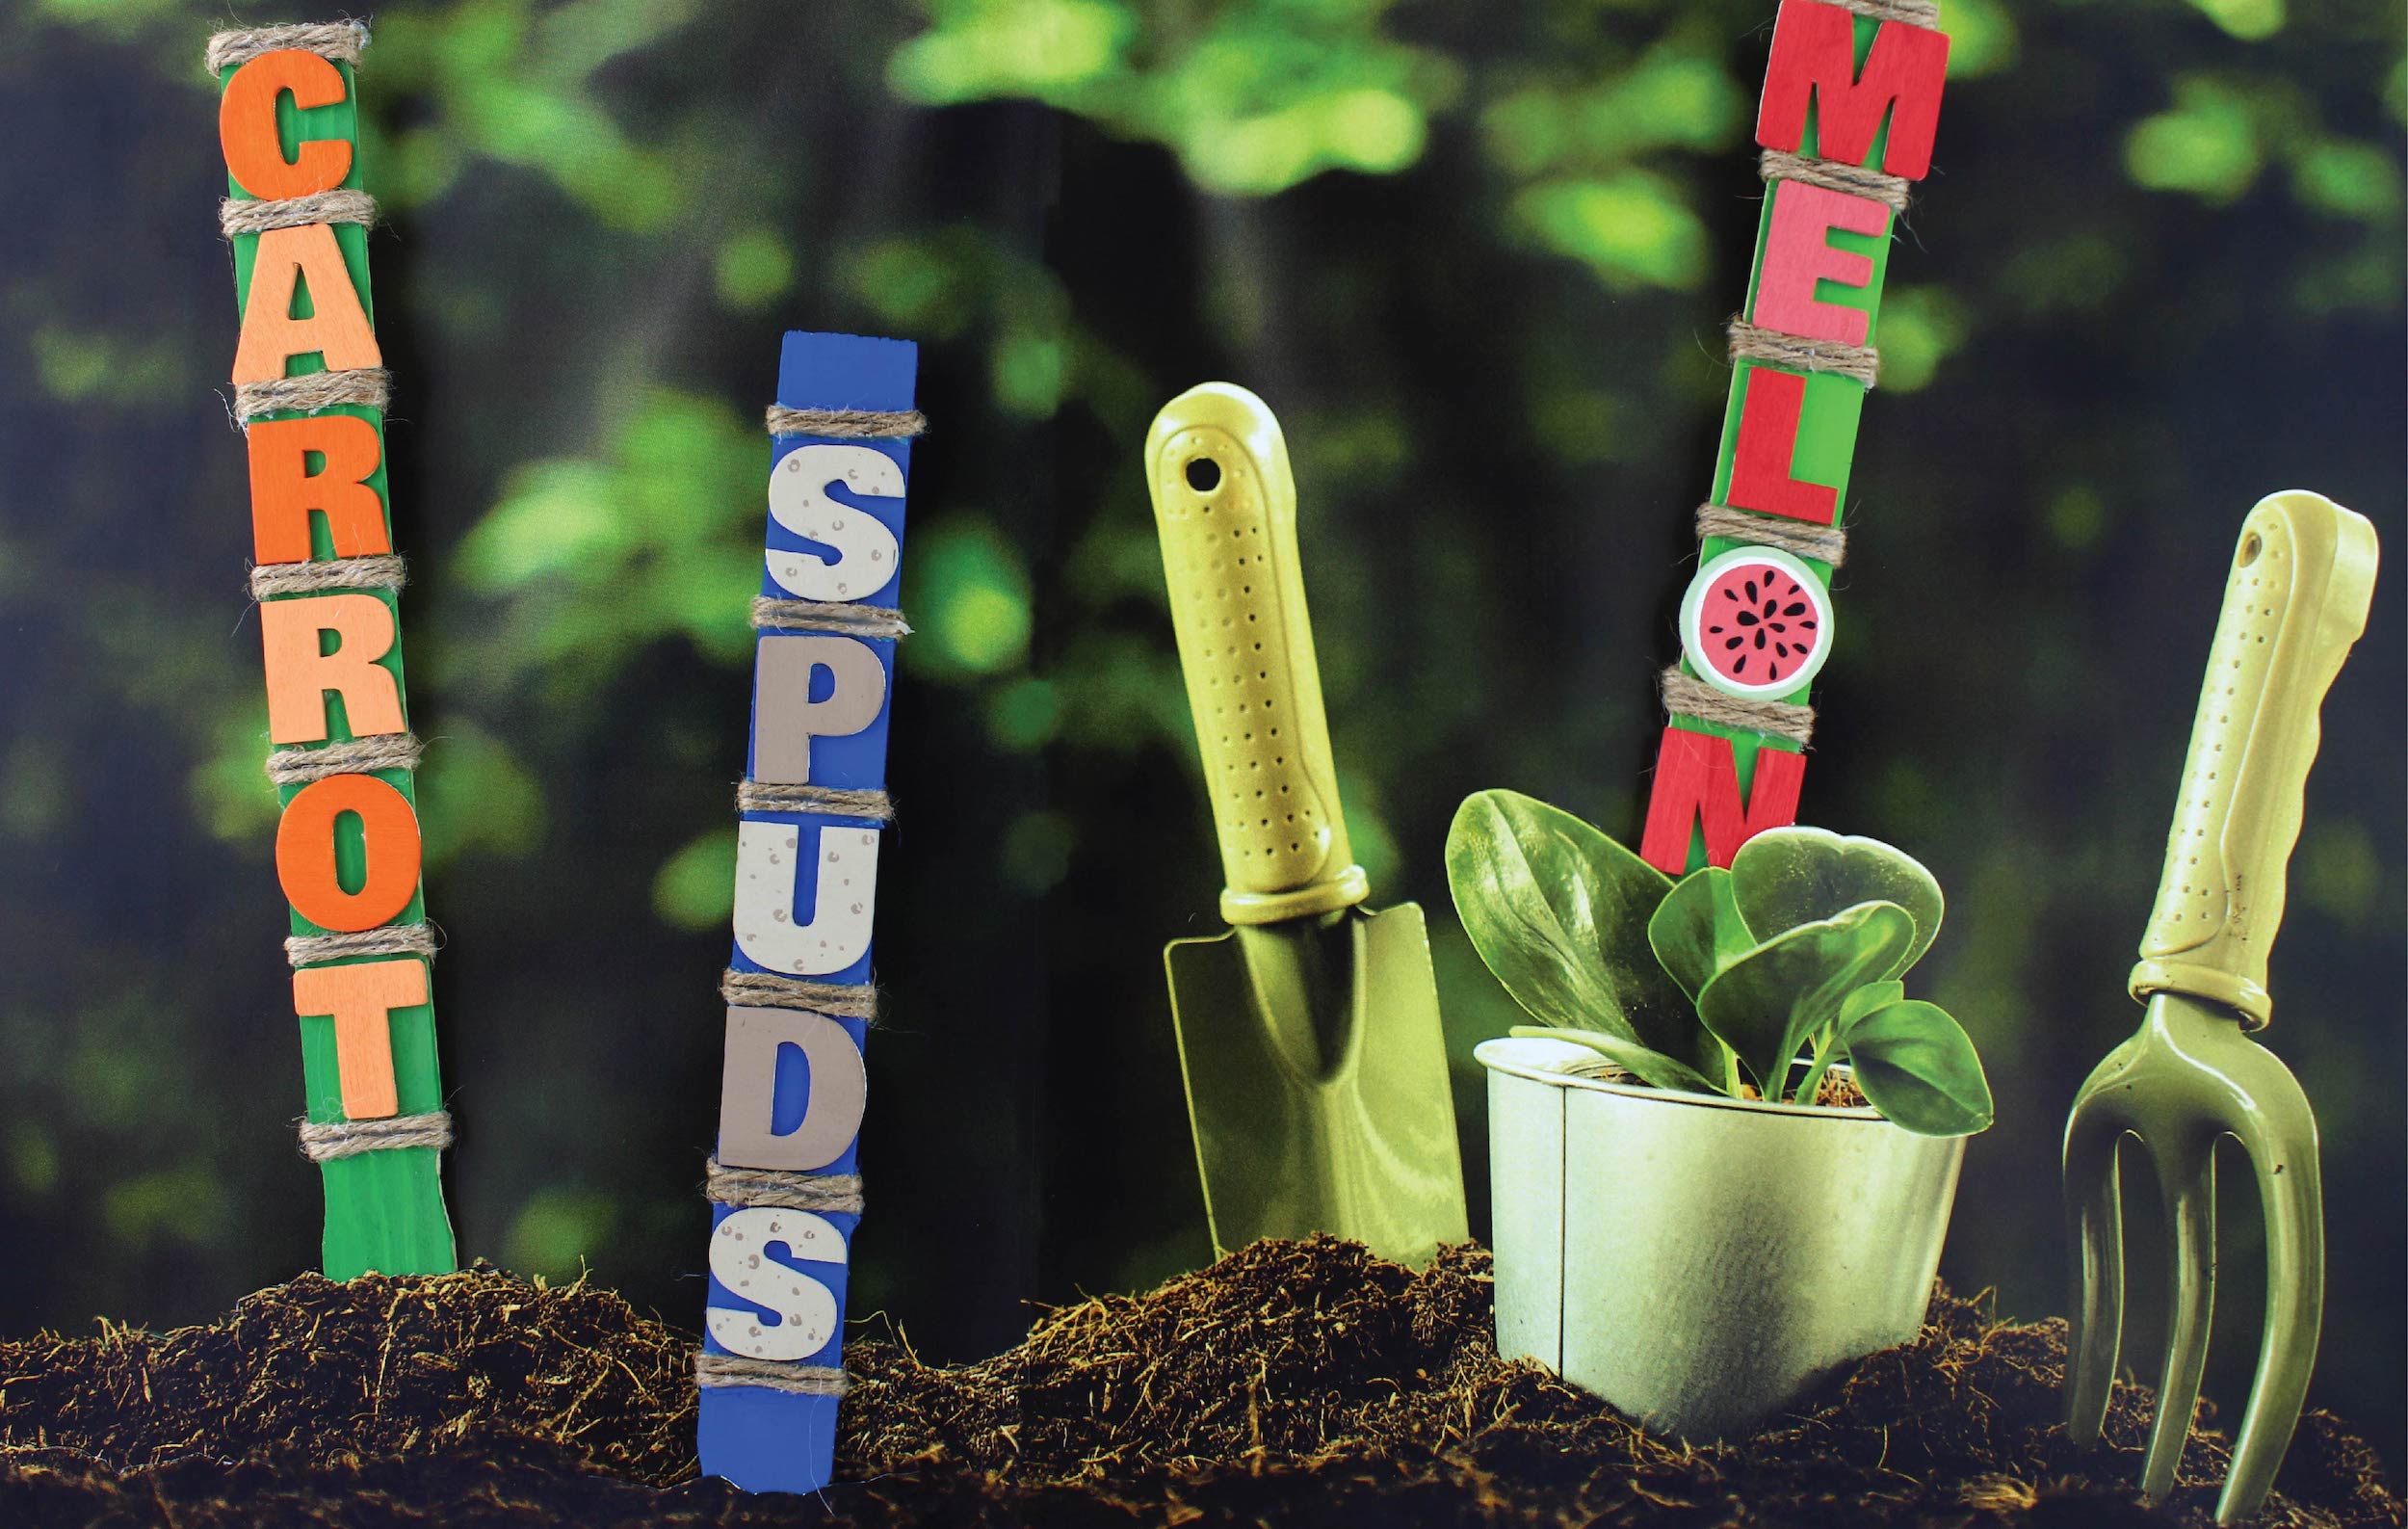



Explore More Crafts

Try again later
We're sorry, an unexpected error occurred while trying to process your request.
Please try again later
How Delivery works
Scheduling
To ensure we deliver your order at a time that is best for your schedule, you will be asked to select your desired delivery time:
ASAP: Arrives within 1 hour of placing order, additional fee applies
Soon: Arrives within 2 hours of placing order
Later: Schedule for the same day or next day
Fees
Delivery fees are not adjustable should the order size change due to out of stocks, substitutions, or refunds and returns.
Delivering
Upon order confirmation, a shopper is assigned to align with your selected delivery time. You will receive a series of texts and/or emails to keep you posted on your order progress and delivery arrival.
Canceling
After placing your order, you will have up until a shopper is assigned to cancel your order. Your order details page, accessible from your confirmation email or your account for signed in customers, will have a "Cancel order" button if this option is still available. You will not be able to modify your order after placement.
Substitutions
Unfortunately, an item you have ordered may occasionally become unavailable, but many products have an eligible alternative that we can substitute.
All items ordered for delivery will default to "Allow Substitutions." Should there be an item you do not wish to be substituted, just uncheck the Allow Substitutions box next to that item when prompted.
You will need to provide a valid mobile number and email so our delivery team can advise you of available substitute items when your order is processed in store.
Substituted items may not be eligible for discounts and offers that were applicable to the original items in your DG Delivery order. You will be charged the retail price of the substituted item and not the retail price of the original item in your DG Delivery order.
Returns & Refunds
If we did not get something right with your delivered order, we are here to help.
We offer three options to process your refund.
- Self-Service: Tap the "Need help with your order?" link on your order details page to process a self-service refund. Restrictions and limitations apply.
- Customer Care: Contact our Customer Care team directly.
- In-Store Return: Using the barcode on your order details page as your receipt. The barcode can be found under your Order History for logged in customers, or in your DG Delivery Complete email.
Visit our Help Center on DG.com or in the DG App to learn more about our complete Return Policy.
Just a heads up
You cannot combine a manufacturer Coupon and Cash Back offer on the same item in the same purchase.
The Coupon will take priority, and you will not earn the Cash Back.
But, you can earn the Cash Back on your next purchase.
So, go ahead and make the most of each deal -- today with your Coupon and tomorrow with Cash Back. Happy saving!
This store does not offer DG Pickup
You have a cart started for DG Pickup, but this store doesn't offer this service.
If you change to the new store, your cart type will be changed to shipping and some items may become unavailable.
Do you want to change your store and your items to shipping or keep your current store and DG Pickup order?
Check out with DG Buy Now Pay Later
in-store, or by using DG Pickup or DGGO!
Split your order into 4 interest-free
payments over 6 weeks.
No interest, ever
Plus no fees if you pay on time
No impact to your credit score
Other Sezzle services may impact credit
Instant approval decisions
You'll learn your spending limit after you sign up
You're all set!
Use DG Buy Now Pay Later powered by Sezzle
during your next checkout.
Continue to Sezzle?
You're about view screens
offered by our trusted partner,
Sezzle.

Change your order type?
Changing your order type may impact availability of items already in your cart.
Choose your store
Choose a store to pickup your items.


Get the items you need and the deals you want, delivered to your door in as little as an hour!
*for a limited time only. Free delivery offer must be clipped in order for it to apply.
No addresses added yet!
Add your address for Days of Beauty
Shipping address
Delete address?
Are you sure you want to delete this address?
Verify your address
Using this address may cause issues with your delivery. You may edit the address or use it as is.
Apologies, we cannot deliver to this address. Please change the address.
-
Suggested address
-
The address you entered
Your account can support 3 shipping addresses.
Please choose one to delete before you add another.
Don't forget your cart!
Would you like to checkout before changing to in-store shopping?
How are you shopping today?
Ships in 3 - 5 days
starting at $4.99
How do rebates work?
- Connect your PayPal account.
- Add any rebate that you want to use to your wallet.
- Purchase eligible products and enter your phone number at the register.
- Coupons.com will send the rebate to your PayPal account in 3-7 days.
Rebate eligibility check
Please provide your date of birth
and zip code so we can determine if
you're eligible for this rebate.
You are not eligible for this rebate
Unfortunately, you don't
meet the location requirements for
this rebate.
If you think this is a mistake, re-enter
your zip code to try again.
Update your profile
The zip code you entered is eligible for this offer, but
does not match the zip code in your profile.
Would you like to update your profile?
Something went wrong
We were unable to update your zip code in your profile, but you can still continue with the rebate process.
Success!
Your profile has been updated.
Connect PayPal
Please connect a PayPal account so you can receive rebate payments.
PayPal information
Check your information
The information you entered does
not match PayPal.
Please check your PayPal account
and enter the correct information.
PayPal Verified!

3 - 7 days after a qualified purchase, your PayPal account will be credited and you'll receive a confirmation email from coupons@email.coupons.com
Change Order Type?
Changing your order type may impact availability of items already in your cart.
Want to reserve a Pickup date & time?
Minimum cart total of $1.
Remove item from cart
Want to remember this item for later? Move it to your shopping list
Do you want to cancel this order?

This looks like a new device.
We need to verify your identity. We’ll send a code to the phone number with your account.
Enter the verification code.
You'll receive a phone call or SMS with the verification code, please enter the code below.
How do
coupons work?
- Search and discover coupons with hundreds of dollars in savings.
- Add coupons to your wallet.
- Eligible coupons will automatically be applied to your cart.
- Enter your phone number to redeem in store.
How to use Cash Back
- When you’ve received or earned DG Cash, your balance will appear in your wallet.
- Redeem your earned cash in-store by scanning the code in your wallet - you can tell the cashier the amount.
Delivery fee
Delivery fees are not adjustable should the order size change due to out of stocks, substitutions, or refunds and returns.

Deals available
If you clip a coupon and cash back for the same item, the coupon takes priority, and cash back won't apply.
Coupons & Cash Back
MANUFACTURER
Time not available
You'll need to adjust the delivery time in order to place your order
Before you can place your order
Item availability has changed. Please go back to your cart to review and delete any out of stock items.
Your card is expired
Please edit your payment method
Your card is about to expire
Please edit your payment method
Change your store?
Changing your store may impact availability of items already in your cart. Continue?
Phone number not valid
You must provide a valid U.S. phone number
Error processing refund
There was a problem processing your refund. Please contact Customer Support to continue.
Email customer support Call customer supportError processing refund
There was a problem processing your refund. Please contact Customer Support to continue.
Email customer support Call customer support
Try again later
We're sorry, an unexpected error occurred while trying to process your request.
Please try again later
How Delivery works
Scheduling
To ensure we deliver your order at a time that is best for your schedule, you will be asked to select your desired delivery time:
ASAP: Arrives within 1 hour of placing order, additional fee applies
Soon: Arrives within 2 hours of placing order
Later: Schedule for the same day or next day
Fees
Delivery fees are not adjustable should the order size change due to out of stocks, substitutions, or refunds and returns.
Delivering
Upon order confirmation, a shopper is assigned to align with your selected delivery time. You will receive a series of texts and/or emails to keep you posted on your order progress and delivery arrival.
Canceling
After placing your order, you will have up until a shopper is assigned to cancel your order. Your order details page, accessible from your confirmation email or your account for signed in customers, will have a "Cancel order" button if this option is still available. You will not be able to modify your order after placement.
Substitutions
Unfortunately, an item you have ordered may occasionally become unavailable, but many products have an eligible alternative that we can substitute.
All items ordered for delivery will default to "Allow Substitutions." Should there be an item you do not wish to be substituted, just uncheck the Allow Substitutions box next to that item when prompted.
You will need to provide a valid mobile number and email so our delivery team can advise you of available substitute items when your order is processed in store.
Substituted items may not be eligible for discounts and offers that were applicable to the original items in your DG Delivery order. You will be charged the retail price of the substituted item and not the retail price of the original item in your DG Delivery order.
Returns & Refunds
If we did not get something right with your delivered order, we are here to help.
We offer three options to process your refund.
- Self-Service: Tap the "Need help with your order?" link on your order details page to process a self-service refund. Restrictions and limitations apply.
- Customer Care: Contact our Customer Care team directly.
- In-Store Return: Using the barcode on your order details page as your receipt. The barcode can be found under your Order History for logged in customers, or in your DG Delivery Complete email.
Visit our Help Center on DG.com or in the DG App to learn more about our complete Return Policy.
Savings Pro Tip!
You cannot combine a manufacturer Coupon and Cash Back offer on the same item in the same purchase.
The Coupon will take priority, and you will not earn the Cash Back.
But, you can earn the Cash Back on your next purchase.
So, go ahead and make the most of each deal -- today with your Coupon and tomorrow with Cash Back. Happy saving!
You're already building a Pickup order at...
Changing your store will cancel your order, and clear your cart.
If you change to the new store, your cart type will be changed to shipping and some items may become unavailable.
Do you want to change your store and your items to shipping or keep your current store and DG Pickup order?

Change your order type?
Changing your order type may impact availability of items already in your cart.
Choose your store
Choose a store to pickup your items.


Get the items you need and the deals you want, delivered to your door in as little as an hour!
*for a limited time only. Free delivery offer must be clipped in order for it to apply.
No addresses added yet!
Add your address for Days of Beauty
Shipping address
Delete address?
Are you sure you want to delete this address?
Verify your address
Using this address may cause issues with your delivery. You may edit the address or use it as is.
Apologies, we cannot deliver to this address. Please change the address.
-
Suggested address
-
The address you entered
Your account can support 3 shipping addresses.
Please choose one to delete before you add another.
Don't forget your cart!
Would you like to checkout before changing to in-store shopping?
How are you shopping today?
How do rebates work?
- Connect your PayPal account.
- Add any rebate that you want to use to your wallet.
- Purchase eligible products and enter your phone number at the register.
- Coupons.com will send the rebate to your PayPal account in 3-7 days.
Rebate eligibility check
Please provide your date of birth and zip code so we can determine if you're eligible for this rebate.
You are not eligible for this rebate
Unfortunately, you don’t meet the location requirements for this rebate.
If you think this is a mistake, re-enter your zip code to try again.
Update your profile
The zip code you entered is eligible for this offer, but
does not match the zip code in your profile.
Would you like to update your profile?
Something went wrong
We were unable to update your zip code in your profile, but you can still continue with the rebate process.
Success!
Your profile has been updated.
Connect PayPal
Please connect a PayPal account so you can receive rebate payments.
PayPal information
Check your information
The information you entered does not match PayPal.
Please check your PayPal account and enter the correct information.
PayPal Verified!

3 - 7 days after a qualified purchase, your PayPal account will be credited and you'll receive a confirmation email from coupons@email.coupons.com
Change Order Type?
Changing your order type may impact availability of items already in your cart.
Want to reserve a Pickup date & time?
Minimum cart total of $1.
Remove item from cart
Want to remember this item for later? Move it to your shopping list
Do you want to cancel this order?

This looks like a new device.
We need to verify your identity. We’ll send a code to the phone number with your account.
Enter the verification code.
You'll receive a phone call or SMS with the verification code, please enter the code below.
How do
coupons work?
- Search and discover coupons with hundreds of dollars in savings.
- Add coupons to your wallet.
- Eligible coupons will automatically be applied to your cart.
- Enter your phone number to redeem in store.
How to use Cash Back
- When you’ve received or earned DG Cash, your balance will appear in your wallet.
- Redeem your earned cash in-store by scanning the code in your wallet - you can tell the cashier the amount.
Delivery fee
Delivery fees are not adjustable should the order size change due to out of stocks, substitutions, or refunds and returns.

Deals available
If you clip a coupon and cash back for the same item, the coupon takes priority, and cash back won't apply.
Coupons & Cash Back
MANUFACTURER
Time not available
You'll need to adjust the delivery time in order to place your order
Before you can place your order
Item availability has changed. Please go back to your cart to review and delete any out of stock items.
Your card is expired
Please edit your payment method
Your card is about to expire
Please edit your payment method
Change your store?
Changing your store may impact availability of items already in your cart. Continue?
Phone number not valid
You must provide a valid U.S. phone number
Error processing refund
There was a problem processing your refund. Please contact Customer Support to continue.
Email customer support Call Customer supportError processing refund
There was a problem processing your refund. Please contact Customer Support to continue.
Email customer support Call Customer support


