Categories
On Sale
Food & Beverage
$1 Every Day
Back to School
Cleaning
Beauty
Outdoor Living
Office & School Supplies
Party & Occasions
Personal Care
Health
Household
Kitchen & Dining
Toys
Auto & Hardware
Pet
Electronics
Apparel
Baby
DG Brands
Gift Cards
Coupons & Cash Back
Weekly Ads
$1 Every Day
myDG® Wallet
Careers
Menu
Unverified Email
Verify
Sign in
Create account
Shopping List
Saved deals
Track my order
Gift card balance
Get help
Manage my account
Categories
On Sale
Food & Beverage
$1 Every Day
Back to School
Cleaning
Beauty
Outdoor Living
Office & School Supplies
Party & Occasions
Personal Care
Health
Household
Kitchen & Dining
Toys
Auto & Hardware
Pet
Electronics
Apparel
Baby
DG Brands
Gift Cards
Coupons & Cash Back
Weekly Ads
$1 Every Day
myDG® Wallet
Careers
Sign Out
Search
Close
Search for a product
Recently Searched
No Products
Clear
Search
Sign In
My Store:
Find a Store near you
wallet
Everyday Arts & Crafts
Dollar General
Crafts
Everyday Arts & Crafts
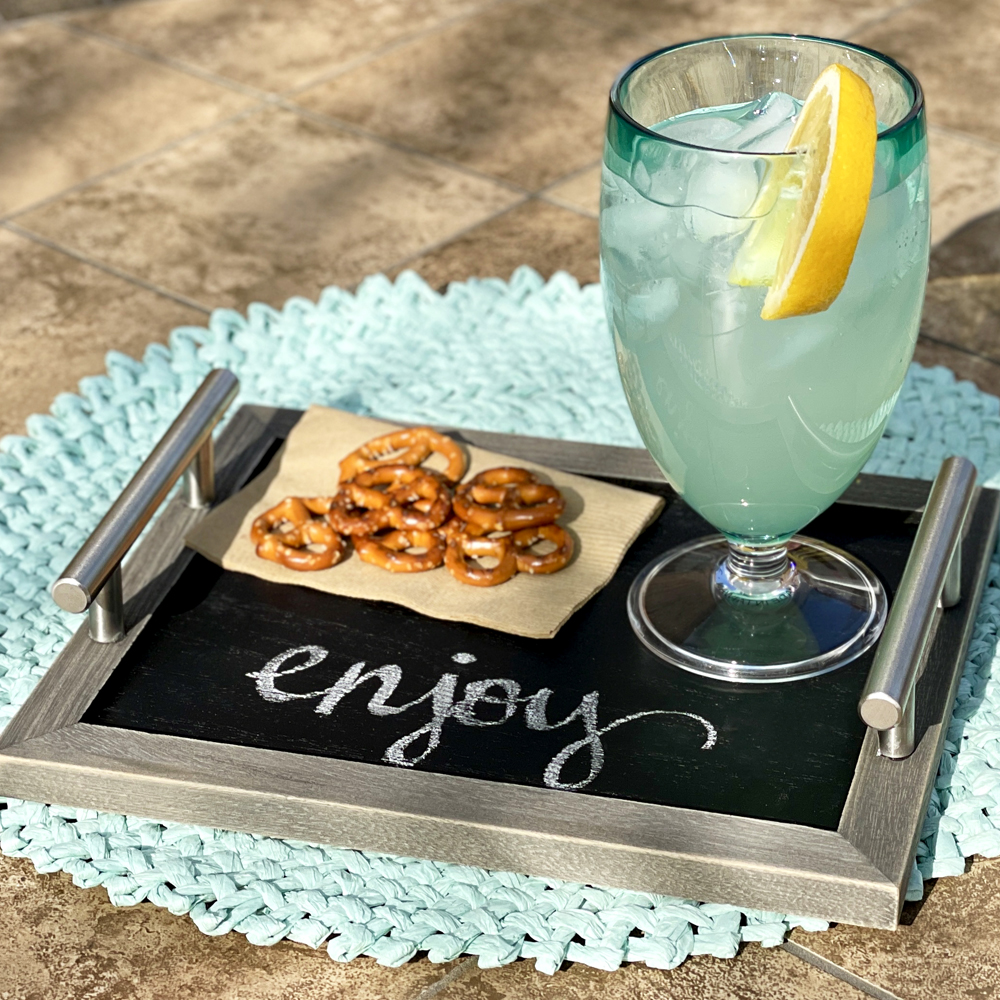
DIY Chalkboard Tray Craft
Try It Yourself
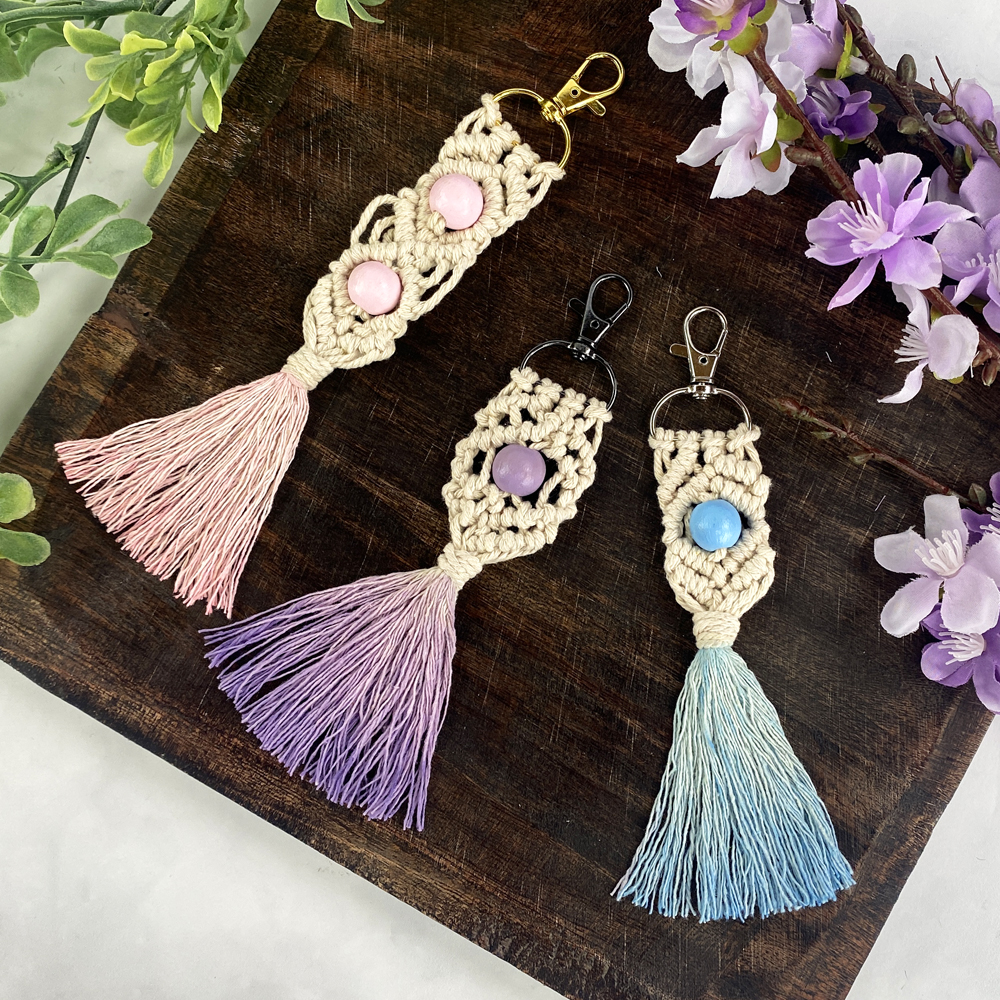
Easy DIY Macrame Keychain
Try It Yourself
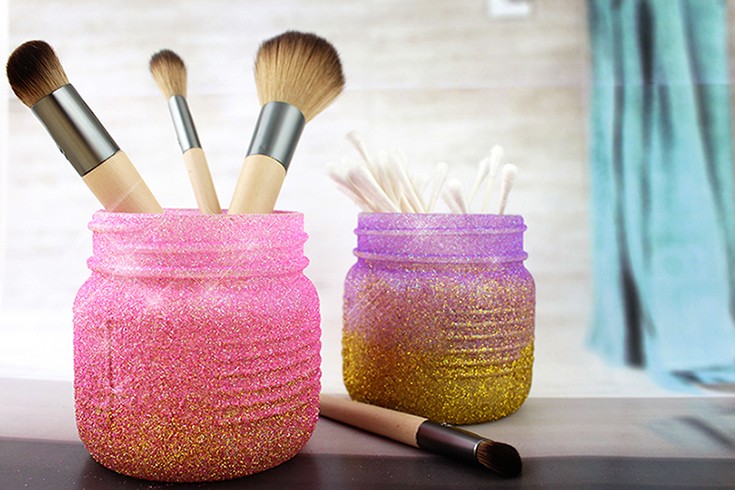
DIY Ombre Glitter Jars
Try It Yourself
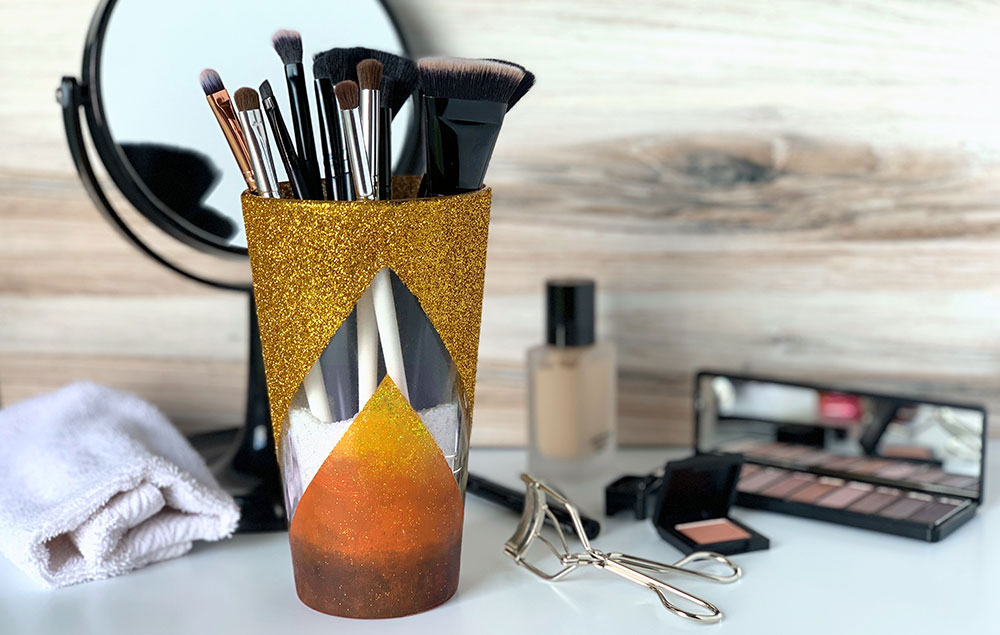
DIY Makeup Brush Holder
Try It Yourself
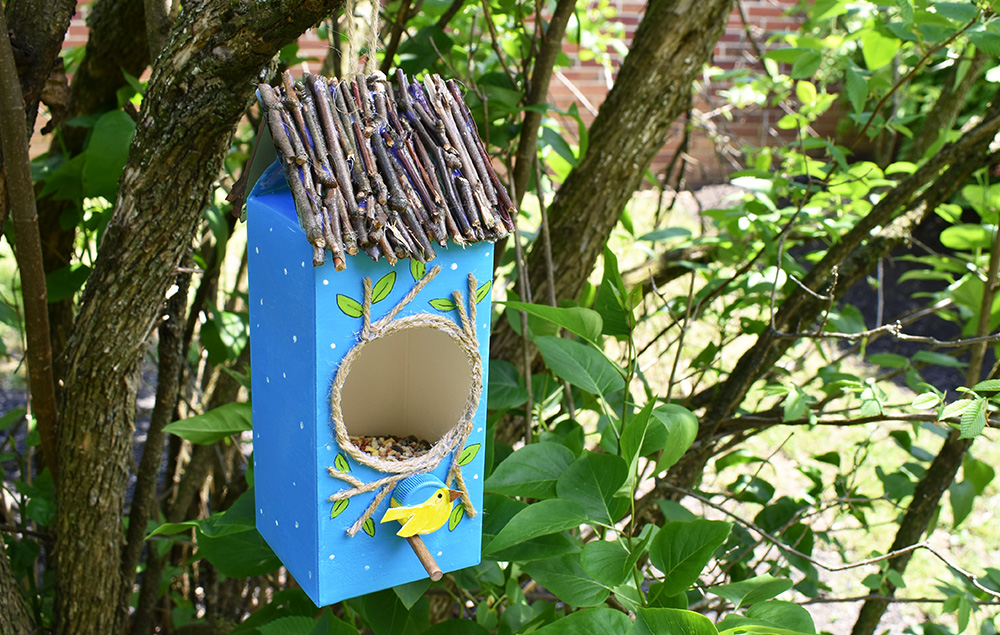
DIY Birdhouse Feeder Craft
Try It Yourself
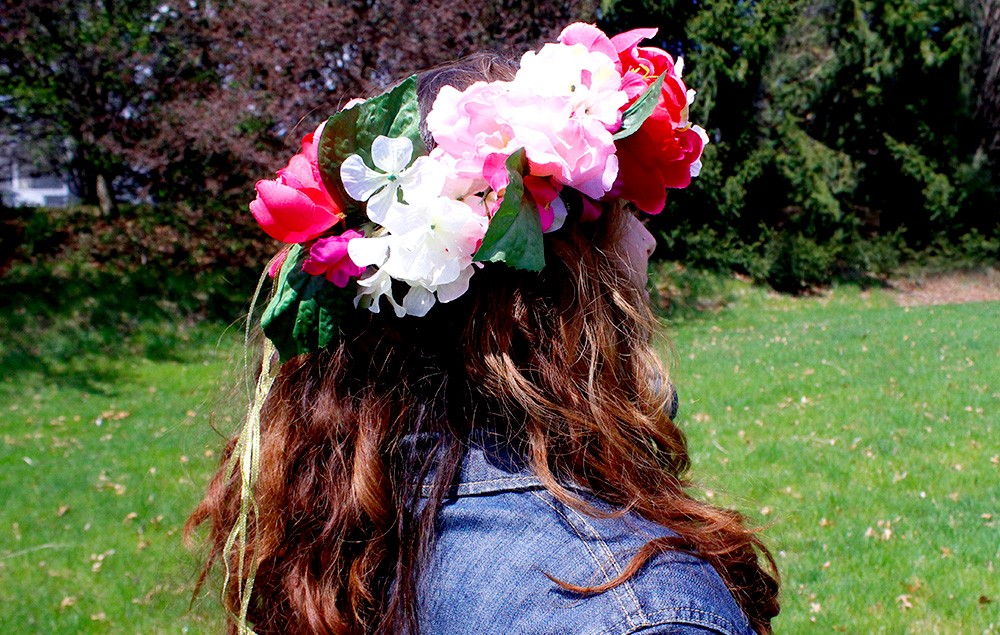
DIY Flower Crown Craft
Try It Yourself
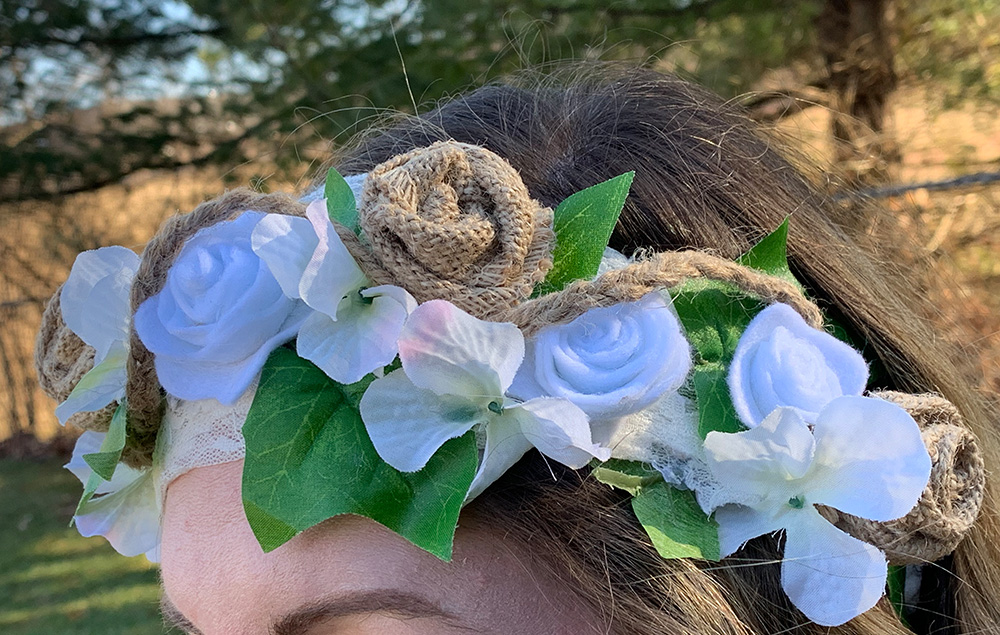
DIY Flower Headband
Try It Yourself
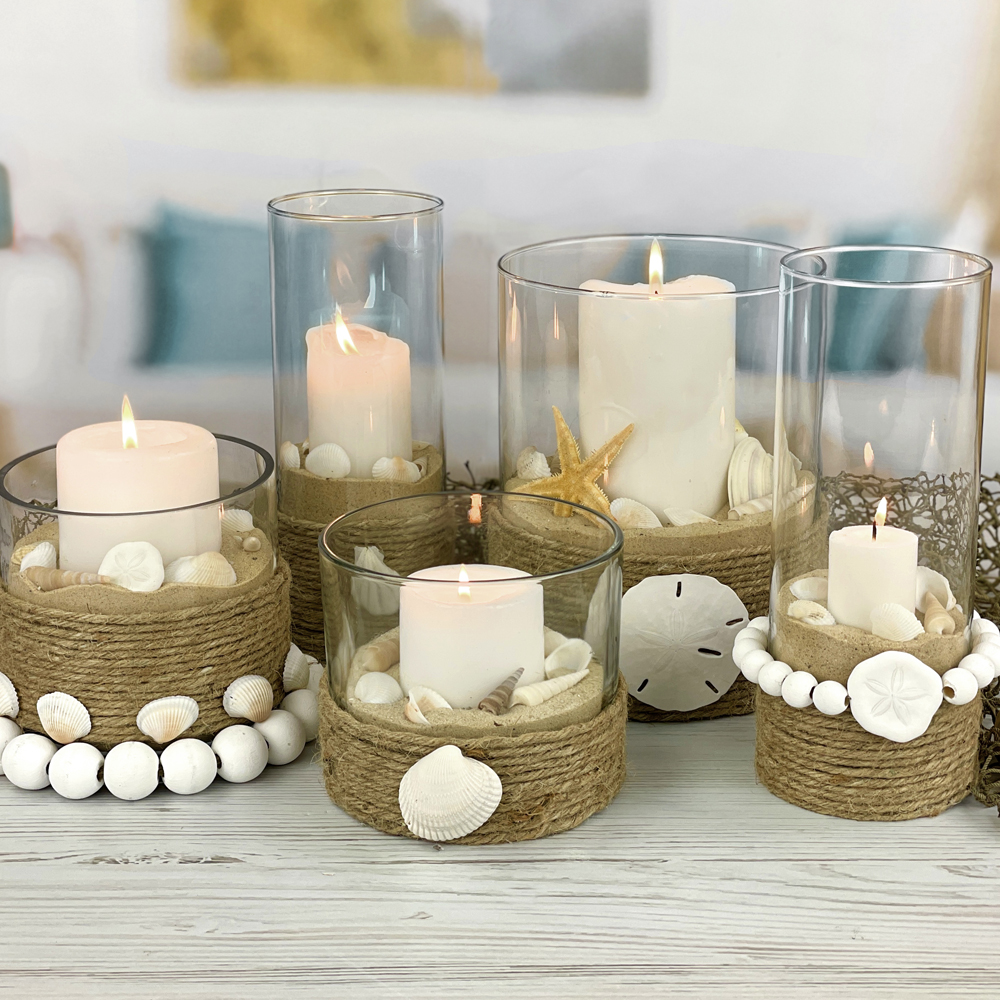
Beach Theme Candle Holder DIY
Try It Yourself
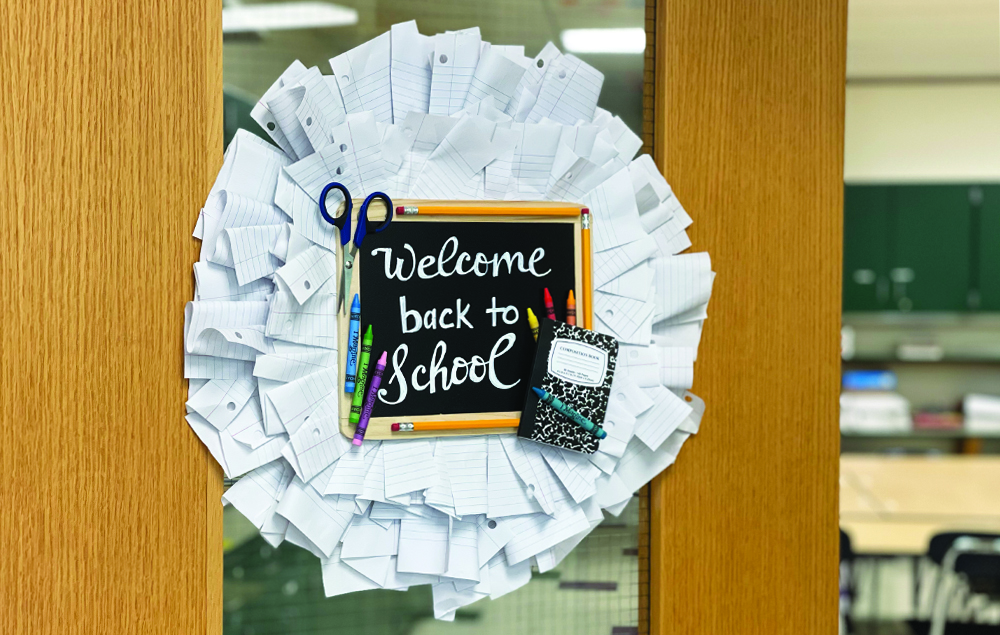
DIY Classroom Welcome Wreath
Try It Yourself
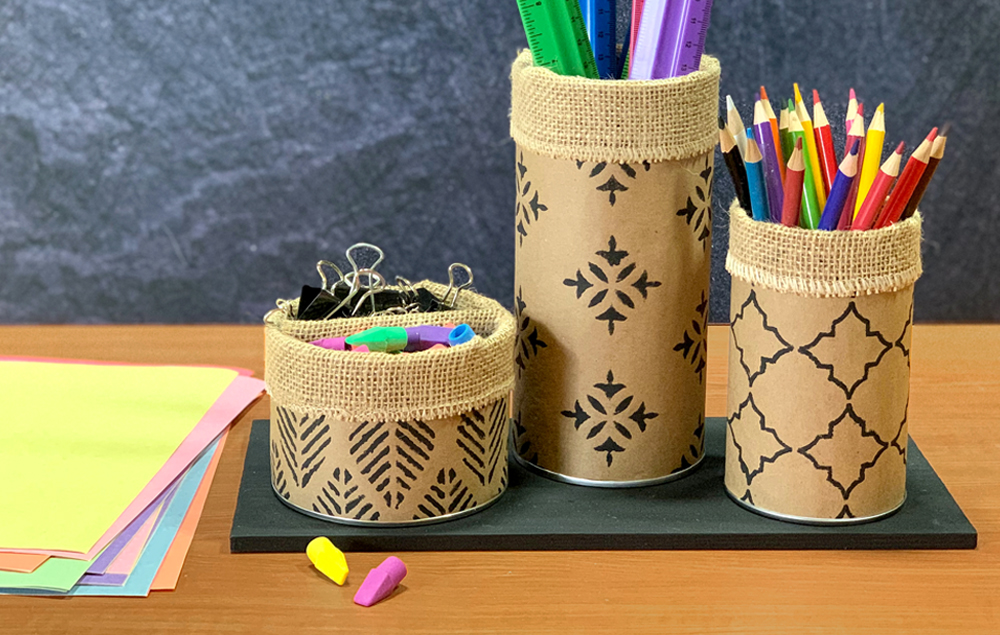
Teacher's Desk Organizer Craft
Try It Yourself
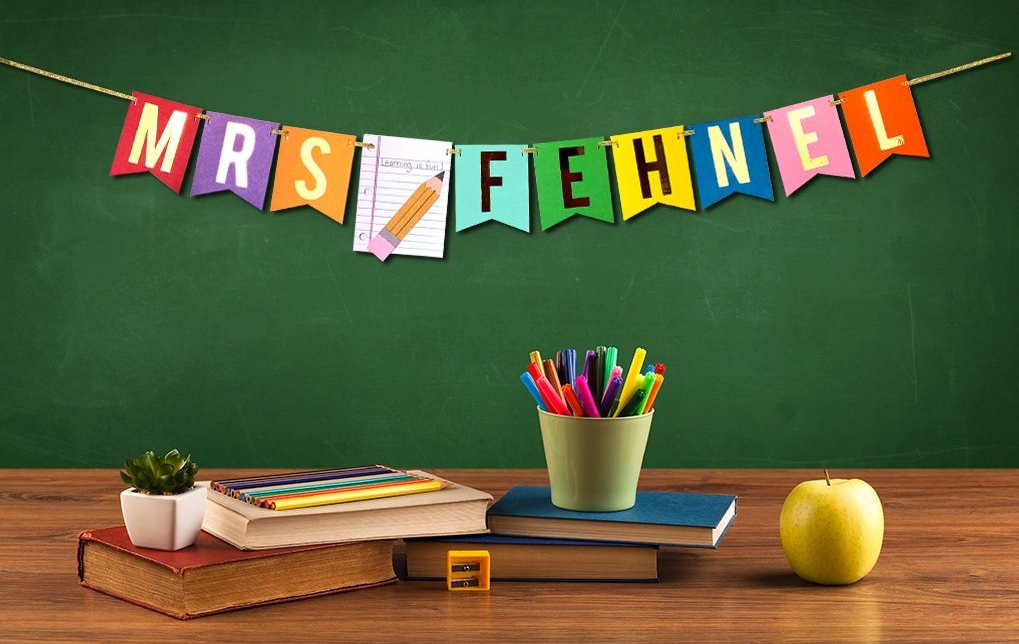
DIY Teacher's Desk Banner
Try It Yourself
DIY Teacher's Desk Sign
Try It Yourself
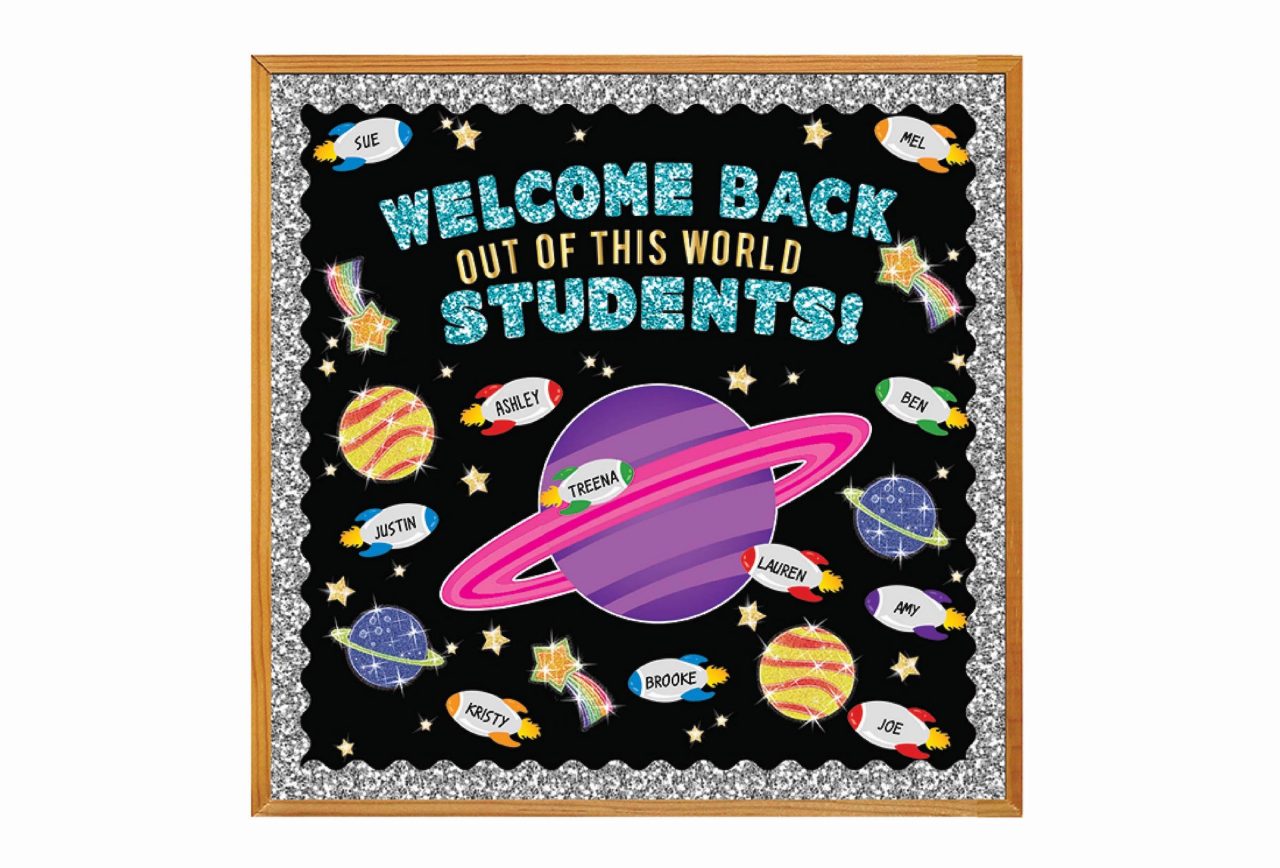
DIY Space Bulletin Board
Try It Yourself
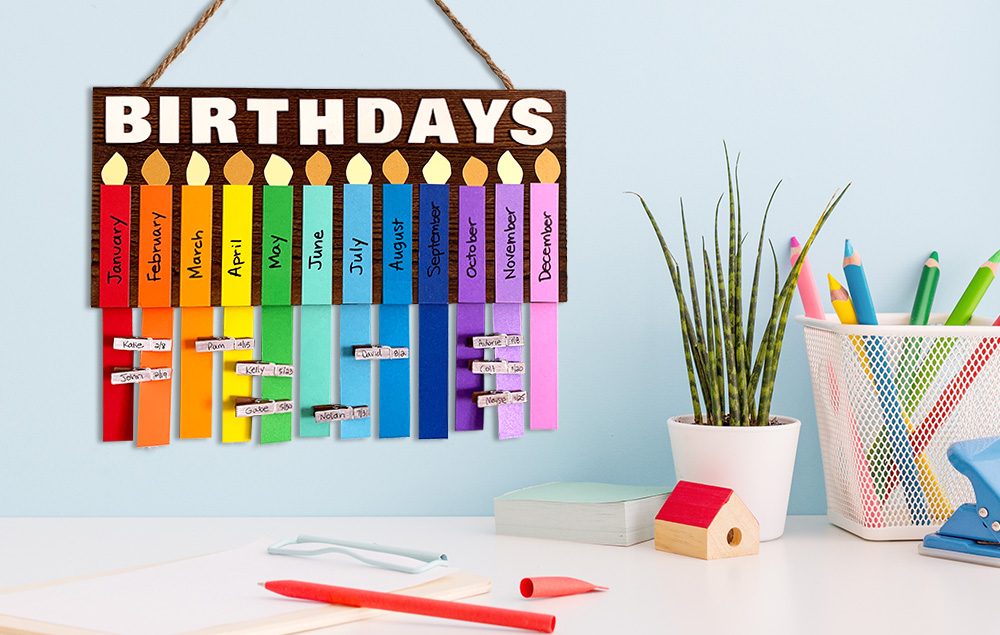
DIY Classroom Birthday Chart
Try It Yourself
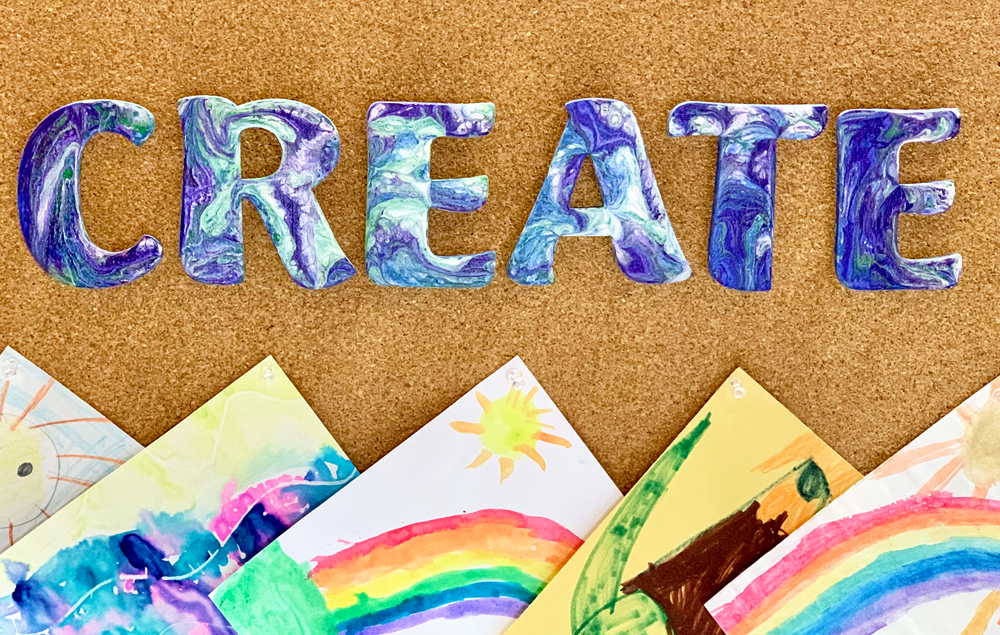
DIY Paint Pour Letters
Try It Yourself
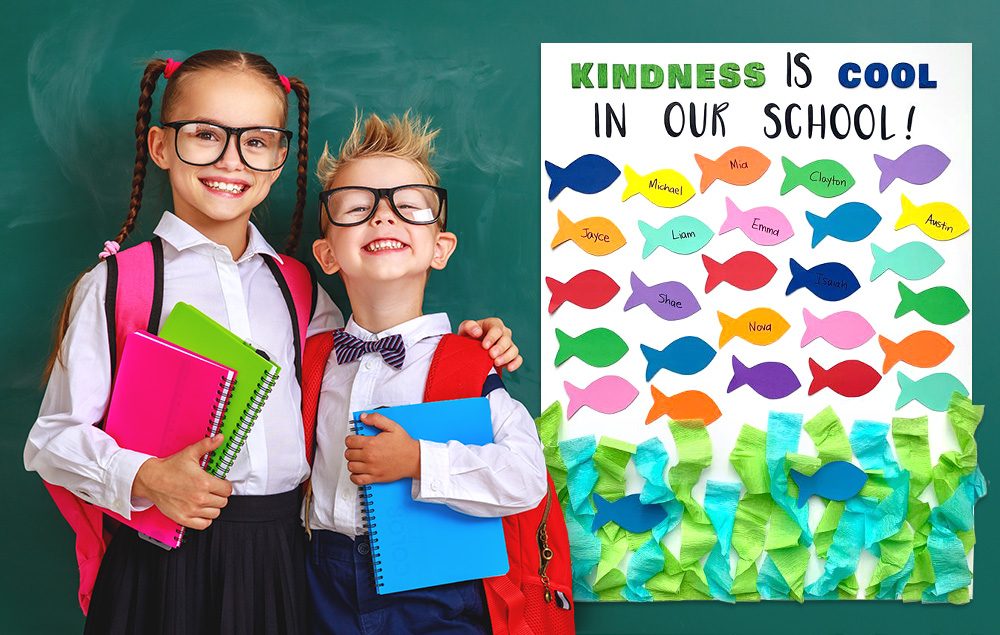
DIY School Reward Poster
Try It Yourself
DIY Desk Organizer Project
Try It Yourself
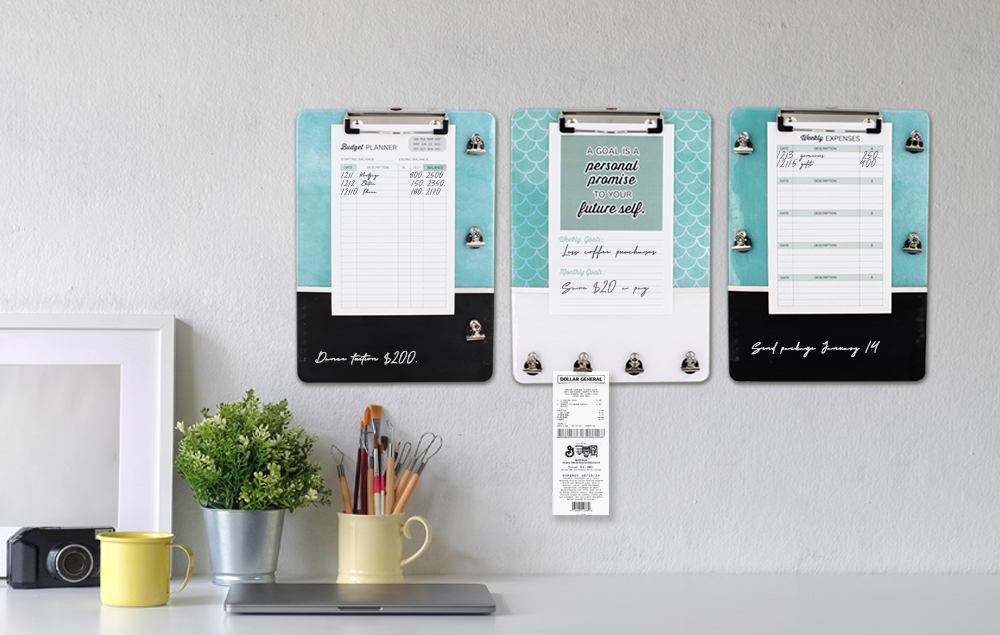
DIY Budget Tracker Clipboard
Try It Yourself
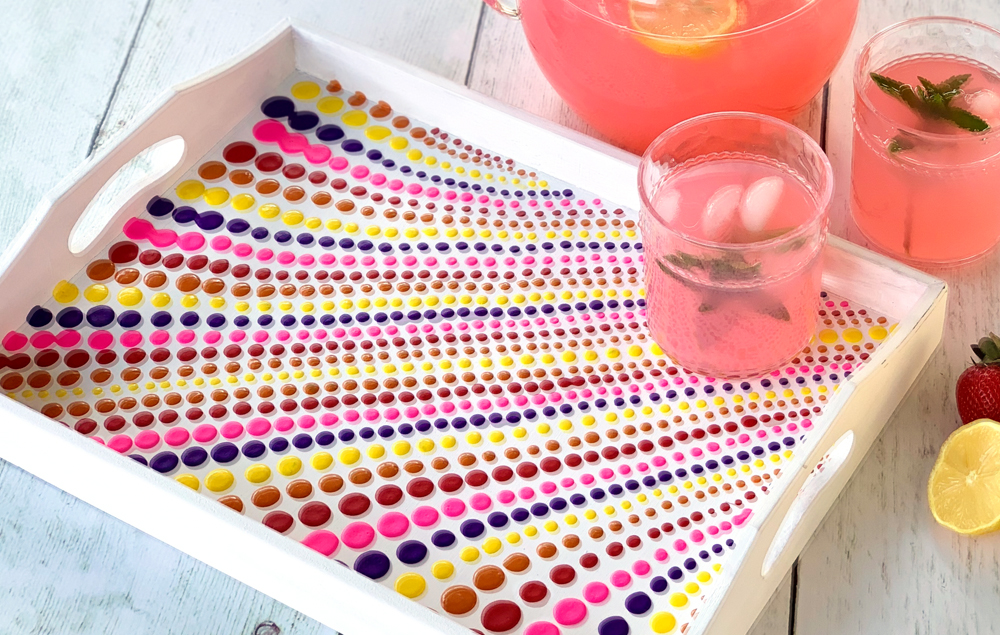
DIY Serving Tray Craft
Try It Yourself
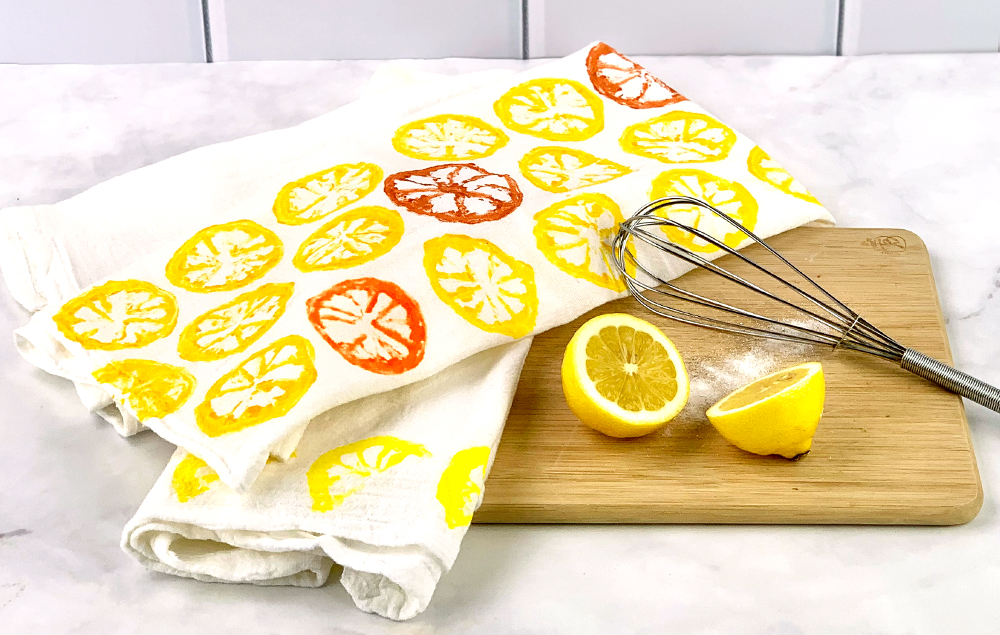
DIY Lemon Kitchen Towels
Try It Yourself
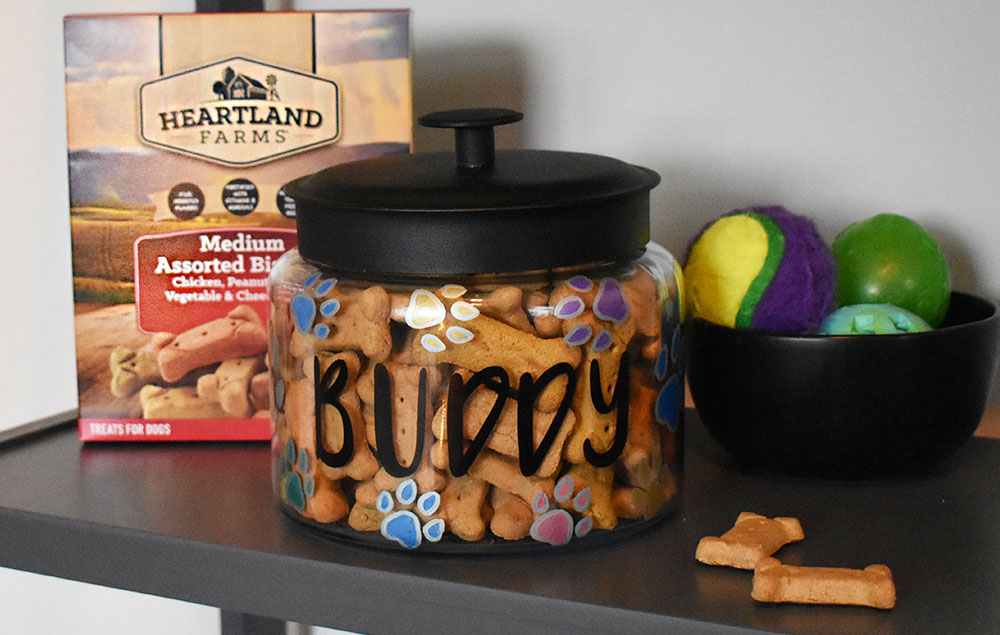
DIY Dog Treat Jar
Try It Yourself
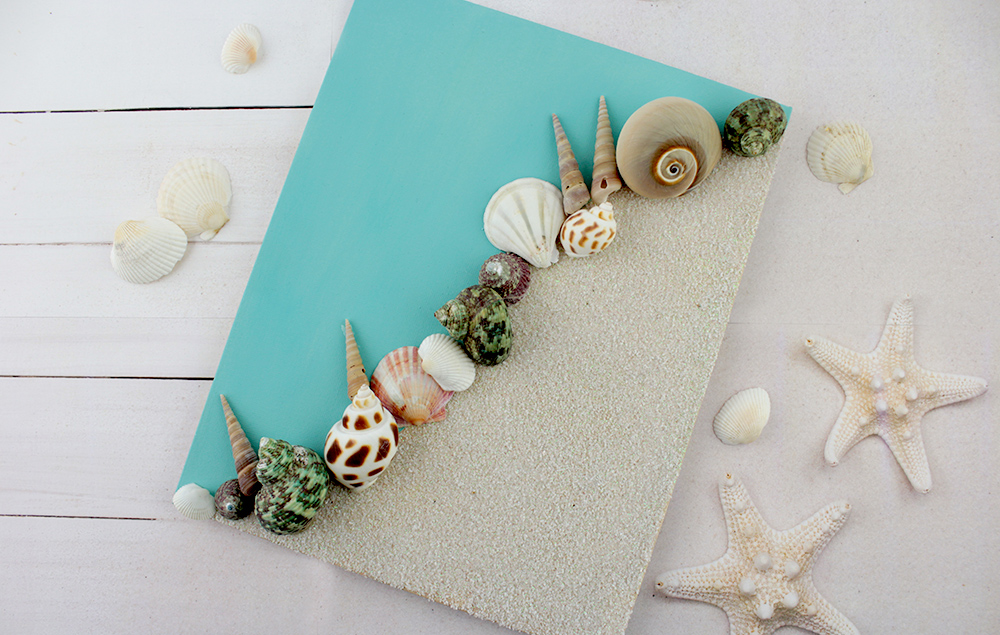
Sand & Shell Canvas Art DIY
Try It Yourself
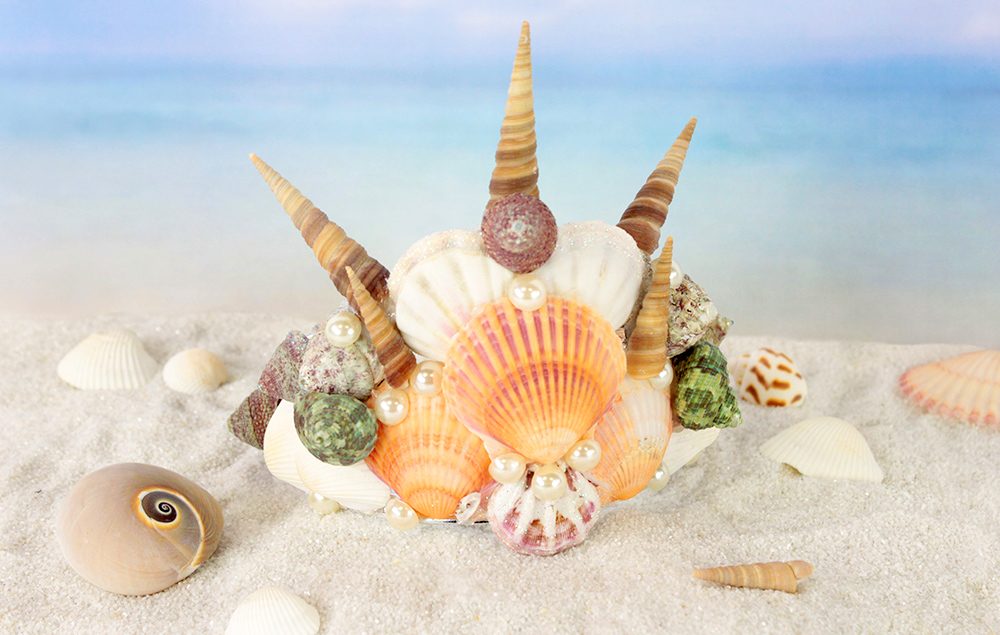
DIY Seashell Crown
Try It Yourself
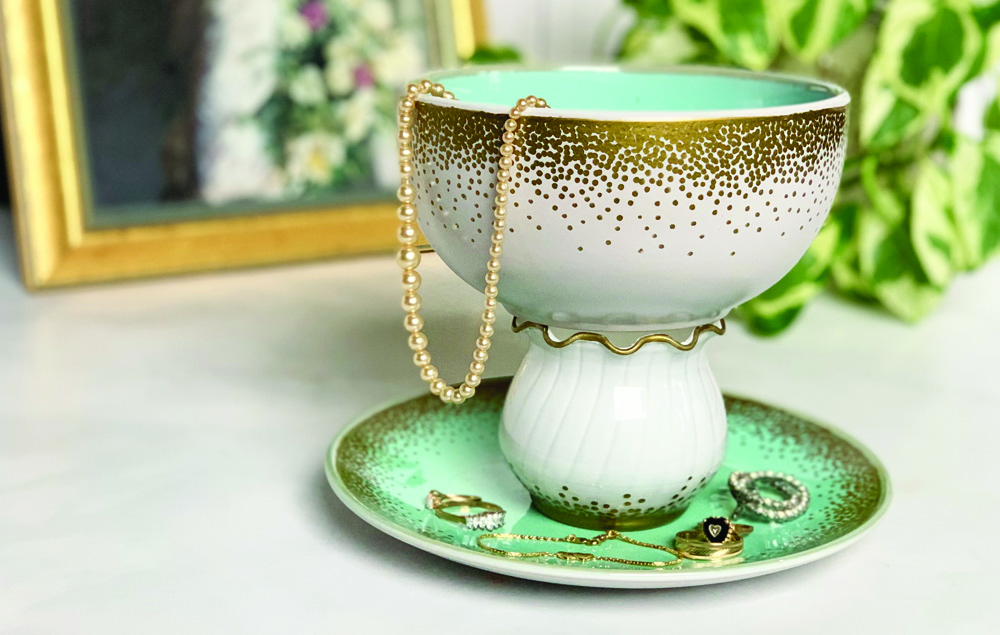
DIY Tiered Jewelry Dish
Try It Yourself
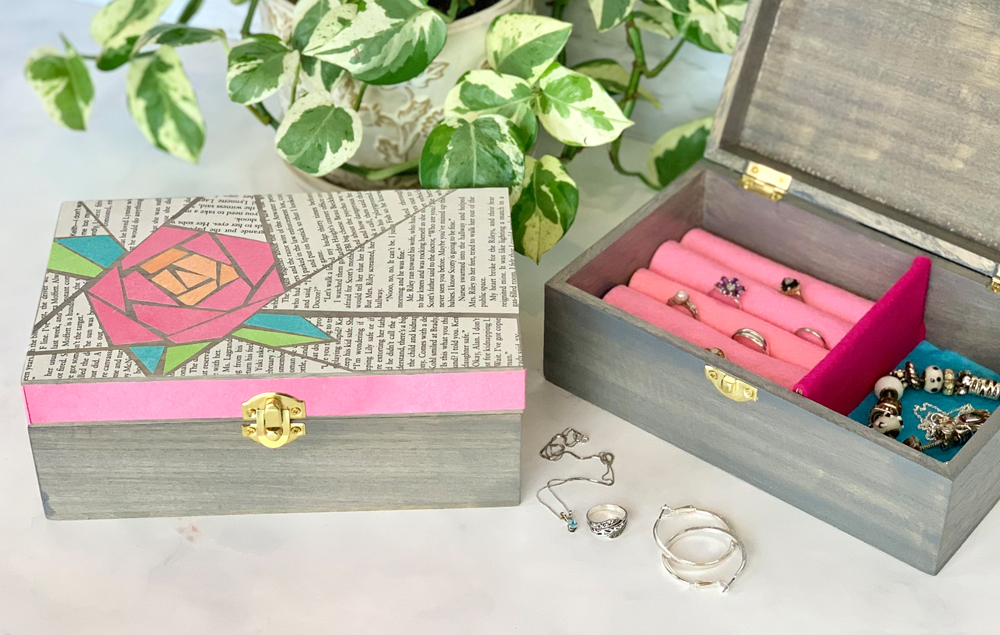
DIY Rose Jewelry Box
Try It Yourself
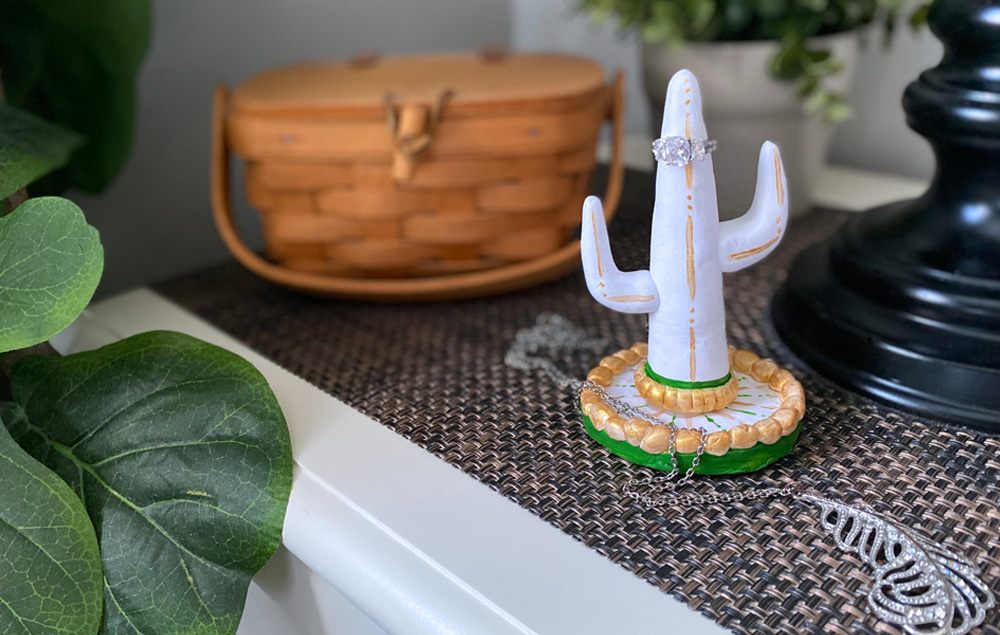
DIY Cactus Ring Holder
Try It Yourself
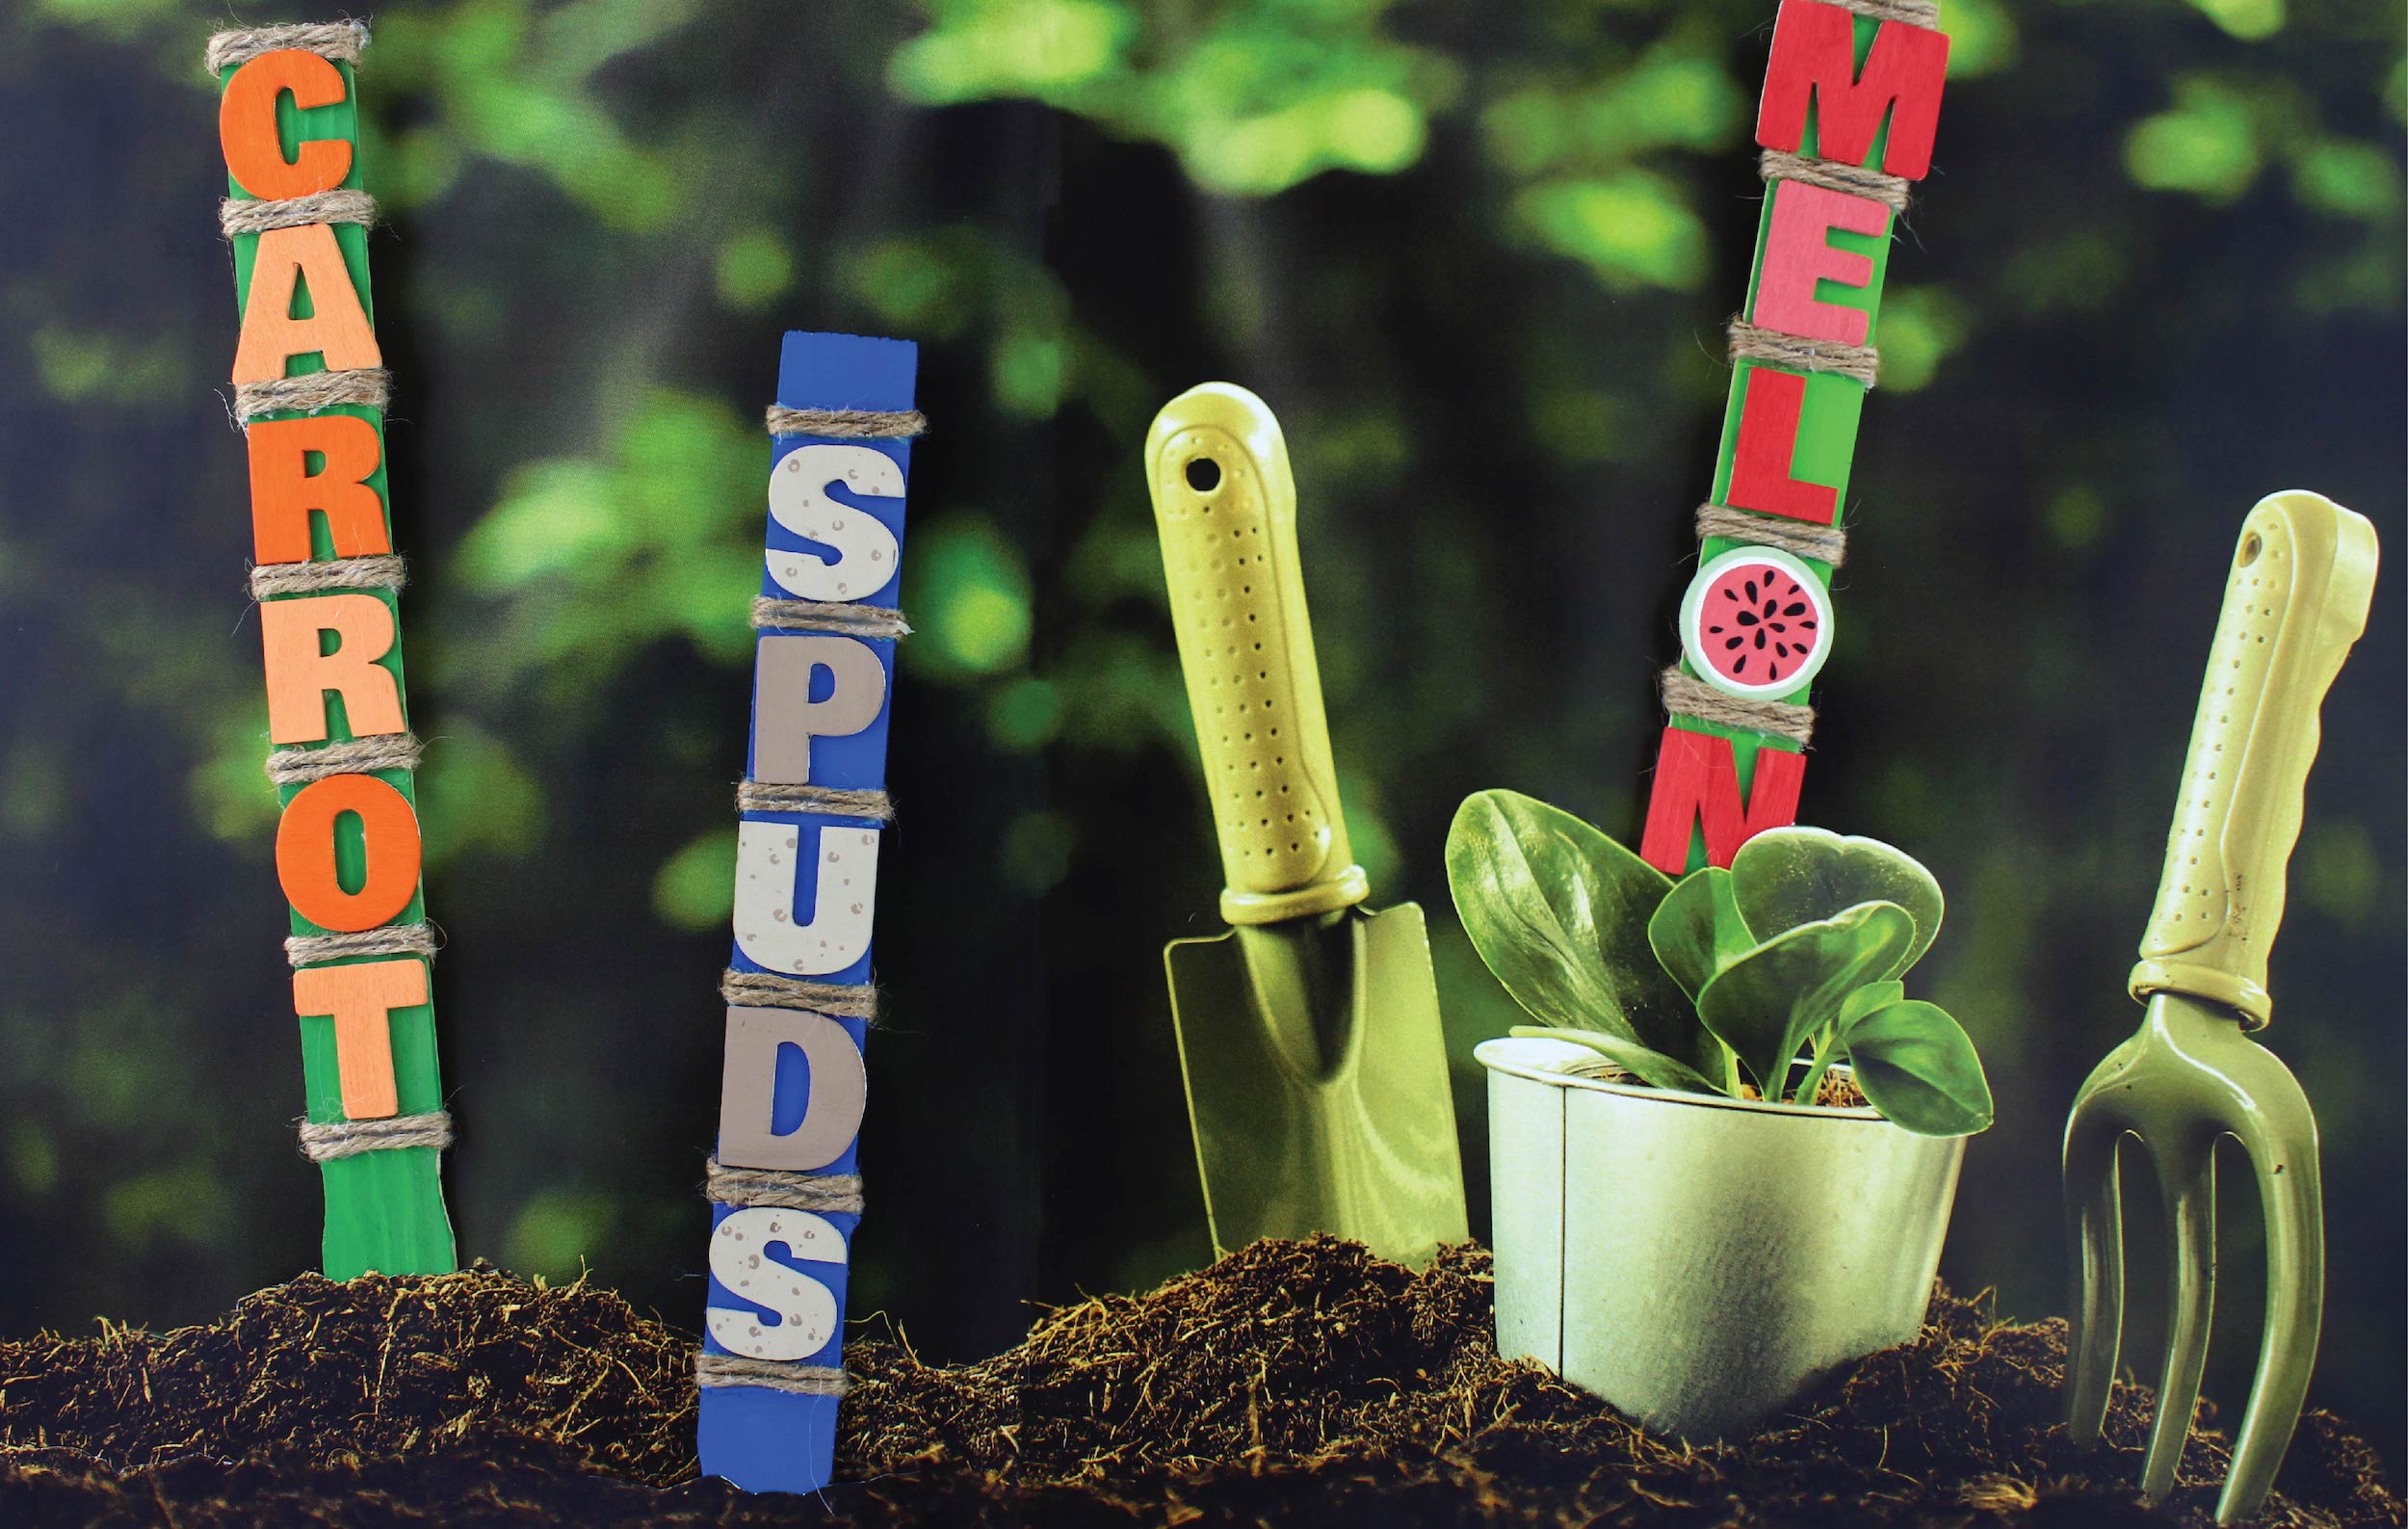
DIY Garden Markers
Try It Yourself
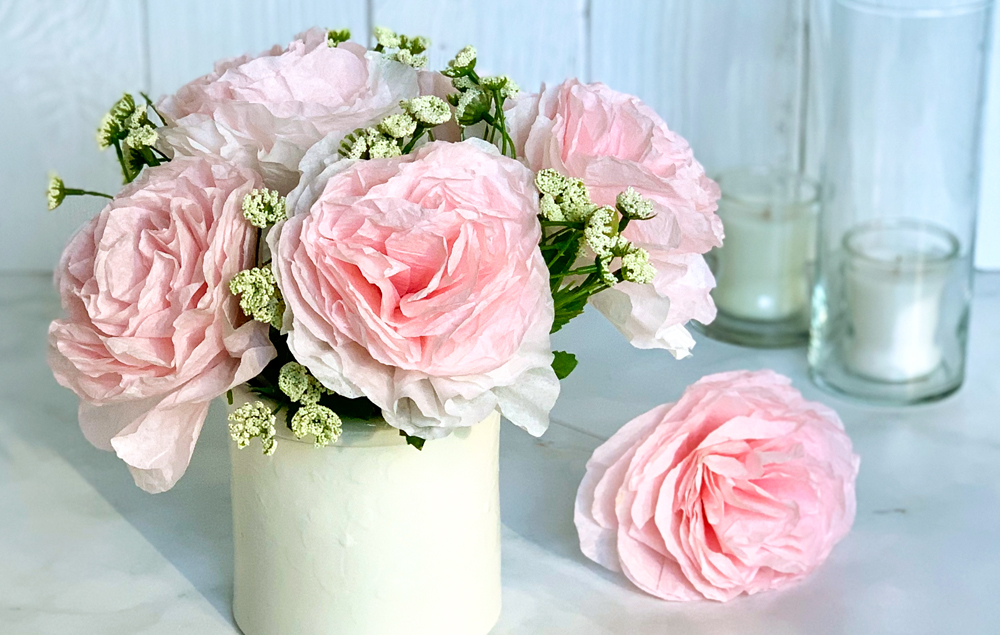
DIY Coffee Filter Flowers
Try It Yourself
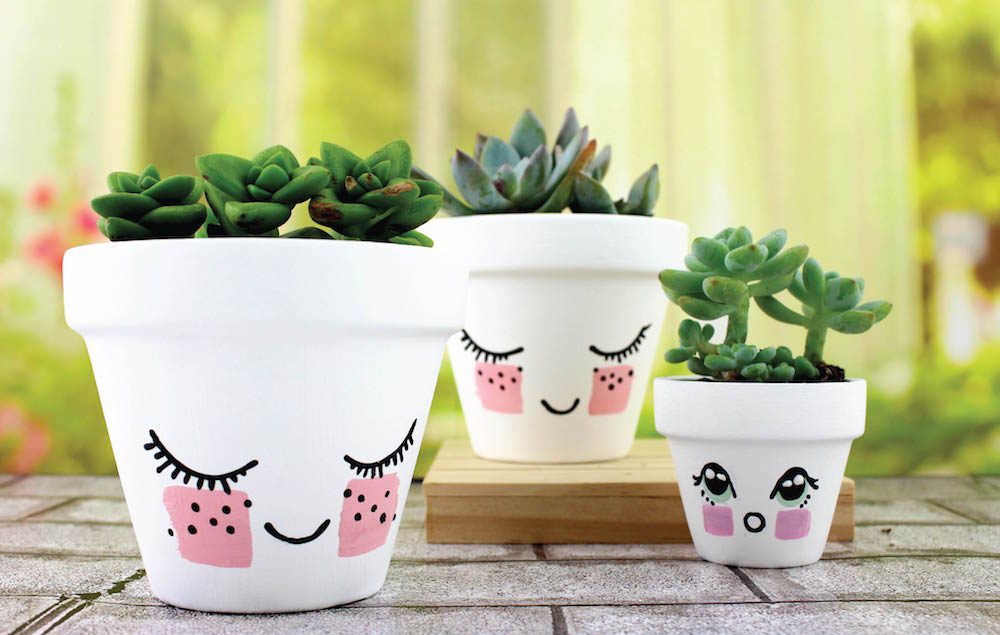
DIY Blushing Flower Pot
Try It Yourself
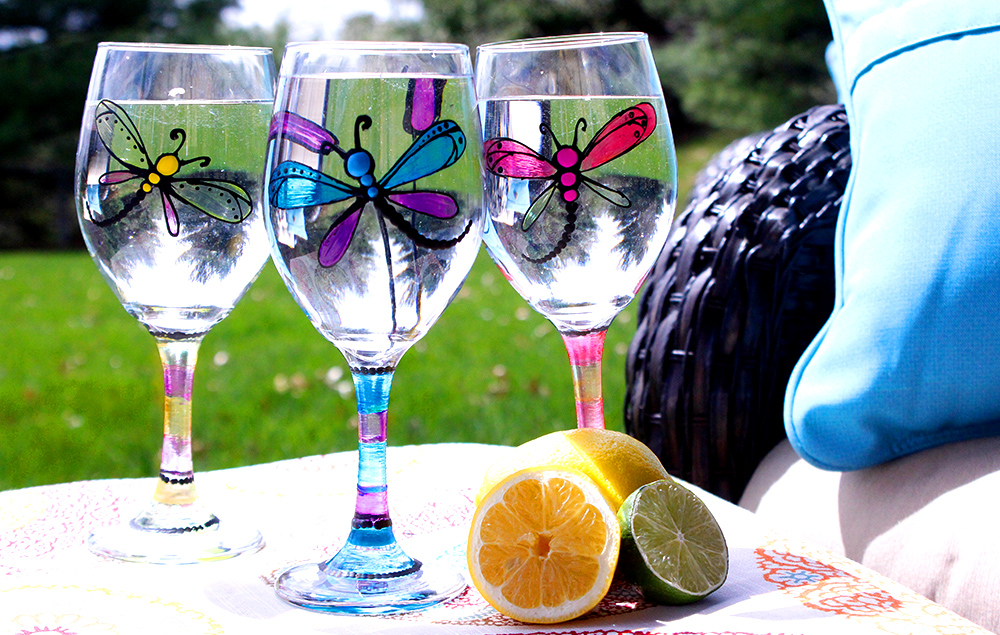
DIY Dragonfly Wine Glasses
Try It Yourself
Explore More Crafts
HOME DECOR
KIDS CRAFTS
CELEBRATIONS
EVERYDAY
WEDDING