

Spring Topiary
Level of difficulty: Beginner
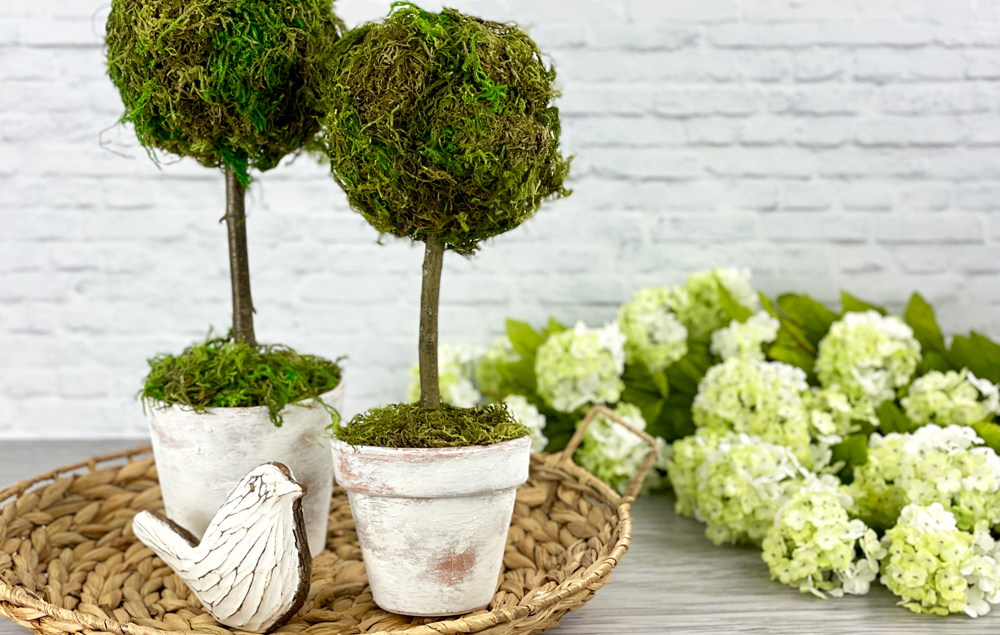
You can bring spring indoors with this stylish DIY topiary! Transform an inexpensive terra cotta pot into an elegant, distressed pot with a simple painting technique. Add a touch of spring green with moss. This topiary is fun to make and is a great addition to your home decor!
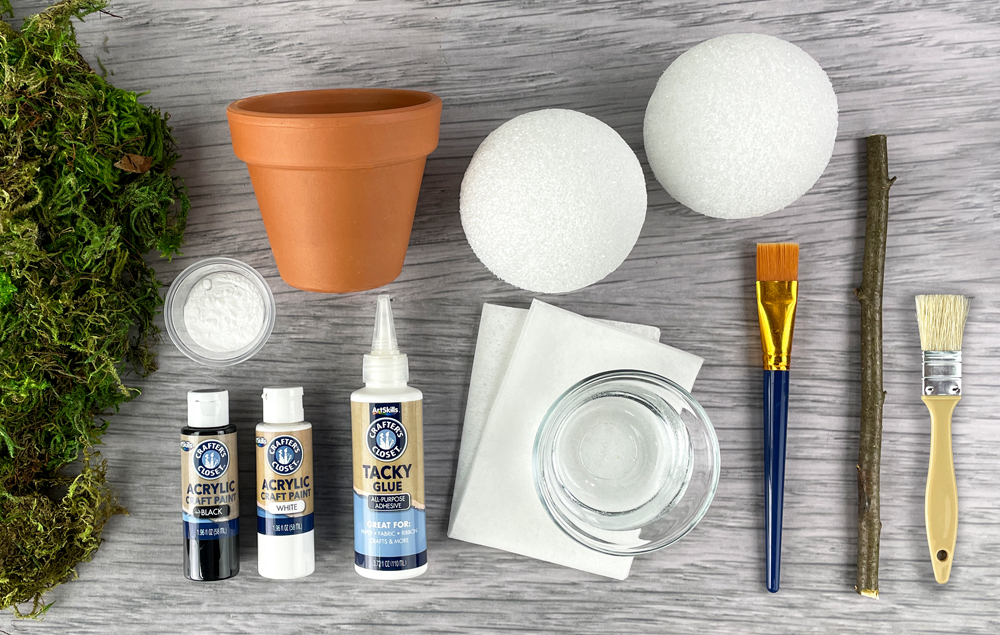
What You'll Need:
- 4" Clay Pot
- Crafter’s Closet White Acrylic Paint
- Crafter’s Closet Black Acrylic Paint
- Crafter’s Closet Large Foam Balls, 2 ct
- Crafter’s Closet Tacky Glue
- Baking Soda
- Moss
- 12" Stick
- Knife
- Paint Brush
- Water
- Paper Towels
Let's Do This!

Step 1:
A) Mix a light gray paint.
B) Randomly dab and swipe gray paint on the pot.
C) Randomly dab and swipe white paint on the pot. Let some areas of the clay pot show through.

Step 2:
A) Use a damp paper towel to blend the gray and white paint together. You can rub away paint in areas and blend as you’d like to create a distressed look.
B) Add more gray and white paint and rub to blend until you are happy with the result.

Step 3:
A) Add baking soda to white paint.
B) Stir to create a chalk paint consistency.
C) Dab the thick chalky paint onto the pot to add texture in random areas.
D) When you are satisfied with the results, let the pot dry.

Step 4:
A) Insert a foam ball into the pot. Press hard to make sure the foam ball is secure.
B) Use a knife to cut off the foam that is above the rim of the pot.
C) Remove the excess foam.

Step 5:
A) Insert a stick into the second foam ball.
B) Apply a generous coat of glue to the foam ball.
C) Press moss into the glue. Hold the moss in place for a few seconds to secure it to the foam ball.
D) Cover the entire foam ball with the moss and let it dry.

Step 6:
A) Insert the moss ball stick into the foam in the pot.
B) Apply a generous coat of glue to the foam in the pot.
C) Press moss into the glue. Hold the moss in place for a few seconds to secure it to the foam. Let it dry.


