

DIY Spring Carrot Bead Garland
Level of difficulty: Beginner
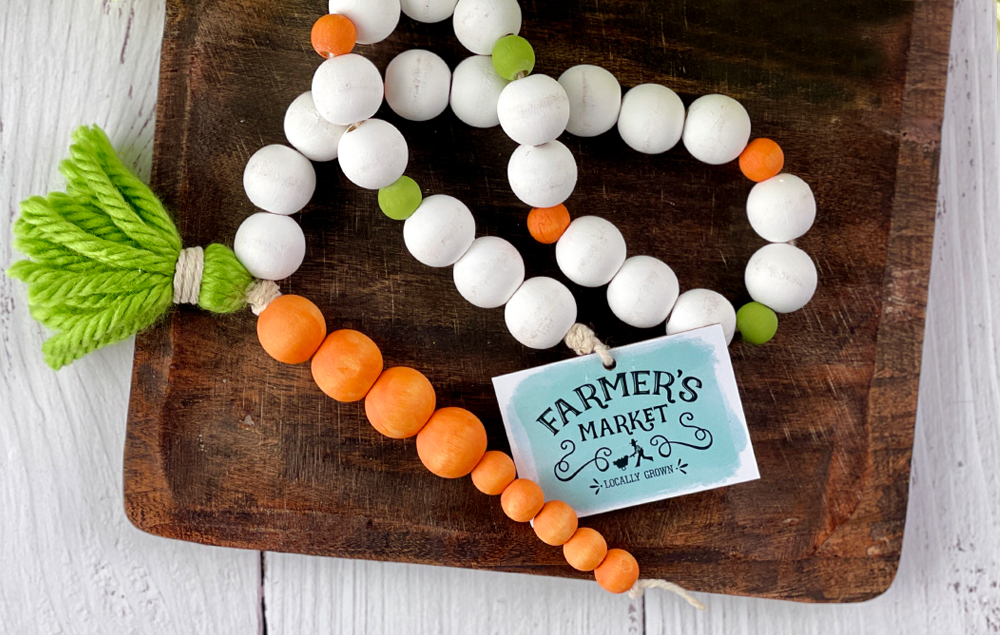
Craft an adorable carrot garland for spring! Orange-painted wood beads and a green yarn tassel create the fun carrot. Bright beads and a Farmer’s Market tag accent finish off the garland.
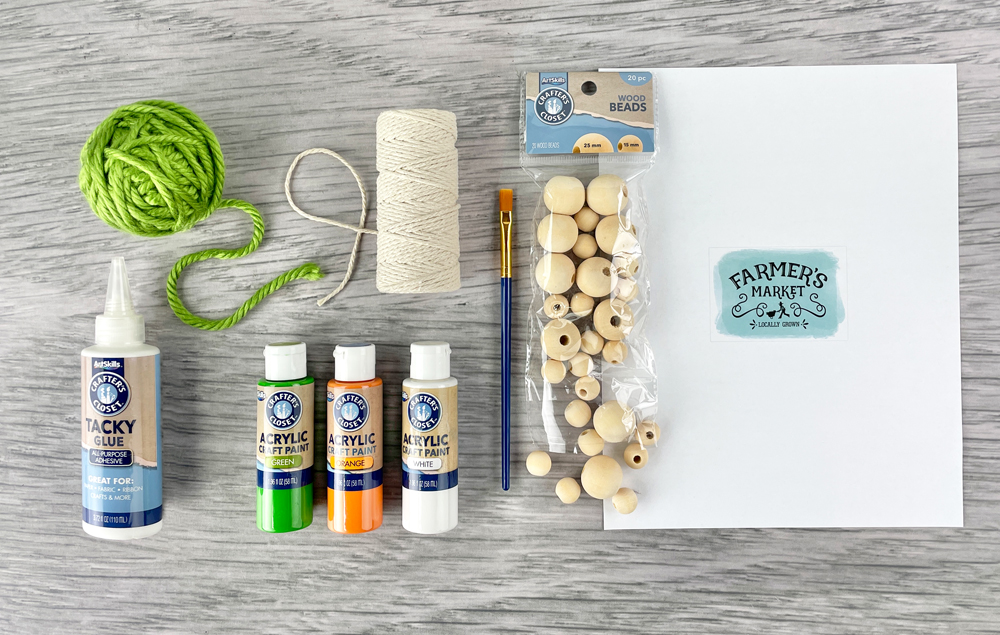
What You'll Need:
Let's Do This!

Step 1:
A) Paint the following wood beads: 23 Large White, 4 Large Orange, 4 Small Green, 9 Small Orange. Let the beads dry.

Step 2:
A) Cut a 40" length of craft cord.

Step 3:
A) Tie a knot at one end of the craft cord. Leave about 1.5" of cord beyond the knot. This will be the carrot root.
B) Slide 5 small orange wood beads and 4 large orange wood beads onto the craft cord until they reach the knot.
C) Tie a knot at the other end of the carrot to hold the orange wood beads in place.

Step 4:
A) Wrap green yarn around the palm of your hand 15 times.
B) Cut the yarn after wrapping it and remove the loop of yarn from your hand.
C) Cut an 8" length of craft cord.
D) Insert the craft card through the yarn loop and tie a knot to secure the yarn together.

Step 5:
A) Cut a 15" length of craft cord.
B) Tie the craft cord around the top of the yarn loop to form a tassel shape.
C) Wrap the ends of the craft cord around the tassel.
D) Use tacky glue to secure the craft cord in place. Let dry.

Step 6:
A) Insert scissors into the loop ends of the yarn tassel and cut them open.
B) Trim the end of the tassel so the yarn ends are even.

Step 7:
A) Tie the green yarn tassel to the knot at the end of the carrot.
B) Wrap the ends of the craft cord from the tassel around the knot.
C) Use tacky glue to secure the craft cord in place. Let dry.

Step 8:
A) Slide the painted wood beads onto the craft cord until they reach the knot at the carrot. Follow the pattern shown in the image for placement.

Step 9:
A) Print out the template.
B) Cut out the template to make the tag.
C) Punch a hole through the tag.

Step 10:
A) Tie a knot at the end of the garland to secure the wood beads in place.
B) Slide the tag onto the craft cord at the end of the garland.
C) Tie the loose craft cord around the knot between the tag and the wood beads.
D) Use tacky glue to secure the craft cord in place. Let dry.
- Filename
- Carrot_Bead_Garland_Template.pdf
- Size
- 1 MB
- Format
- application/pdf


