

Bunny Headband
Level of difficulty: Intermediate
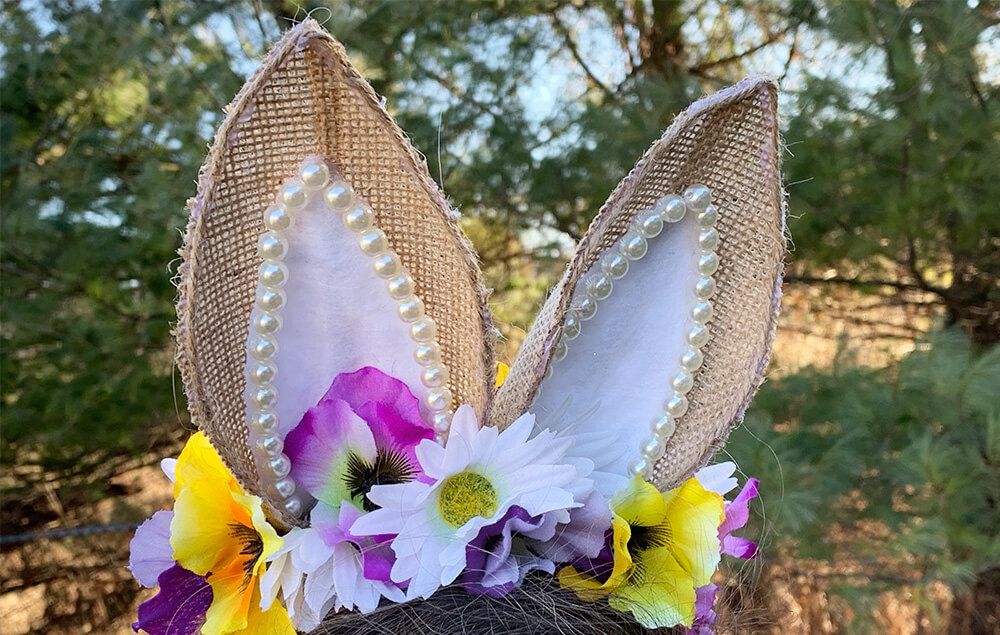
Hop into spring with this cute bunny headband! Great for the holidays or just celebrating the end of winter.
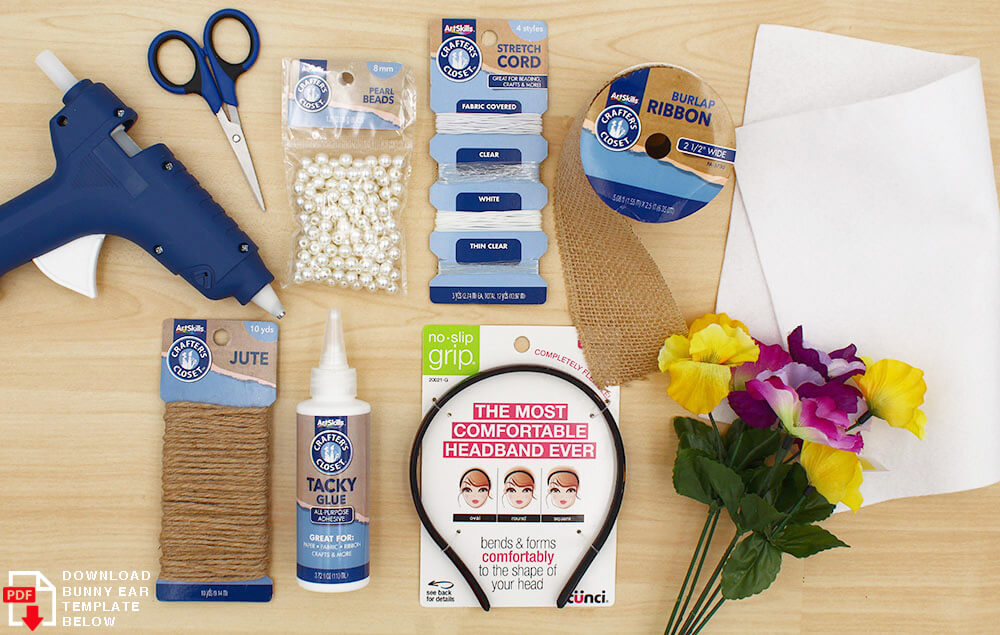
What You'll Need:
Let's Do This!
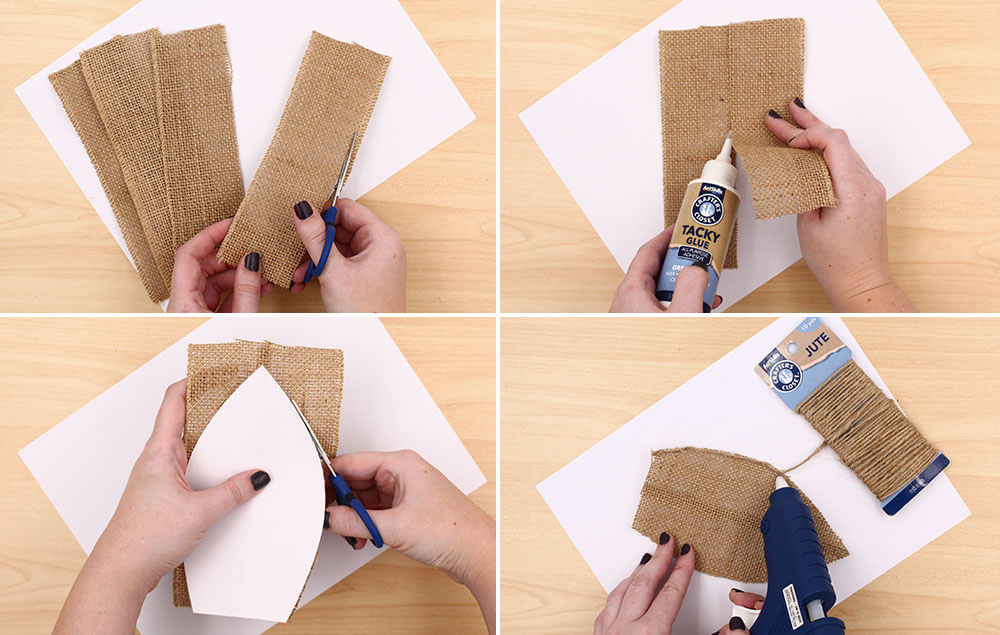
Step 1:
- Cut four 7.5" pieces of burlap. Cut the right-side seam off two of the pieces.
- Lay an uncut piece of burlap down and then place a cut piece on top of it. The seams should line up in the middle with the cut edge on top. Use Tacky Glue to adhere the seam together.
- When dry, cut out the large ear shape using template provided.
- How glue jute twine around the two side edges of the ear. Repeat process to make the other ear.
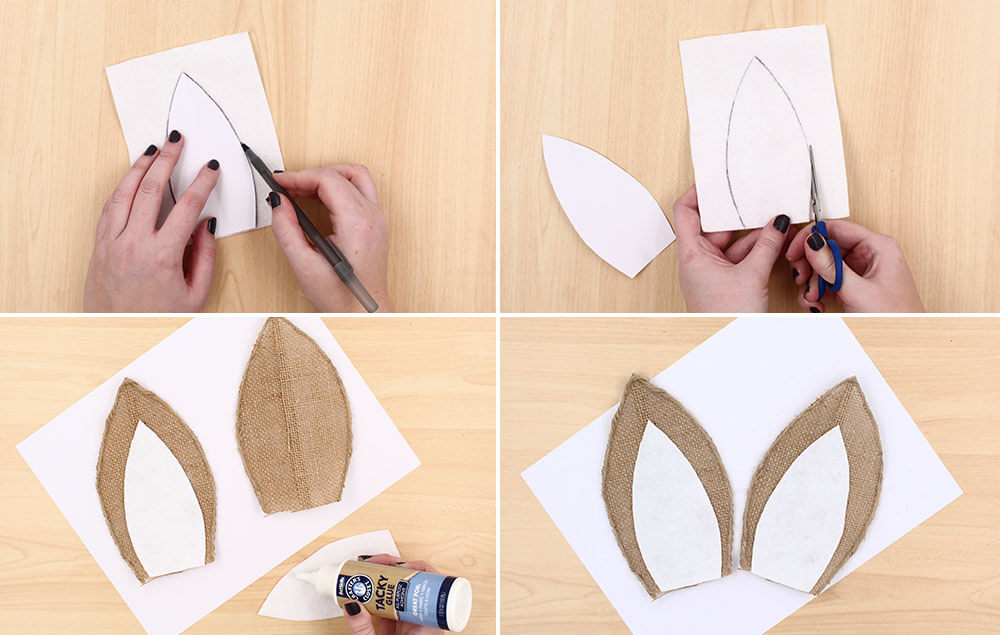
Step 2:
- Use small ear template to trace inner ears on white felt.
- Cut out inner ear pieces.
- Apply Tacky Glue around the outside edge of each felt piece.
- Adhere the white felt pieces to the burlap pieces, aligning the bottom edges.

Step 3:
- If using Crafter's Closet Pearl Beads, string 29 beads onto Thin Clear Stretch Cord and tie off the ends (see inset photo). Hot glue the string of beads on to the ear along the edge of the white felt. Make sure the center bead on the string is at the top point of the white inner ear piece and then glue down the sides (Note: The beads will not reach the bottom of the ear). Repeat process for the other ear.
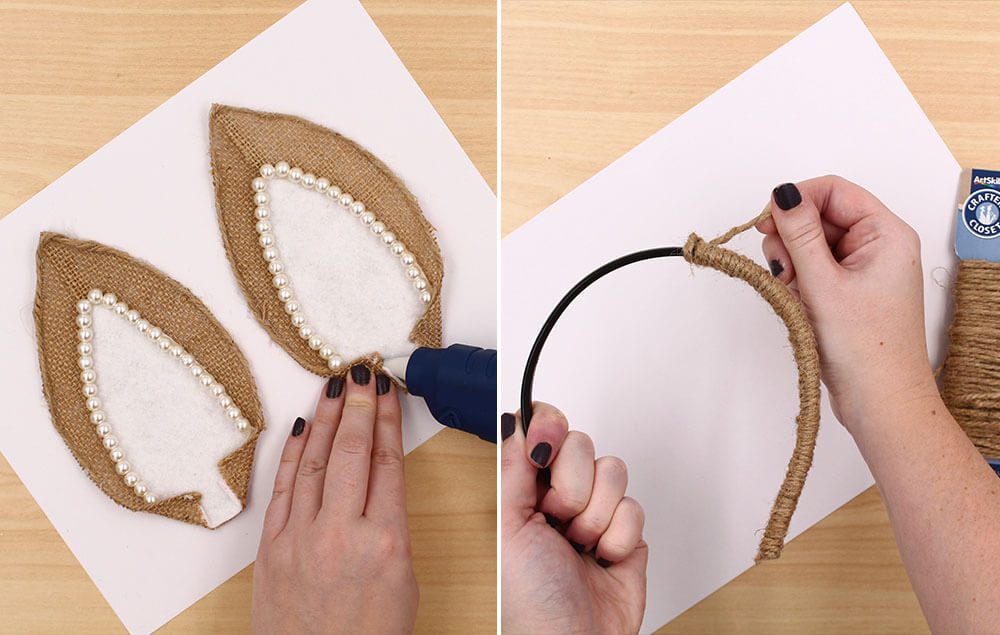
Step 4:
- Fold in the bottom points of the ears and secure in place with hot glue.
- Wrap the headband with jute twine. Adhere the ends with hot glue.
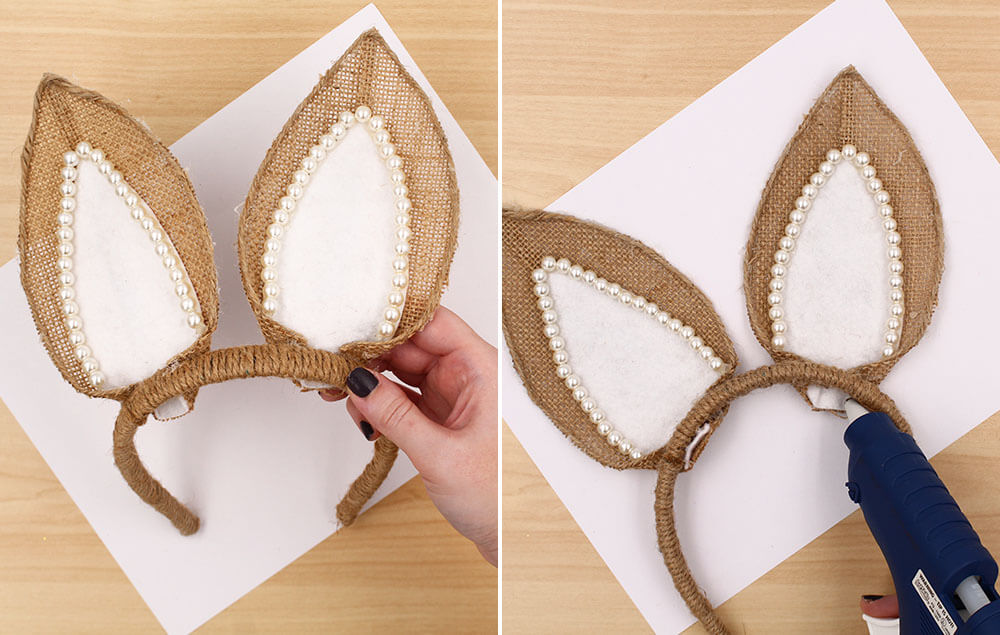
Step 5:
- Adhere both ears to the underside of the headband using hot glue and making sure they are evenly spaced from the center.
- When dry, fold the ears up straight and hot glue in place to secure. Tip: Pushing the sides towards the front of the headband when gluing will help create a curved ear shape.
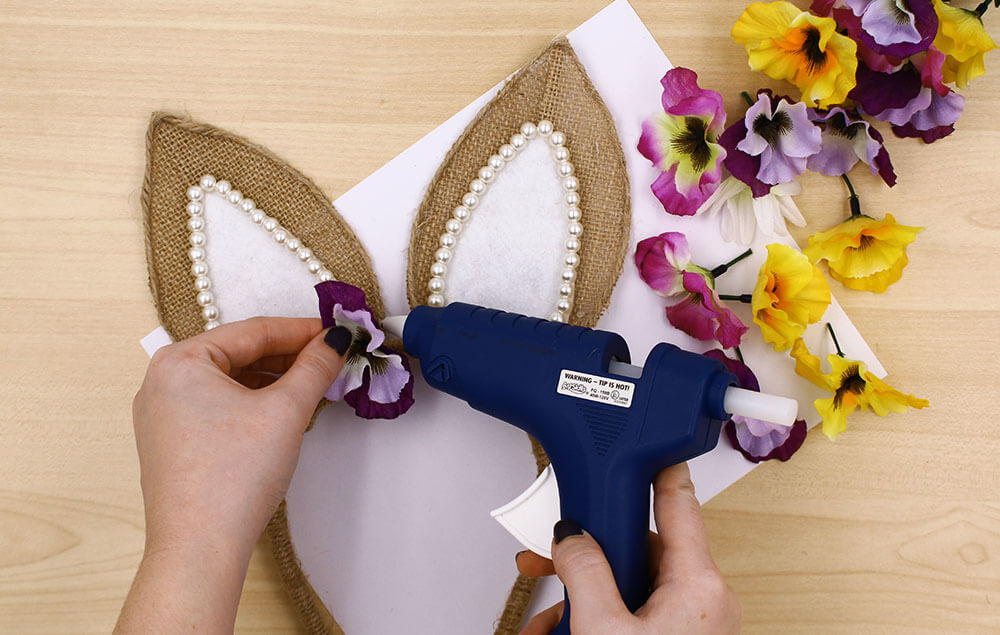
Step 6:
- Cut flowers off stems and hot glue to the headband around the ears.
Download Template
- Filename
- Template-BunnyEars.pdf
- Size
- 53 KB
- Format
- application/pdf


