

DIY Felt Throw Pillow
Level of difficulty: Beginner
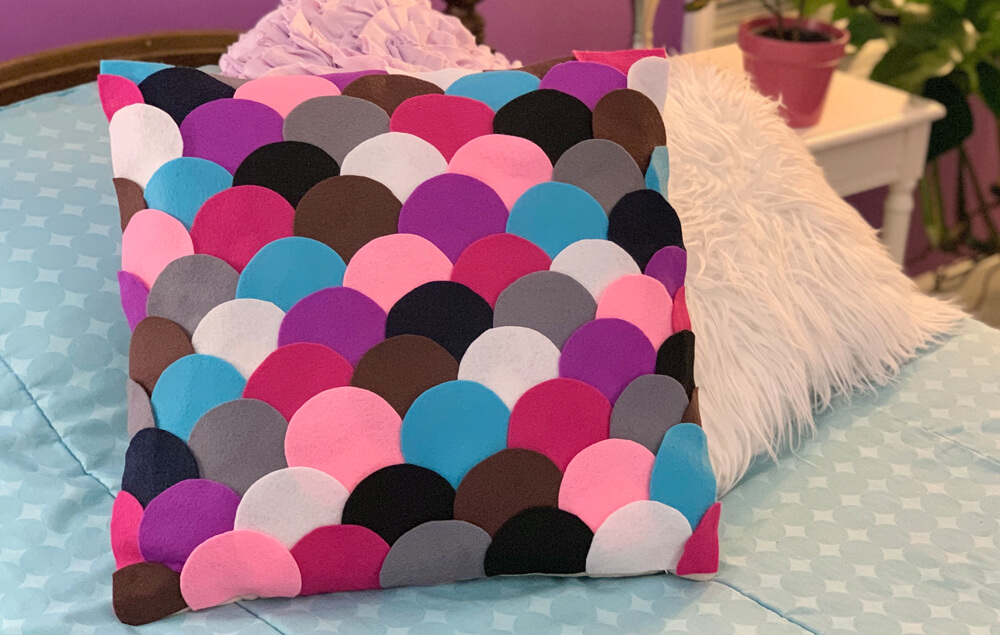
Make a no-sew scalloped felt pillow to add a fun pop of color to your home! Choose your favorite felt colors and customize the pillow to match your room’s decor.
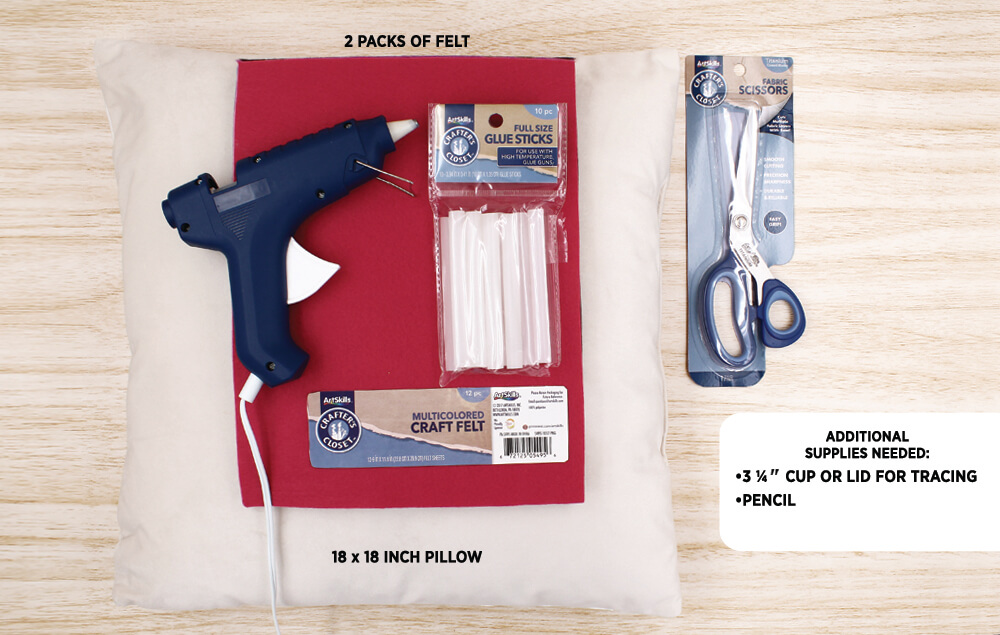
What You'll Need:
- Pillow, 18" x 18"
- Crafter’s Closet Multicolor Felt Pack
- 3 ¼" cup or lid to trace
- Crafter’s Closet Hot Glue Gun
- Crafter’s Closet Hot Glue Sticks
- Crafter’s Closet Fabric Scissors
- Pencil
Let's Do This!
Step 1:
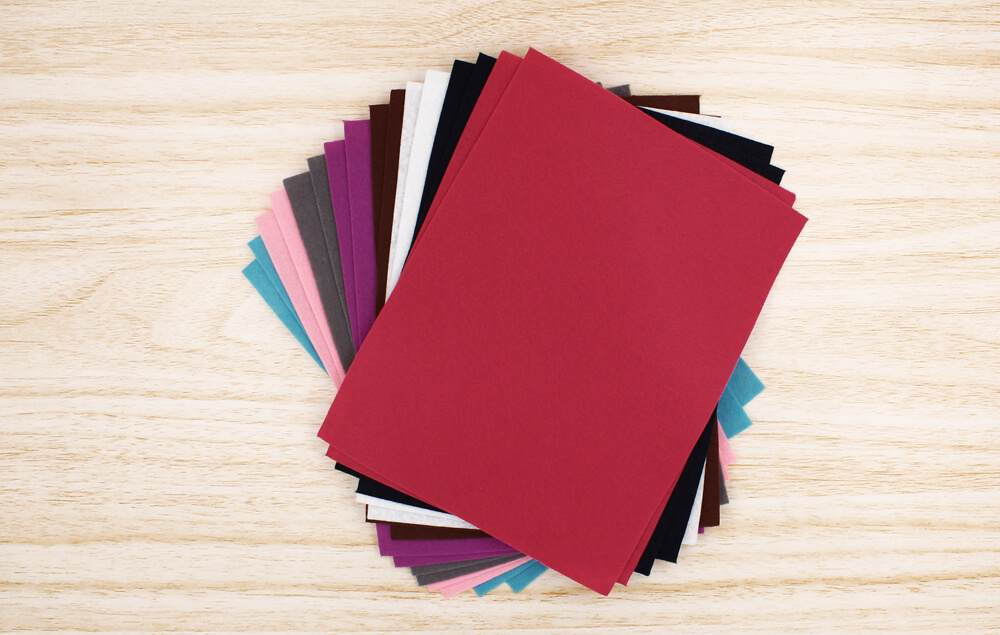
- Choose eight colors of felt. You will need two packs of felt, choose two sheets of each color.
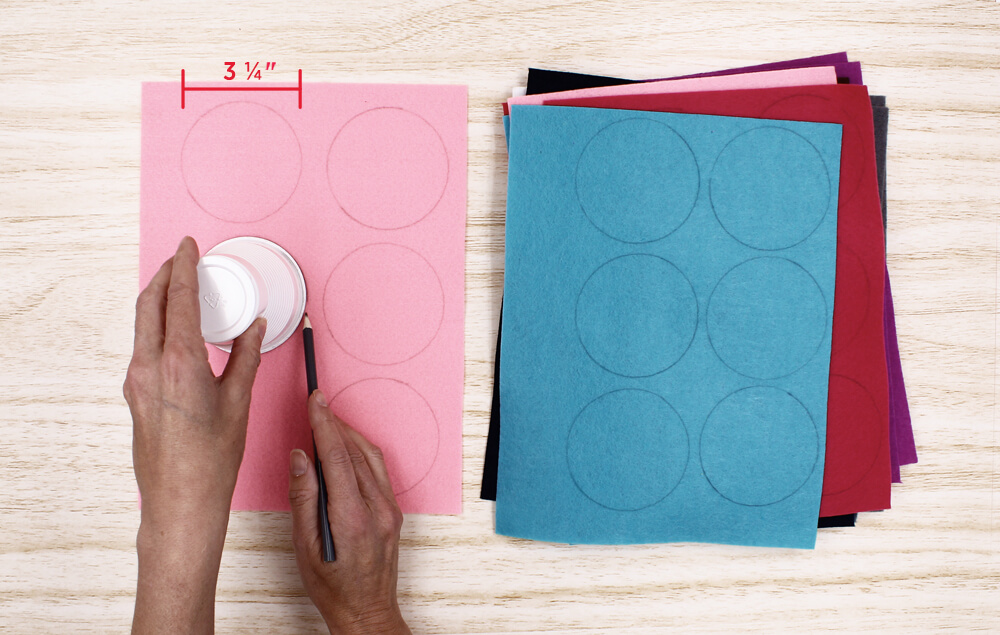
Step 2:
- Trace a cup or lid with an approximate diameter of 3 ¼" onto the felt to make circles. You’ll need about ten circles per color.
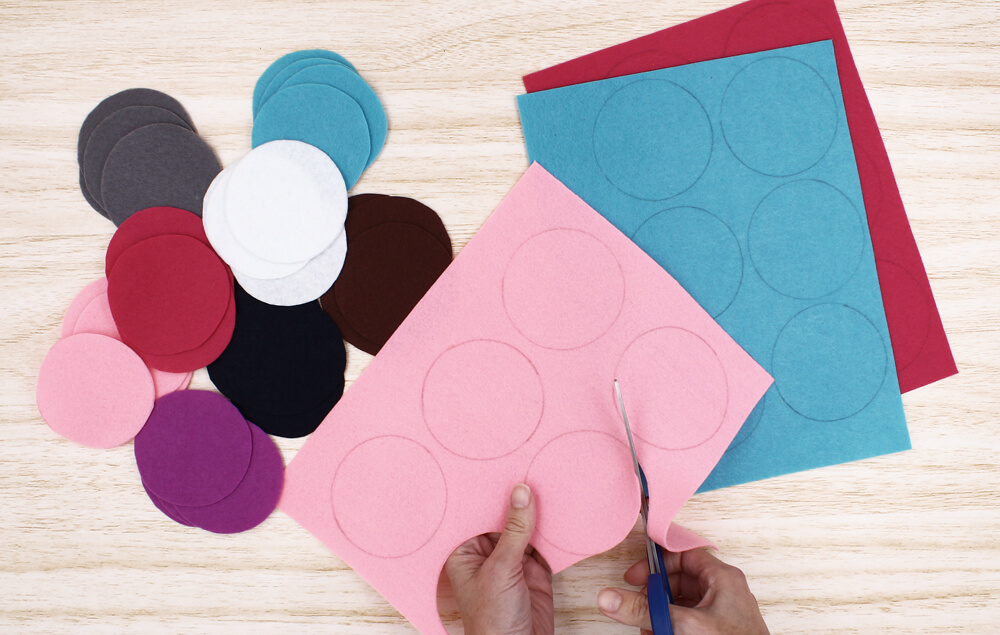
Step 3:
- Cut out the circles.
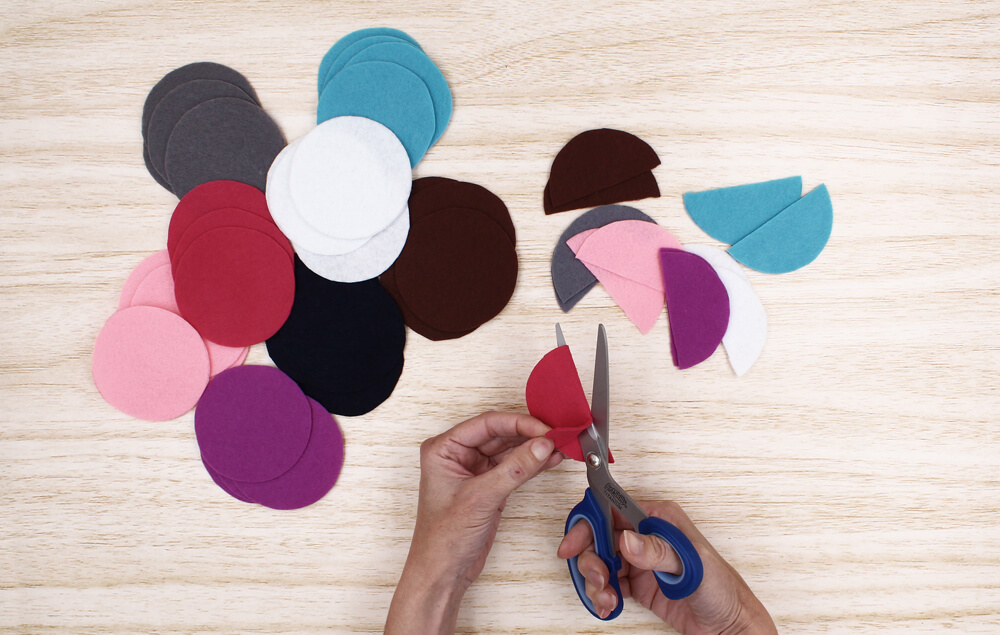
Step 4:
- Cut enough circles in half to start the first row across the top of the pillow. We used six for our pillow. TIP: Fold a circle in half to find the exact center before cutting.
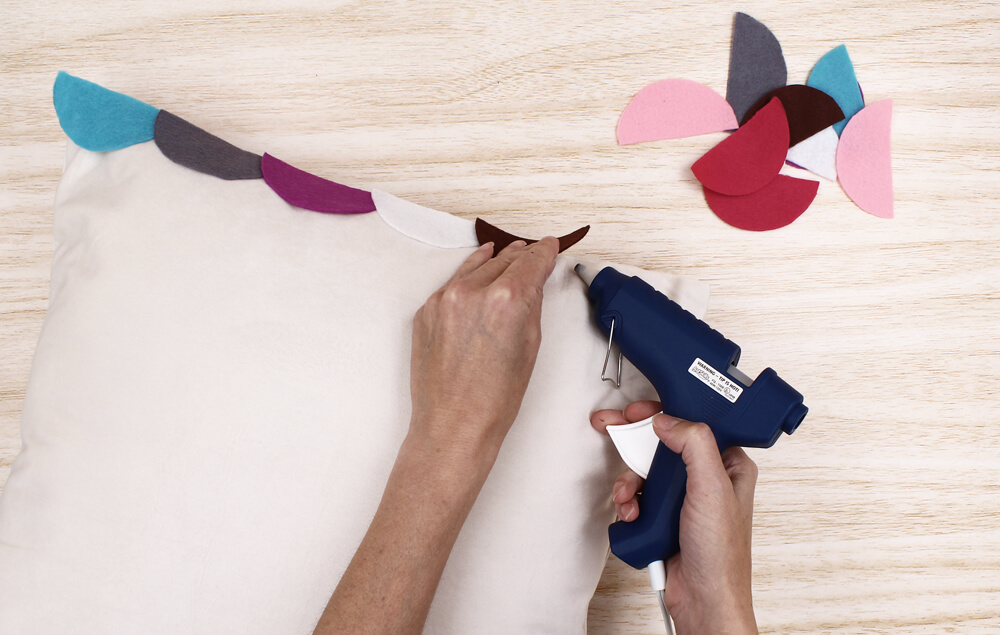
Step 5:
- Hot glue the row of half circles across the top of the pillow. Keep the cut side of the circle flush with the top edge of the pillow. You can slightly overlap the circles from side to side.
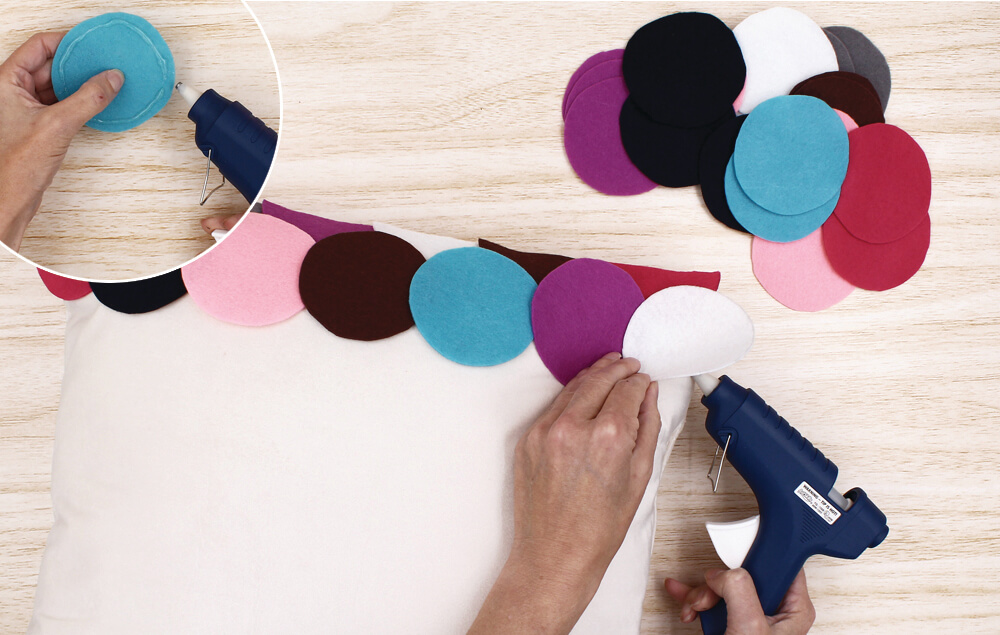
Step 6:
- Start hot gluing the first full row of circles across the pillow. Place them so that about half of the previous row of circles above shows. Let the circles hang off the side edges of the pillow if the pattern falls that way.
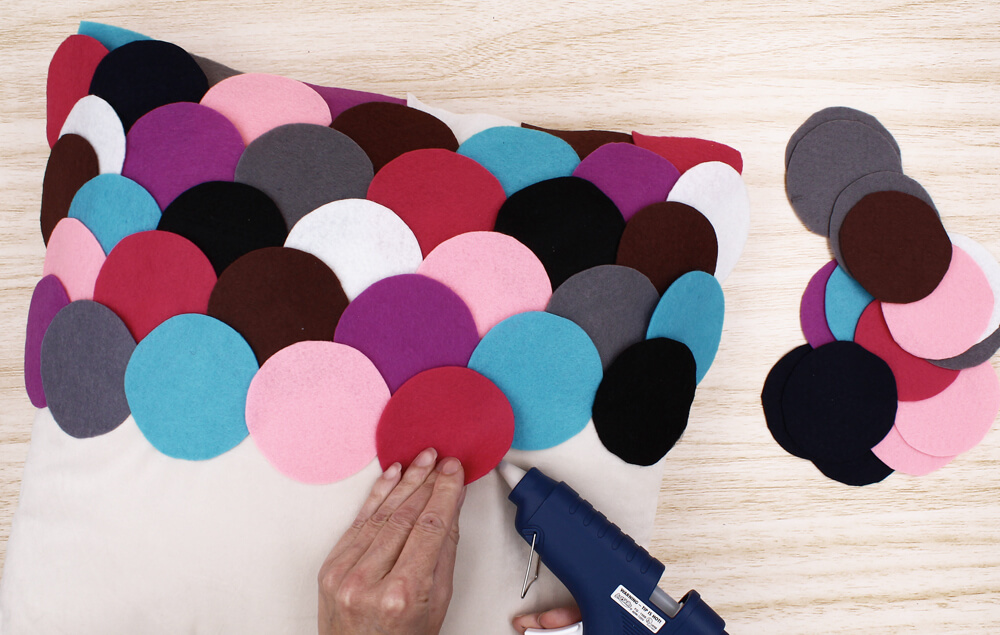
Step 7:
- Continue hot gluing the circles to the pillow, creating a scalloped shape pattern as you overlap the circles. Place the colors randomly, trying to keep the same color from touching itself.
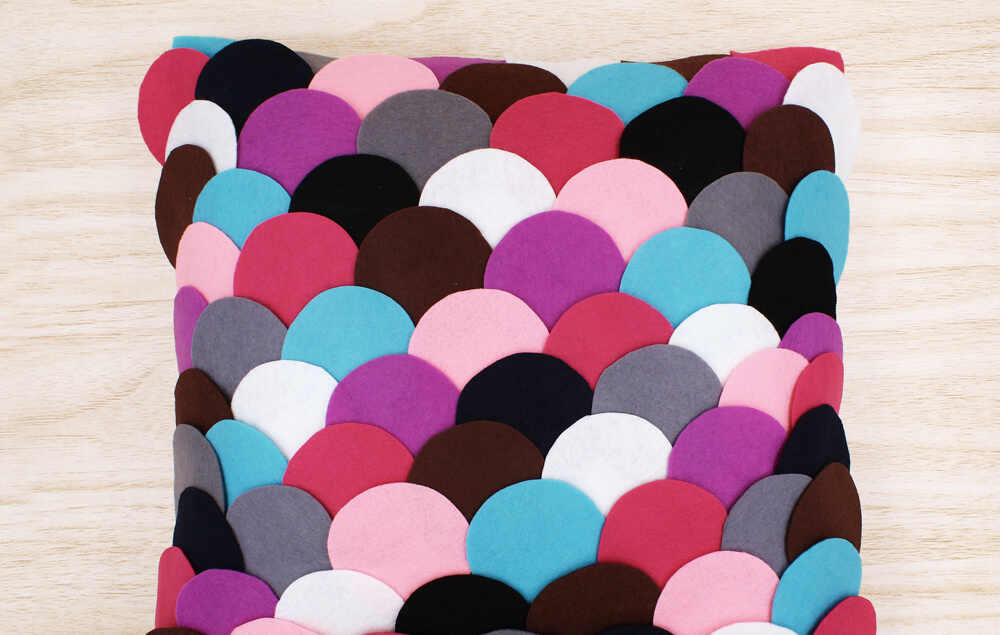
Step 8:
- Cover the entire pillow with circles.
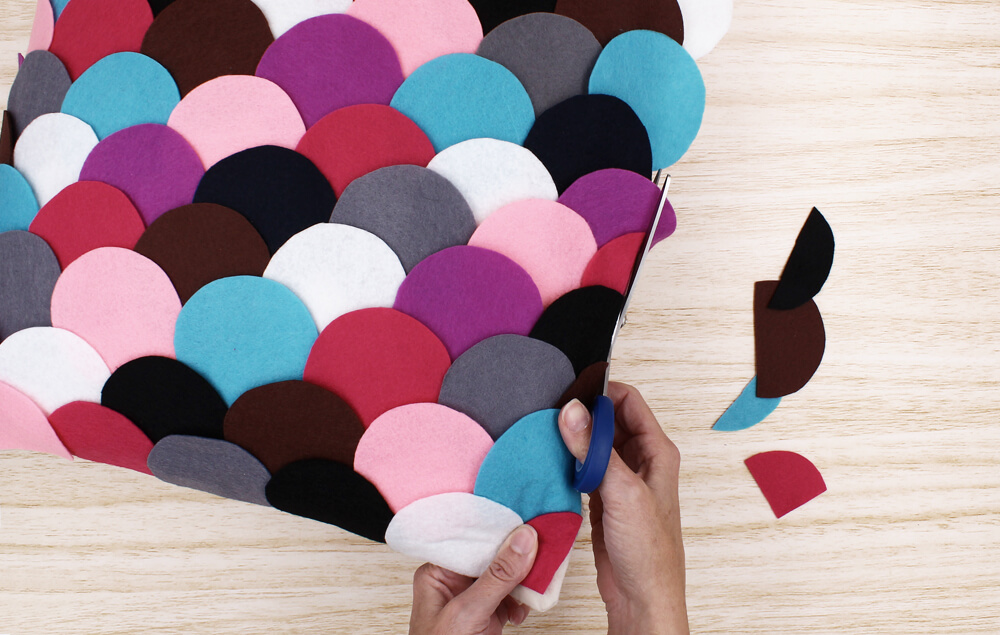
Step 9:
- Trim the excess off the sides and bottom of the pillow, so the edges of felt are straight and match the edge of the pillow.


