Seasonal Arts & Crafts
Spring & Easter Crafts

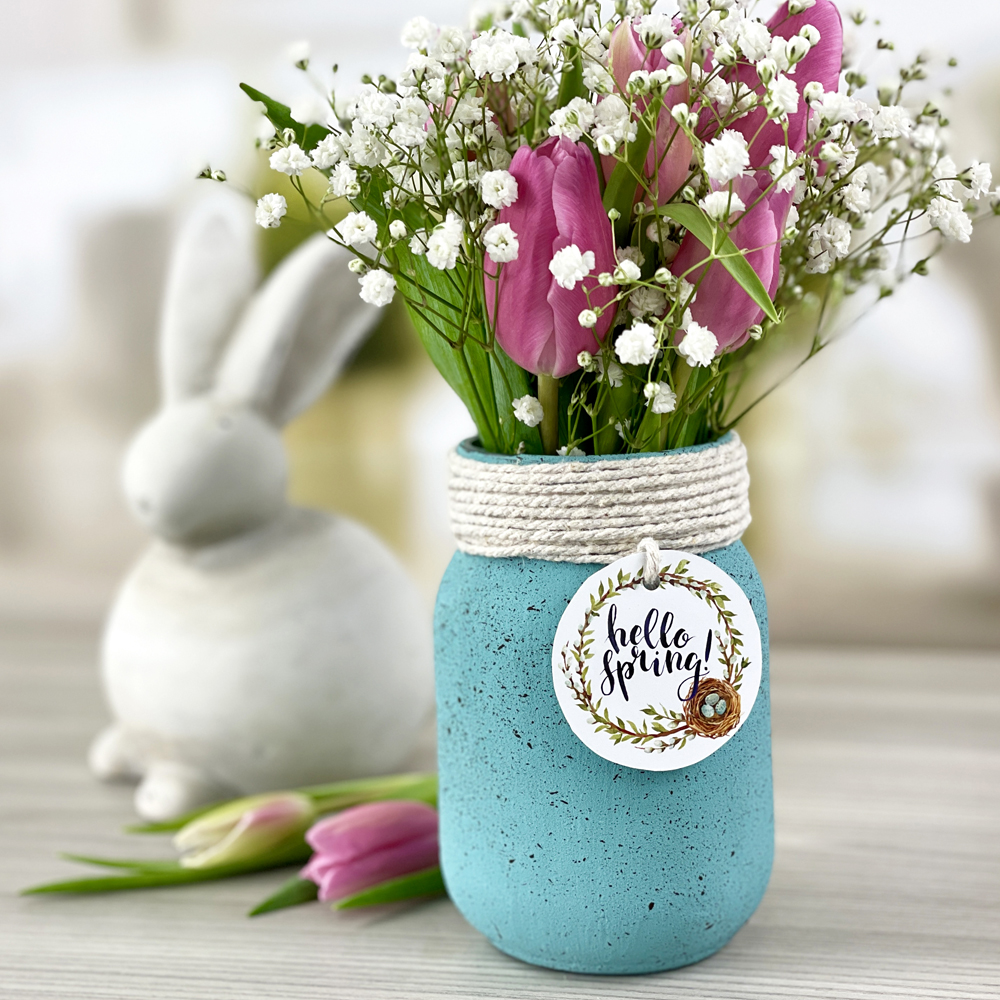
Robin Egg Jar
Try It Yourself
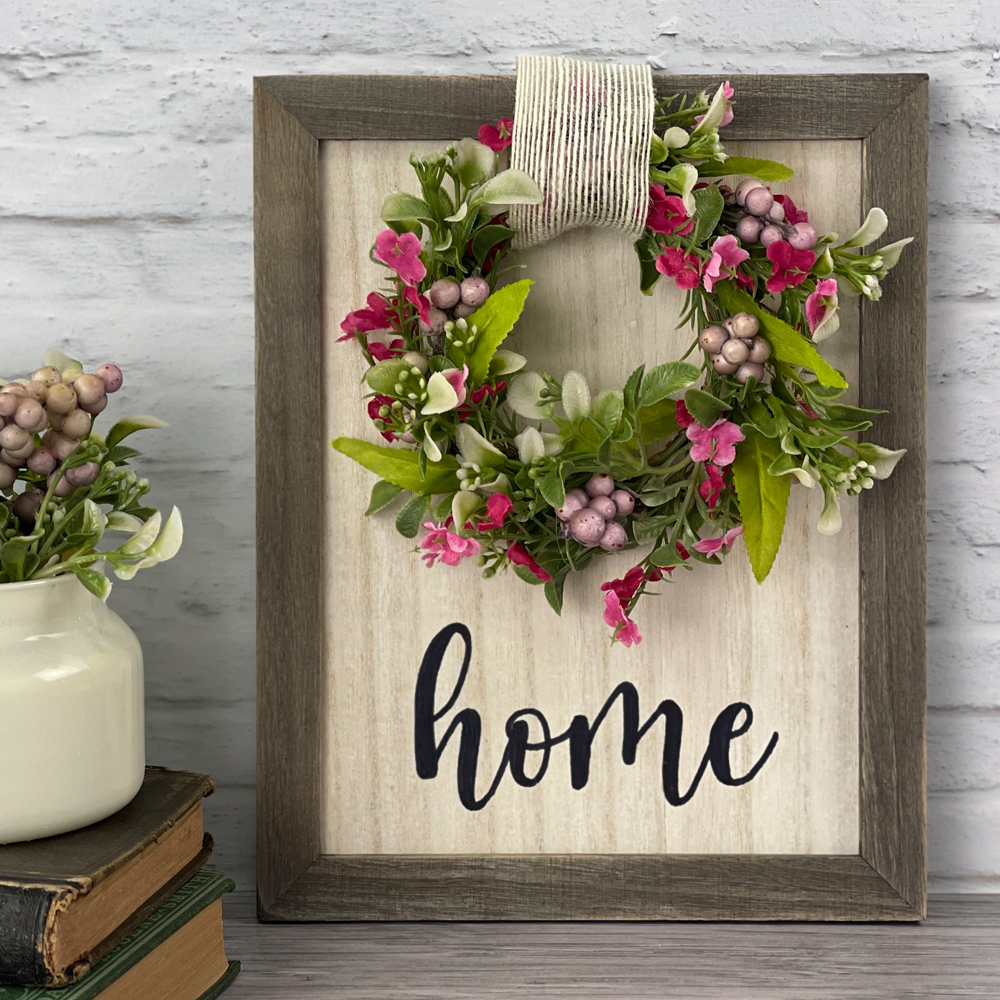
Spring Wreath Sign
Try It Yourself
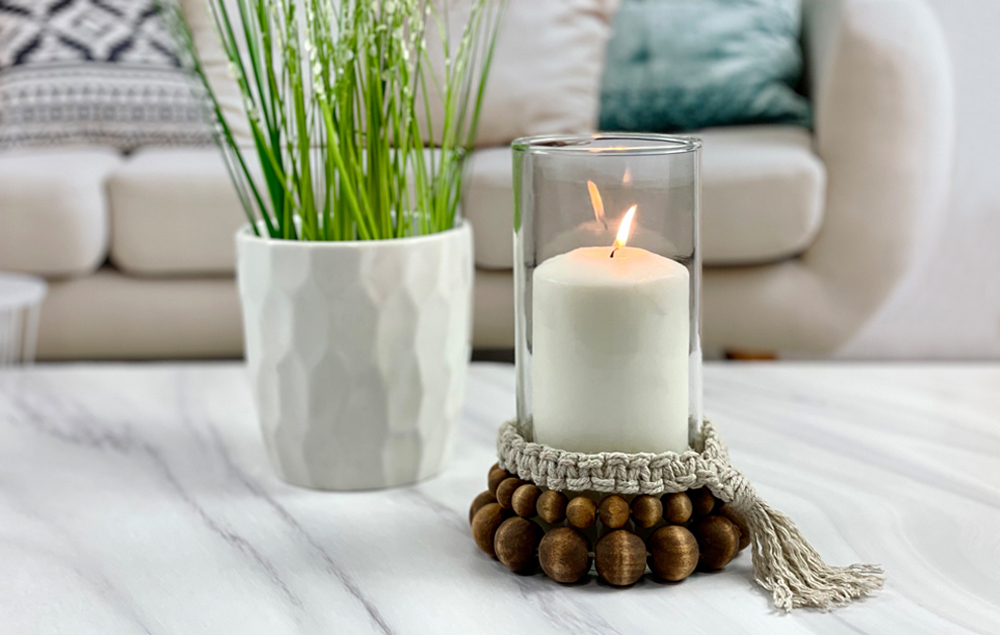
DIY Wood Bead Candle Holder
Try It Yourself
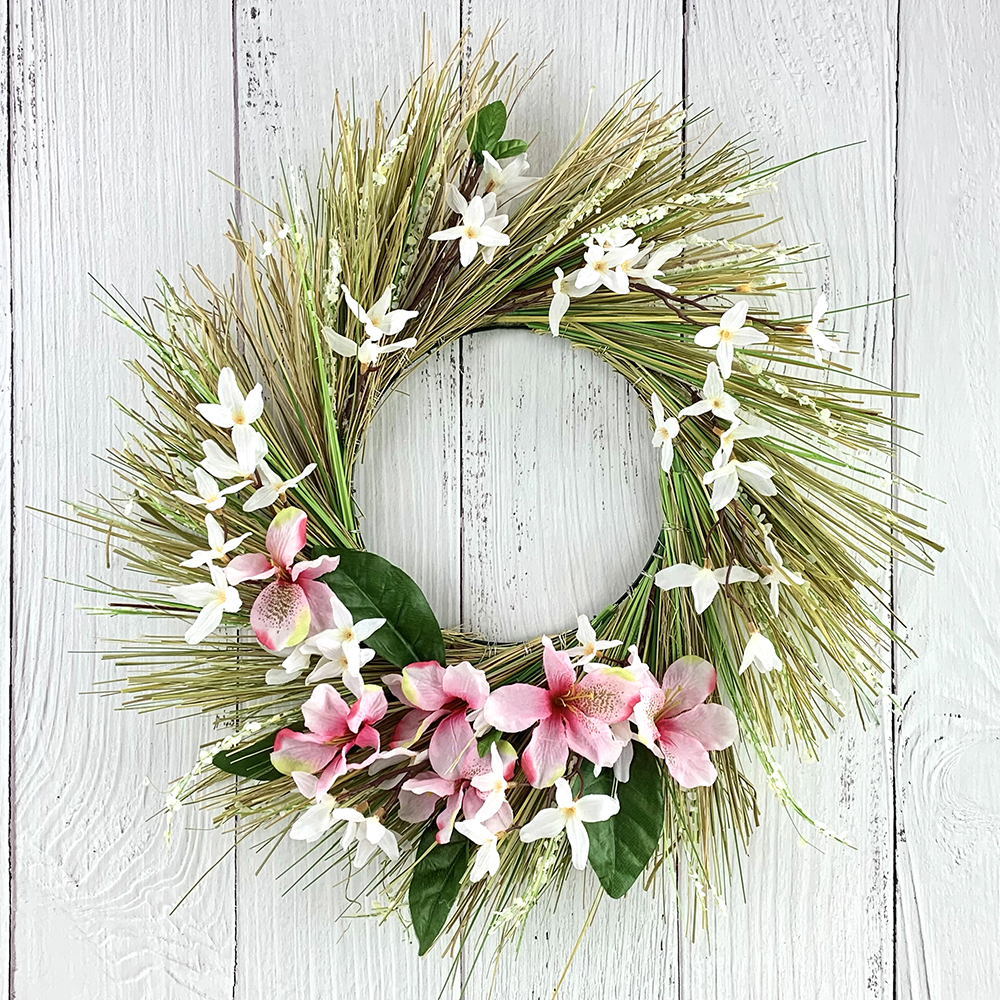
Spring Wreath
Try It Yourself
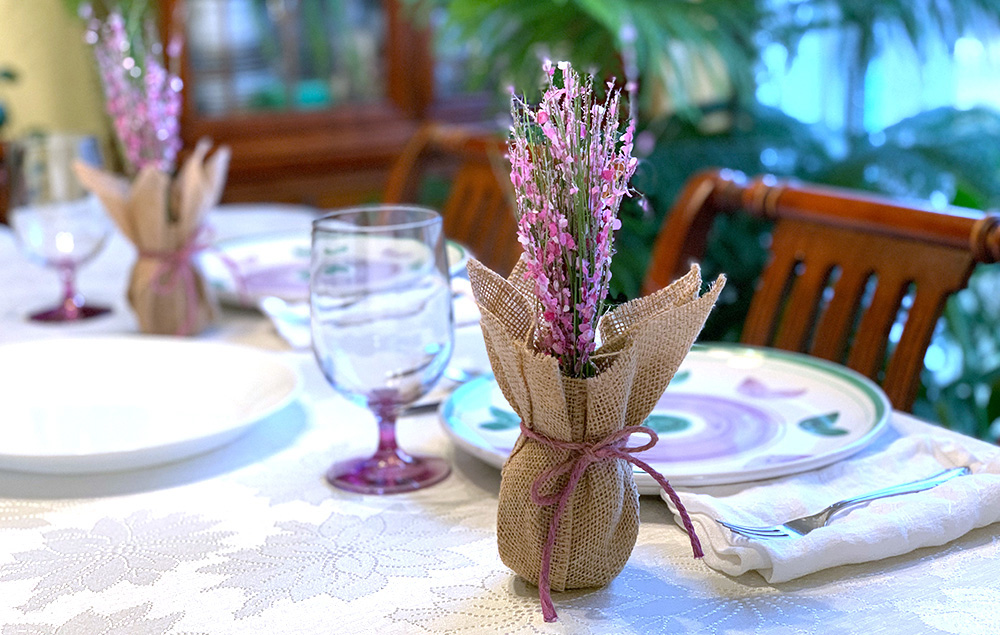
Spring Floral Arrangement
Try It Yourself
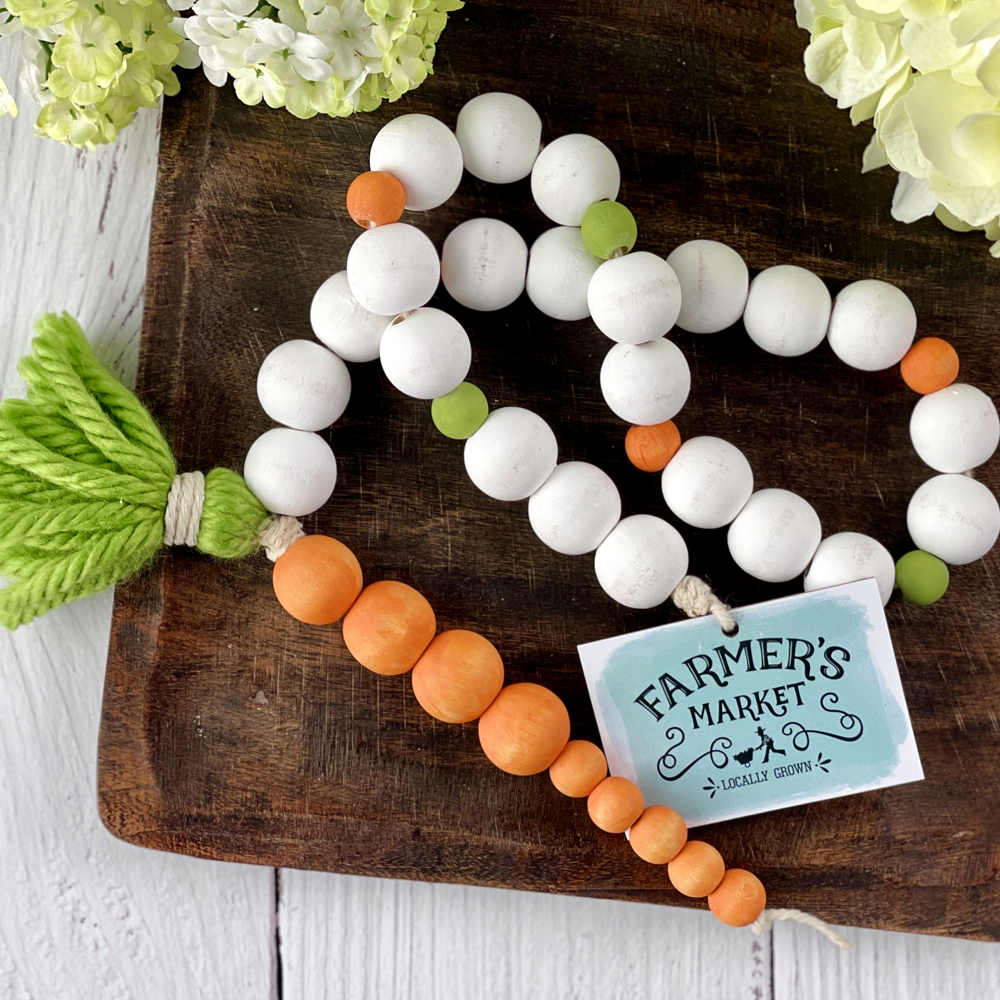
Spring Carrot Bead Garland
Try It Yourself
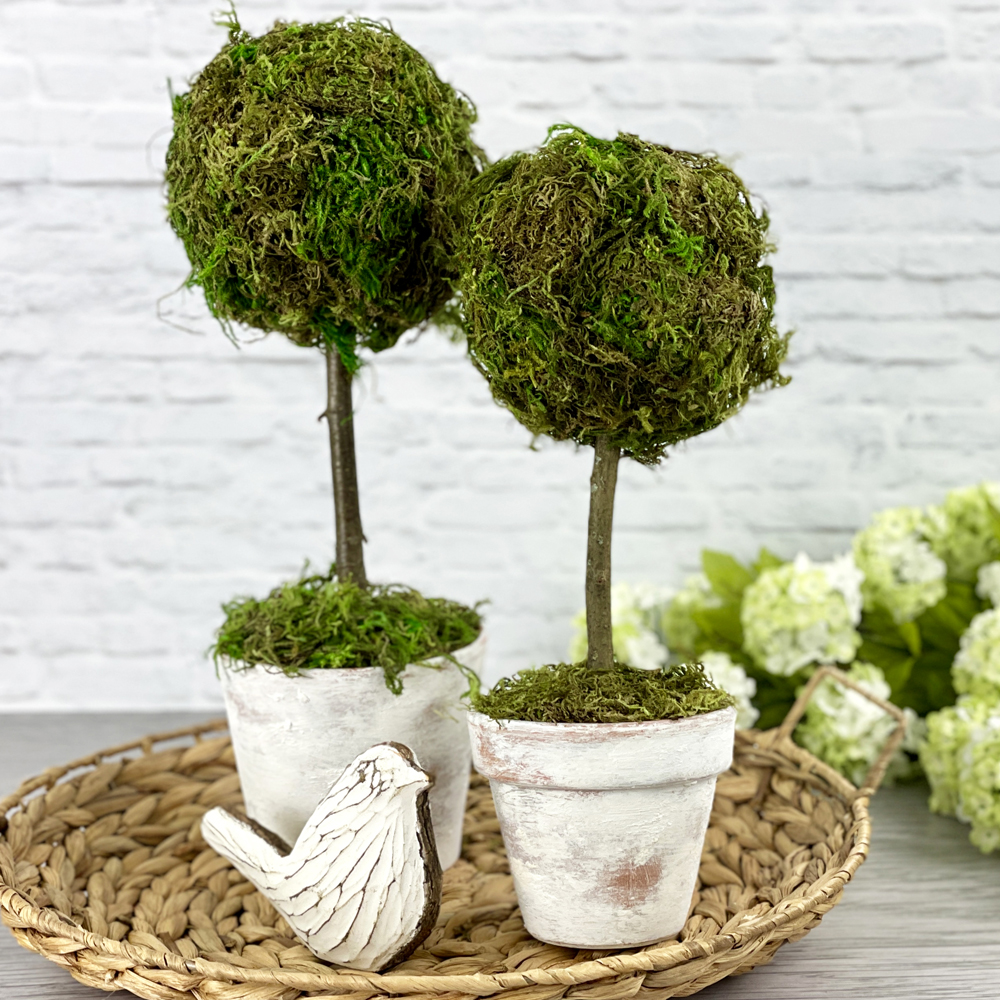
Spring Topiary
Try It Yourself
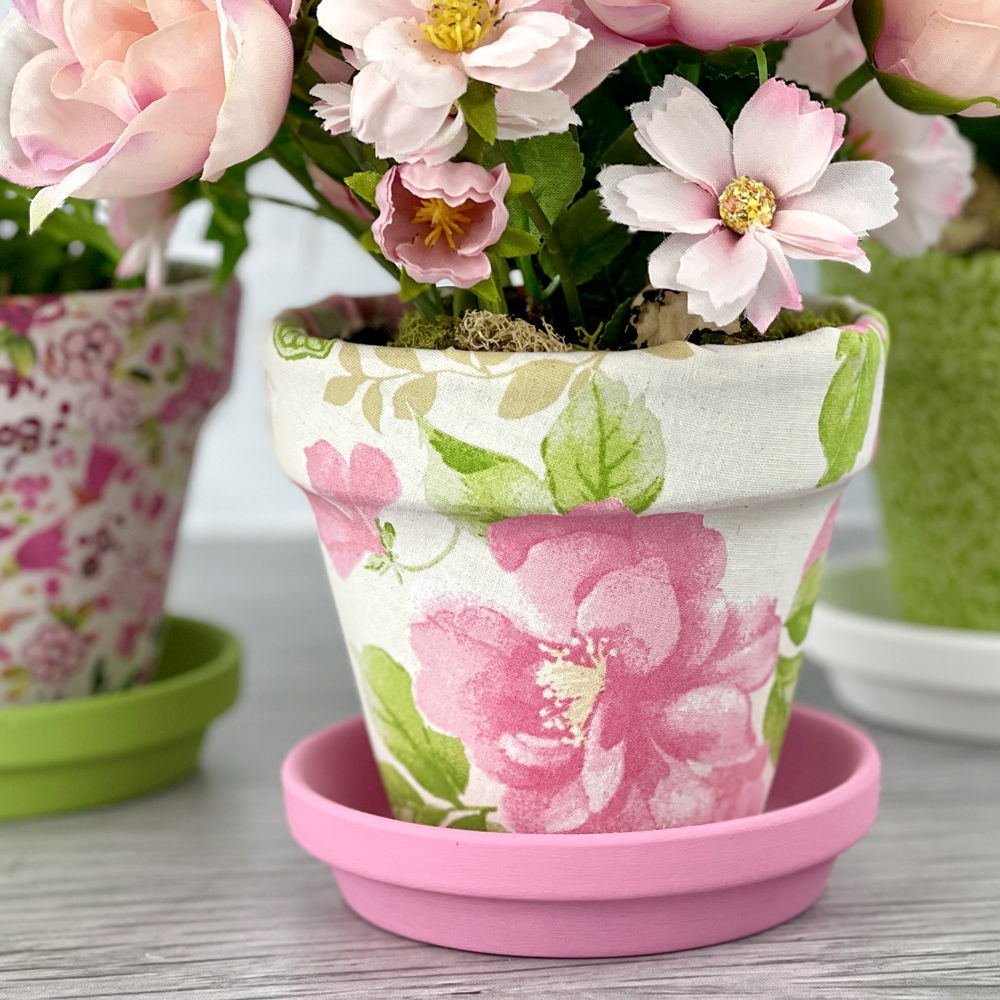
Fabric Covered Pot
Try It Yourself
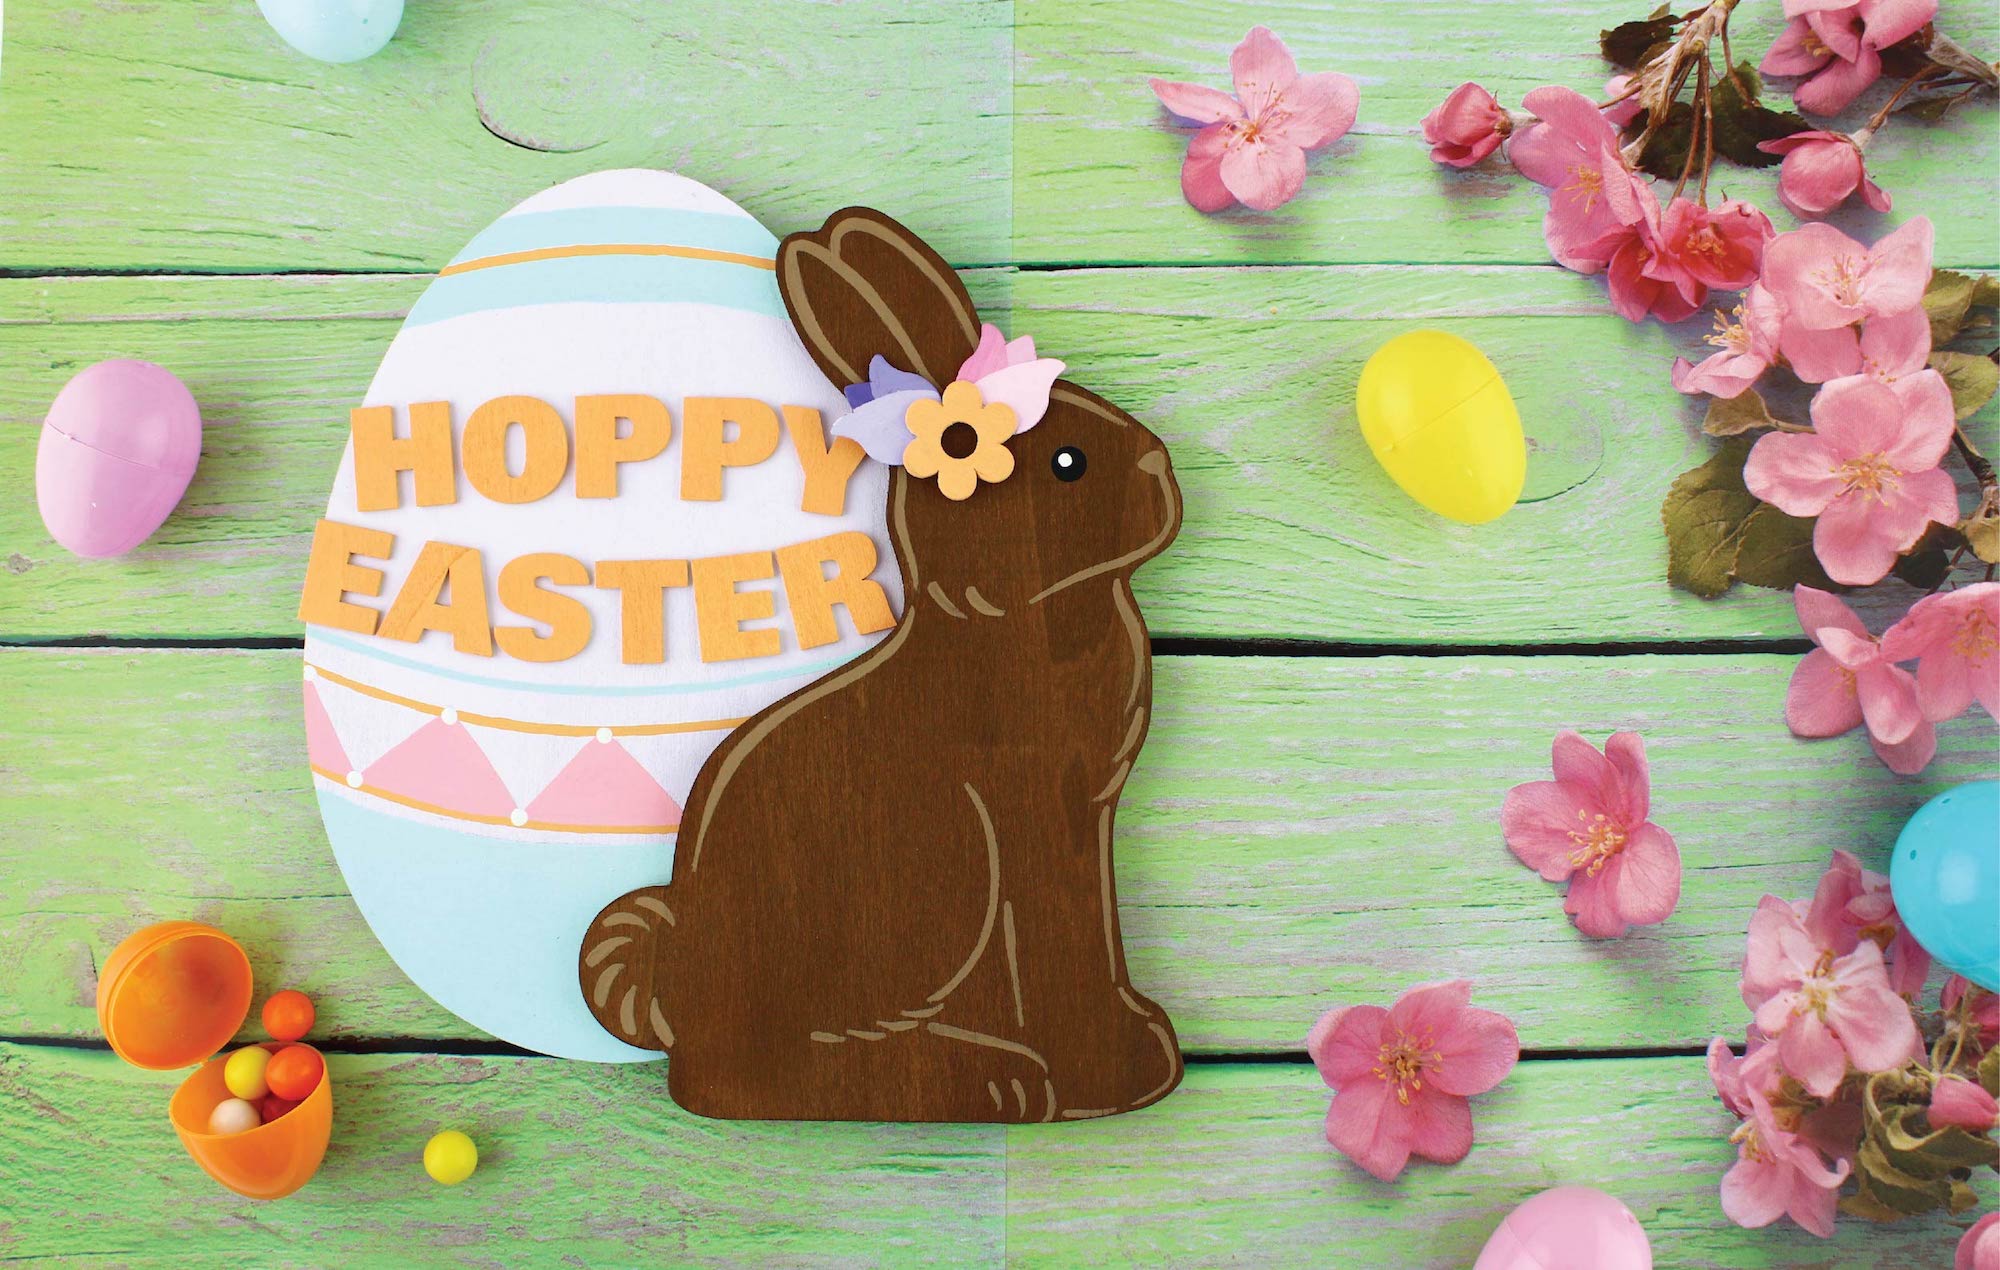
Wooden Easter Decor
Try It Yourself
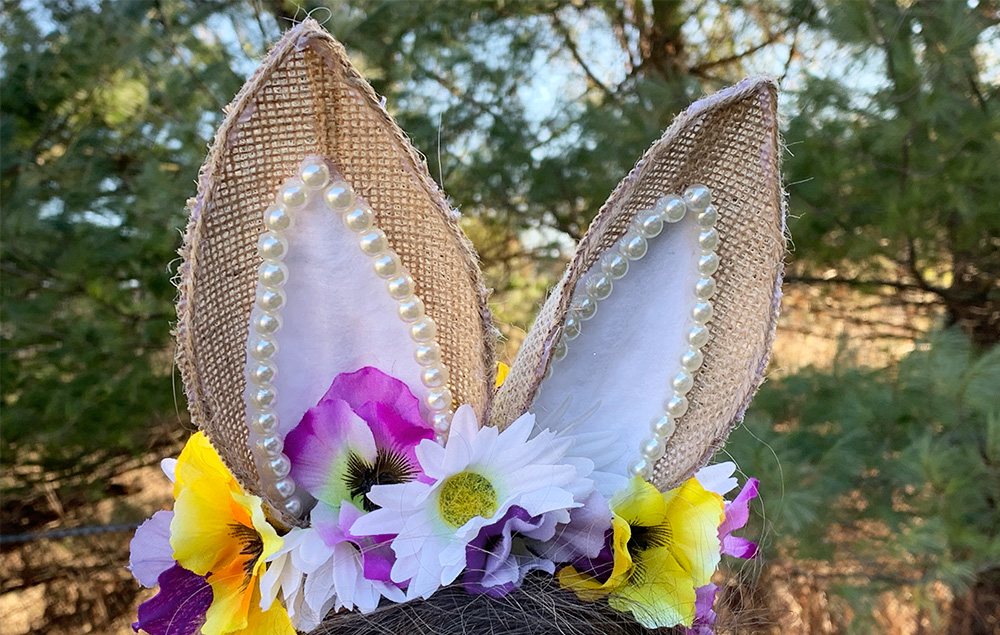
Bunny Headband
Try It Yourself
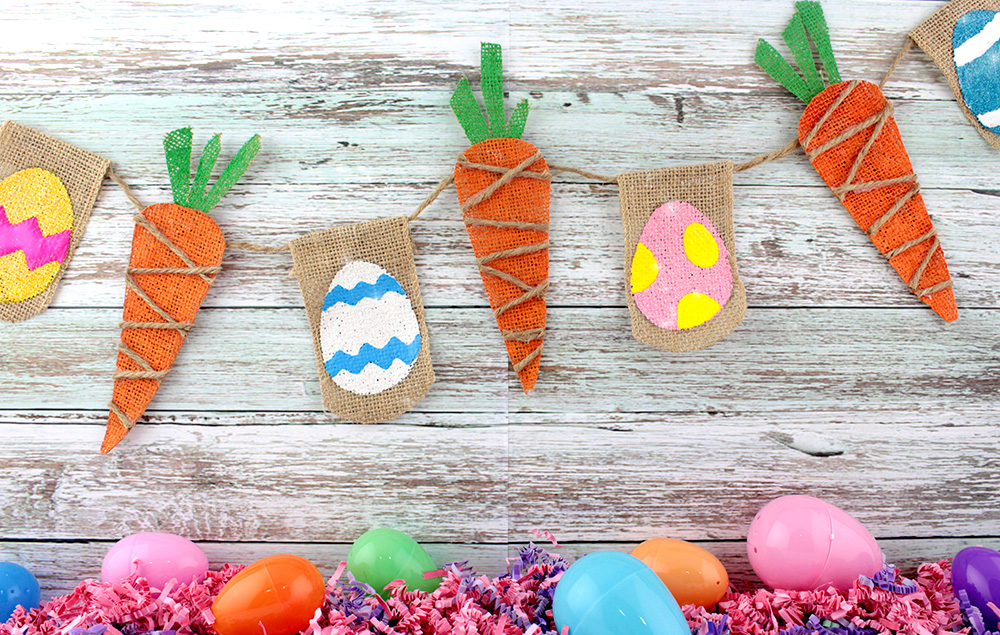
Easter Banner
Try It Yourself
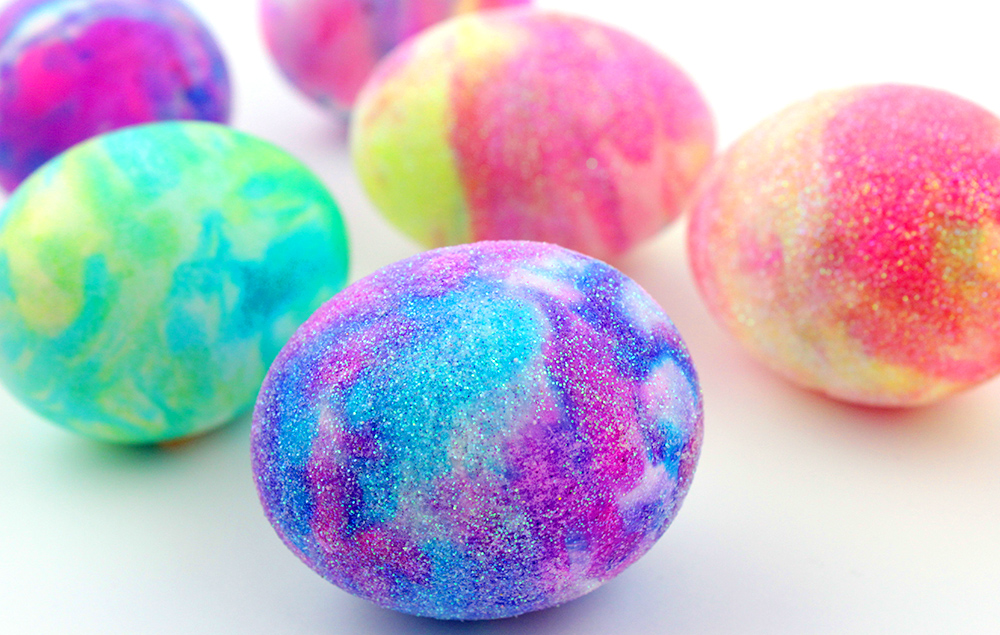
Tie Dye Eggs
Try It Yourself
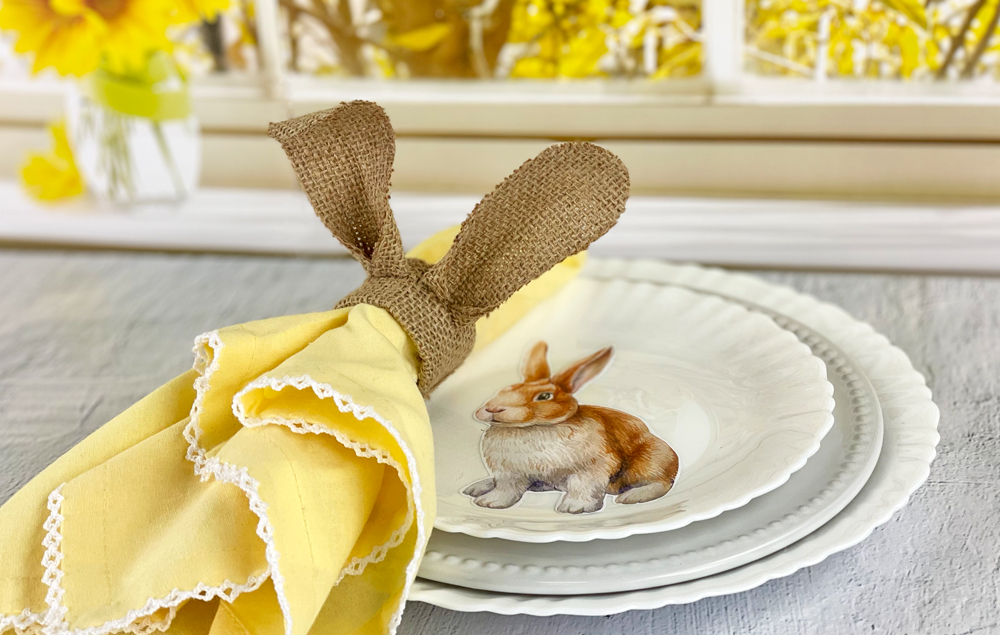
DIY Burlap Easter Bunny Napkin Ring
Try It Yourself
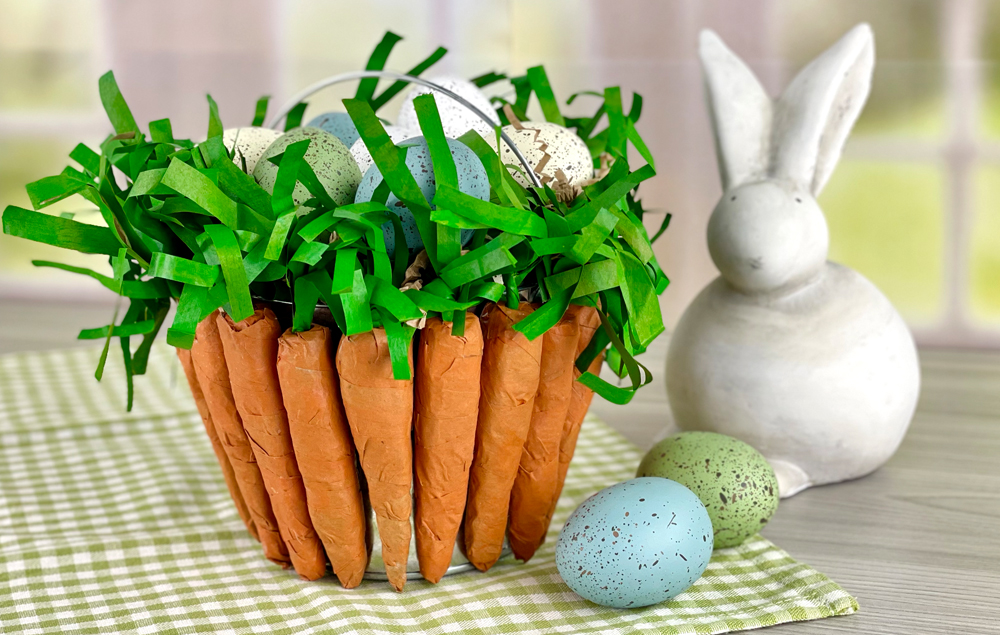
DIY Easter Carrot Craft
Try It Yourself
Summer Crafts
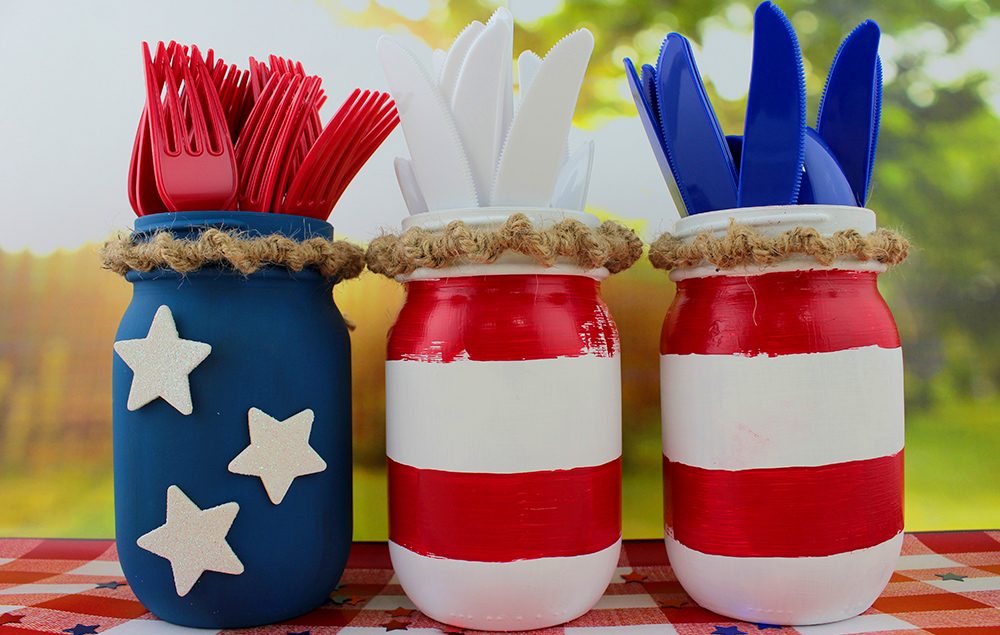
July 4th Jars
Try It Yourself
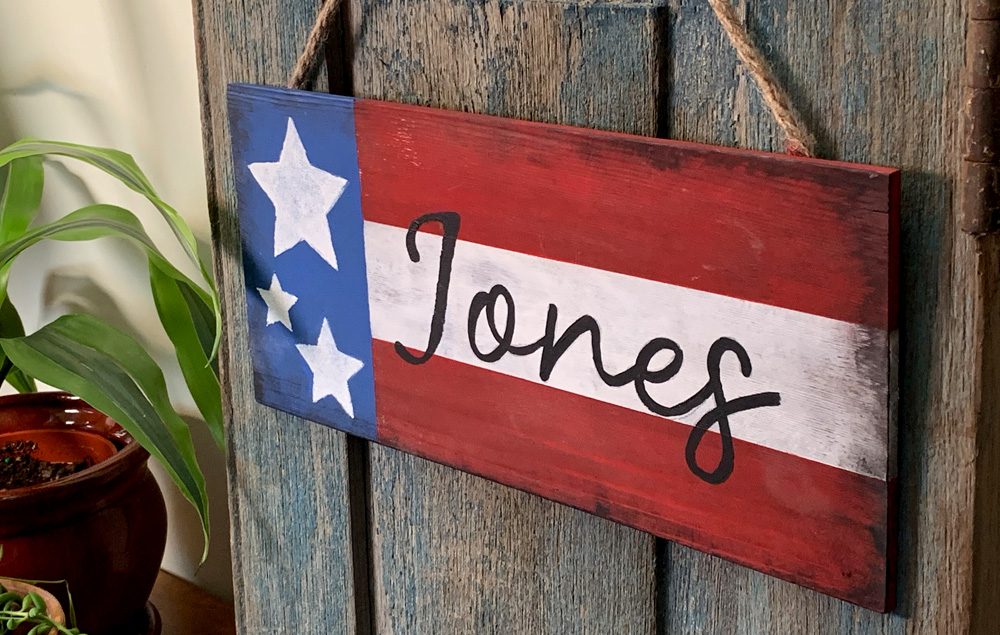
Patriotic Plaque
Try It Yourself
Summer Wood Bead Garland
Try It Yourself
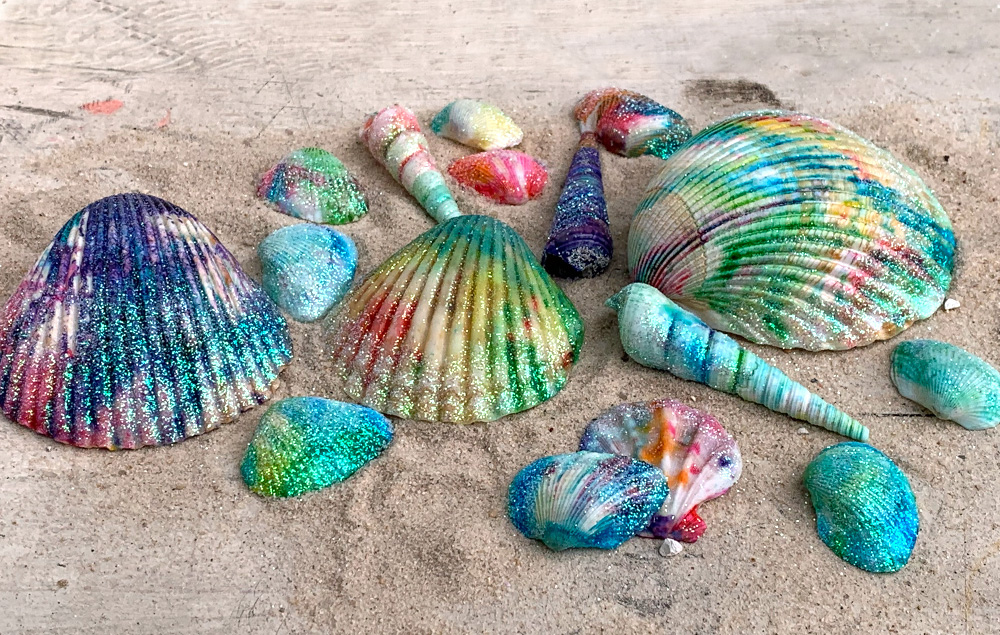
Tie Dye Seashells
Try It Yourself
Halloween Crafts & DIYs
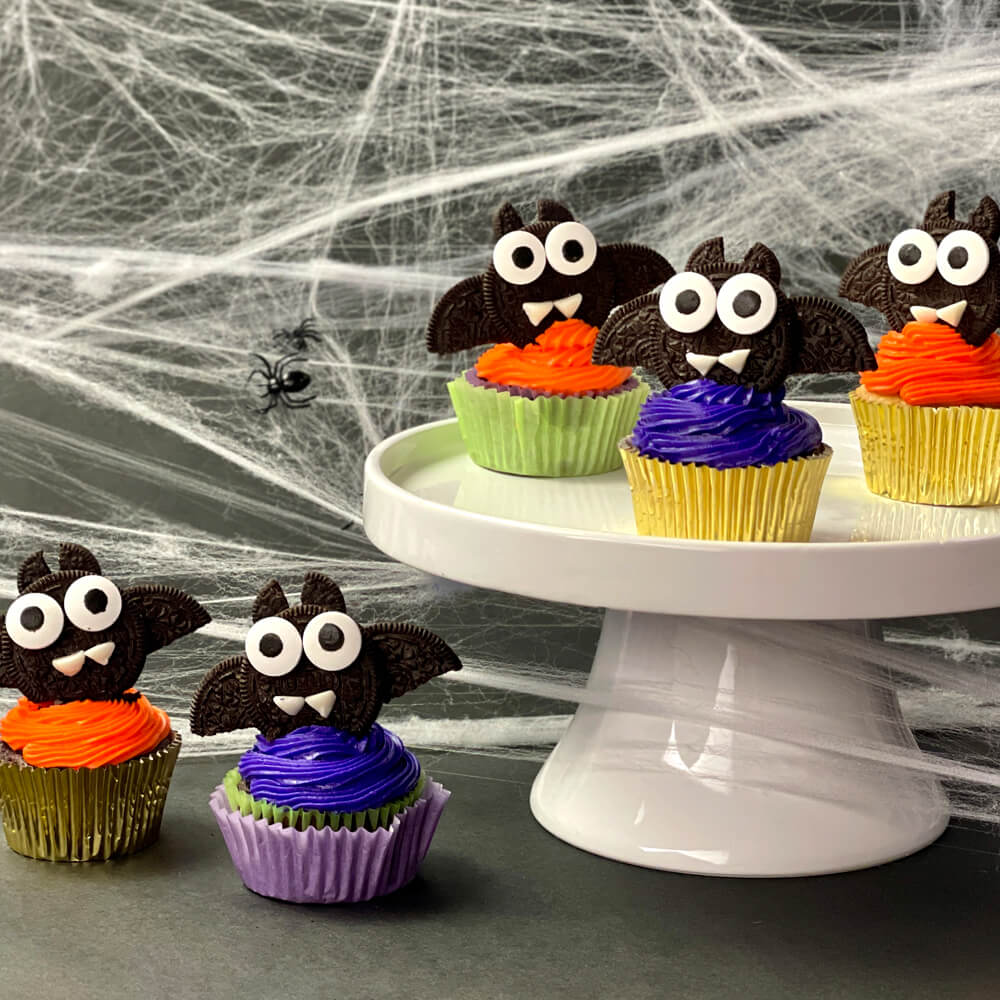
Bat Cupcakes
Try It Yourself
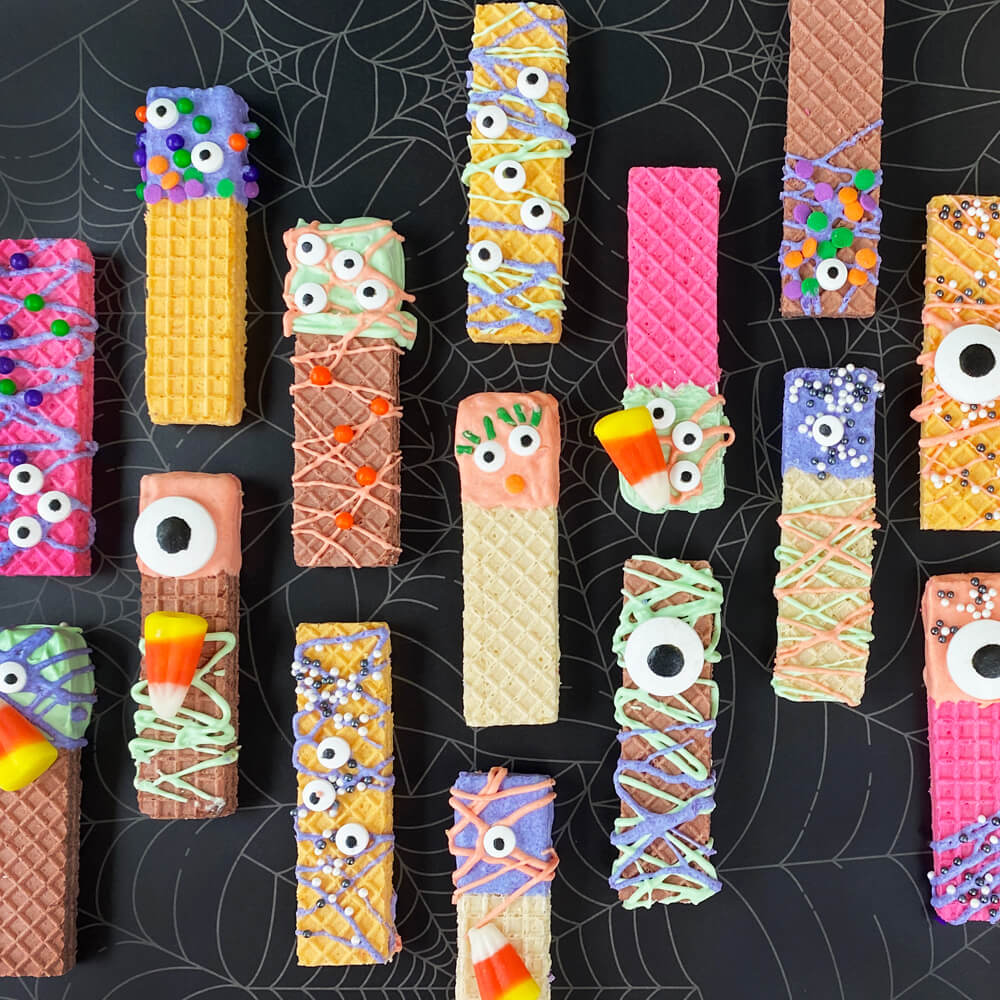
Monster Cookies
Try It Yourself
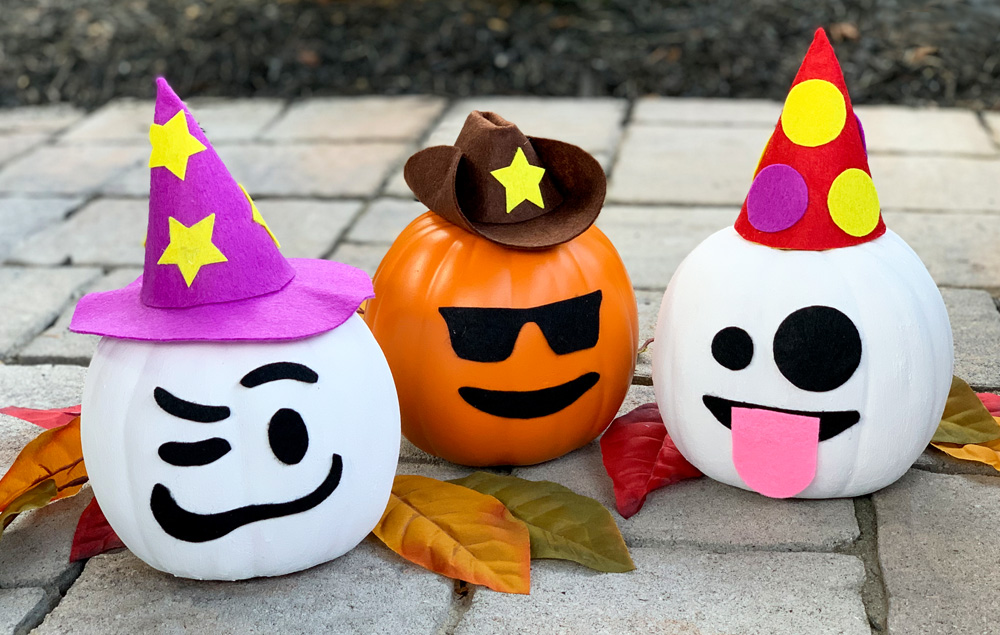
No Carve Pumpkin
Try It Yourself
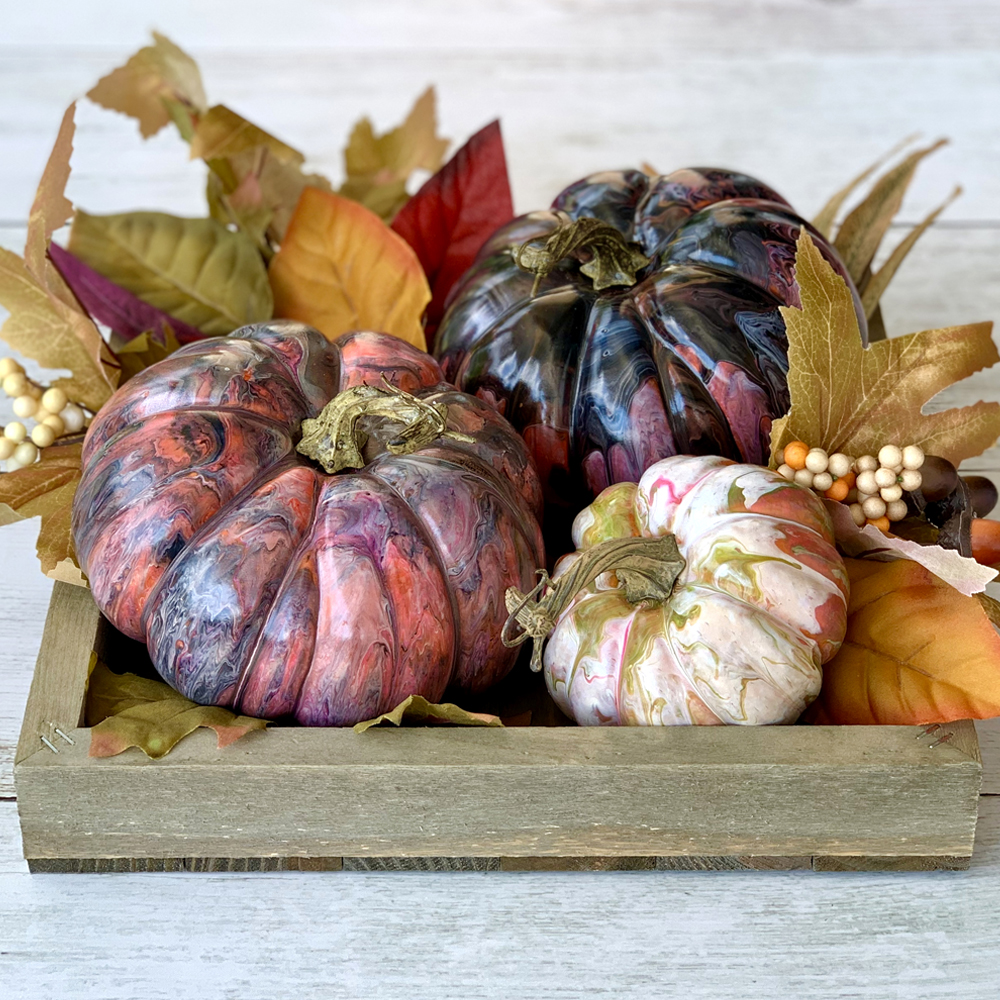
Halloween Pumpkins
Try It Yourself
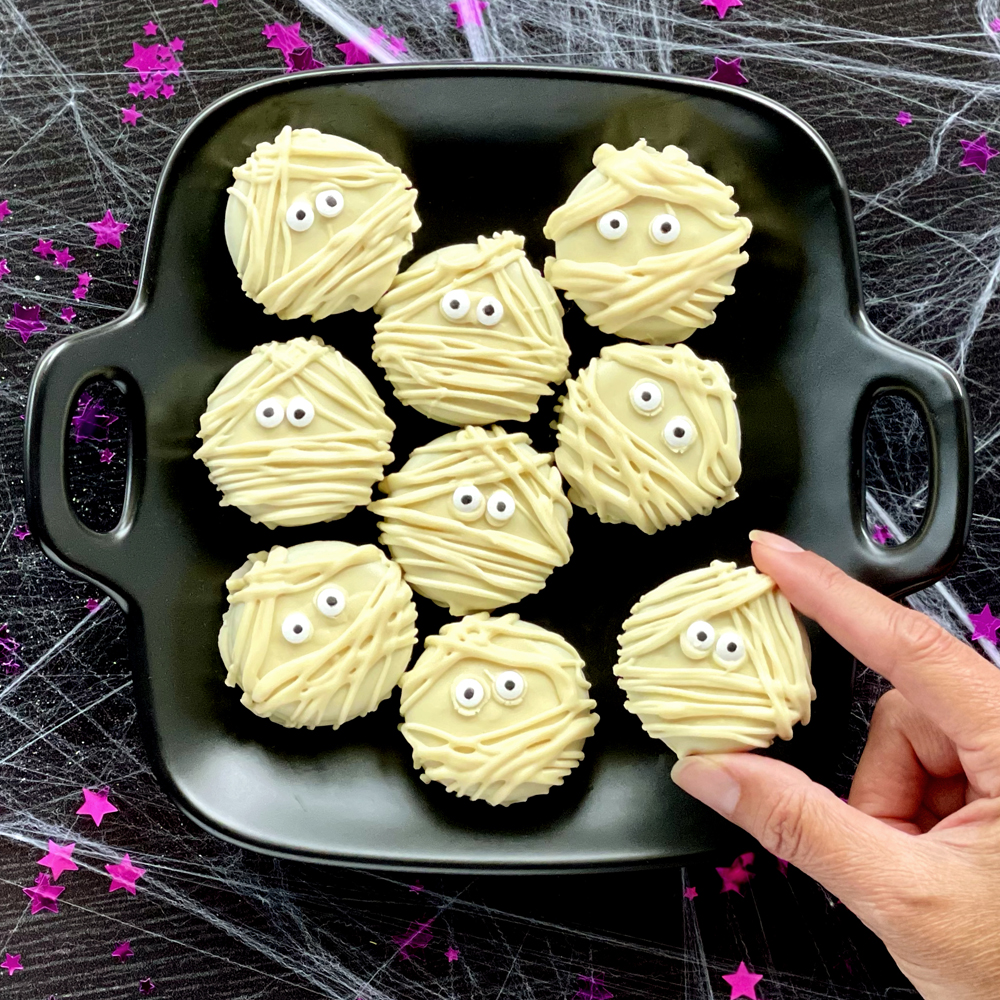
Mummy Cookies
Try It Yourself
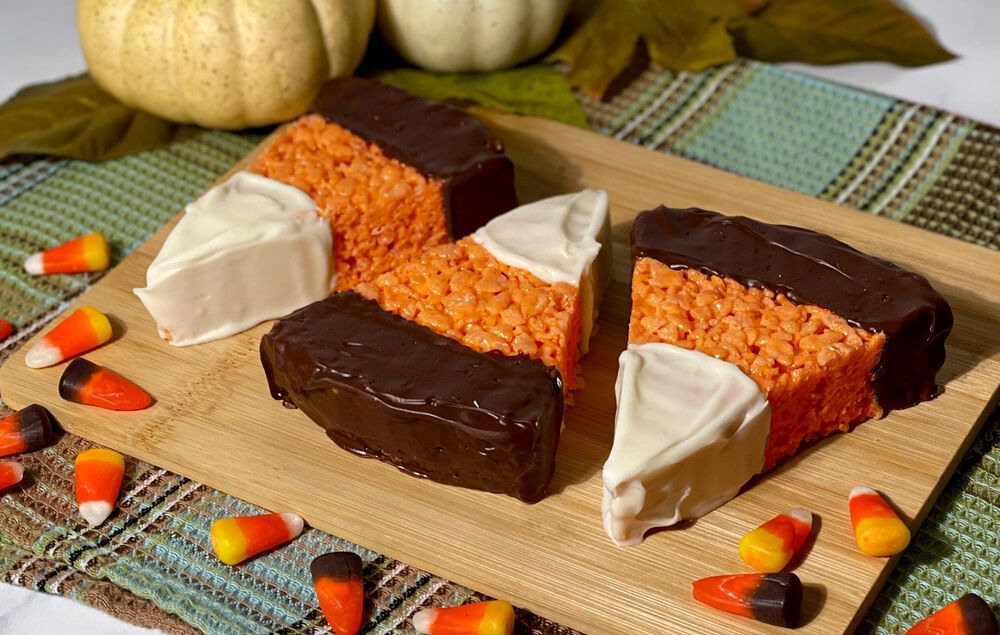
Crispy Rice Candy Corn
Try It Yourself
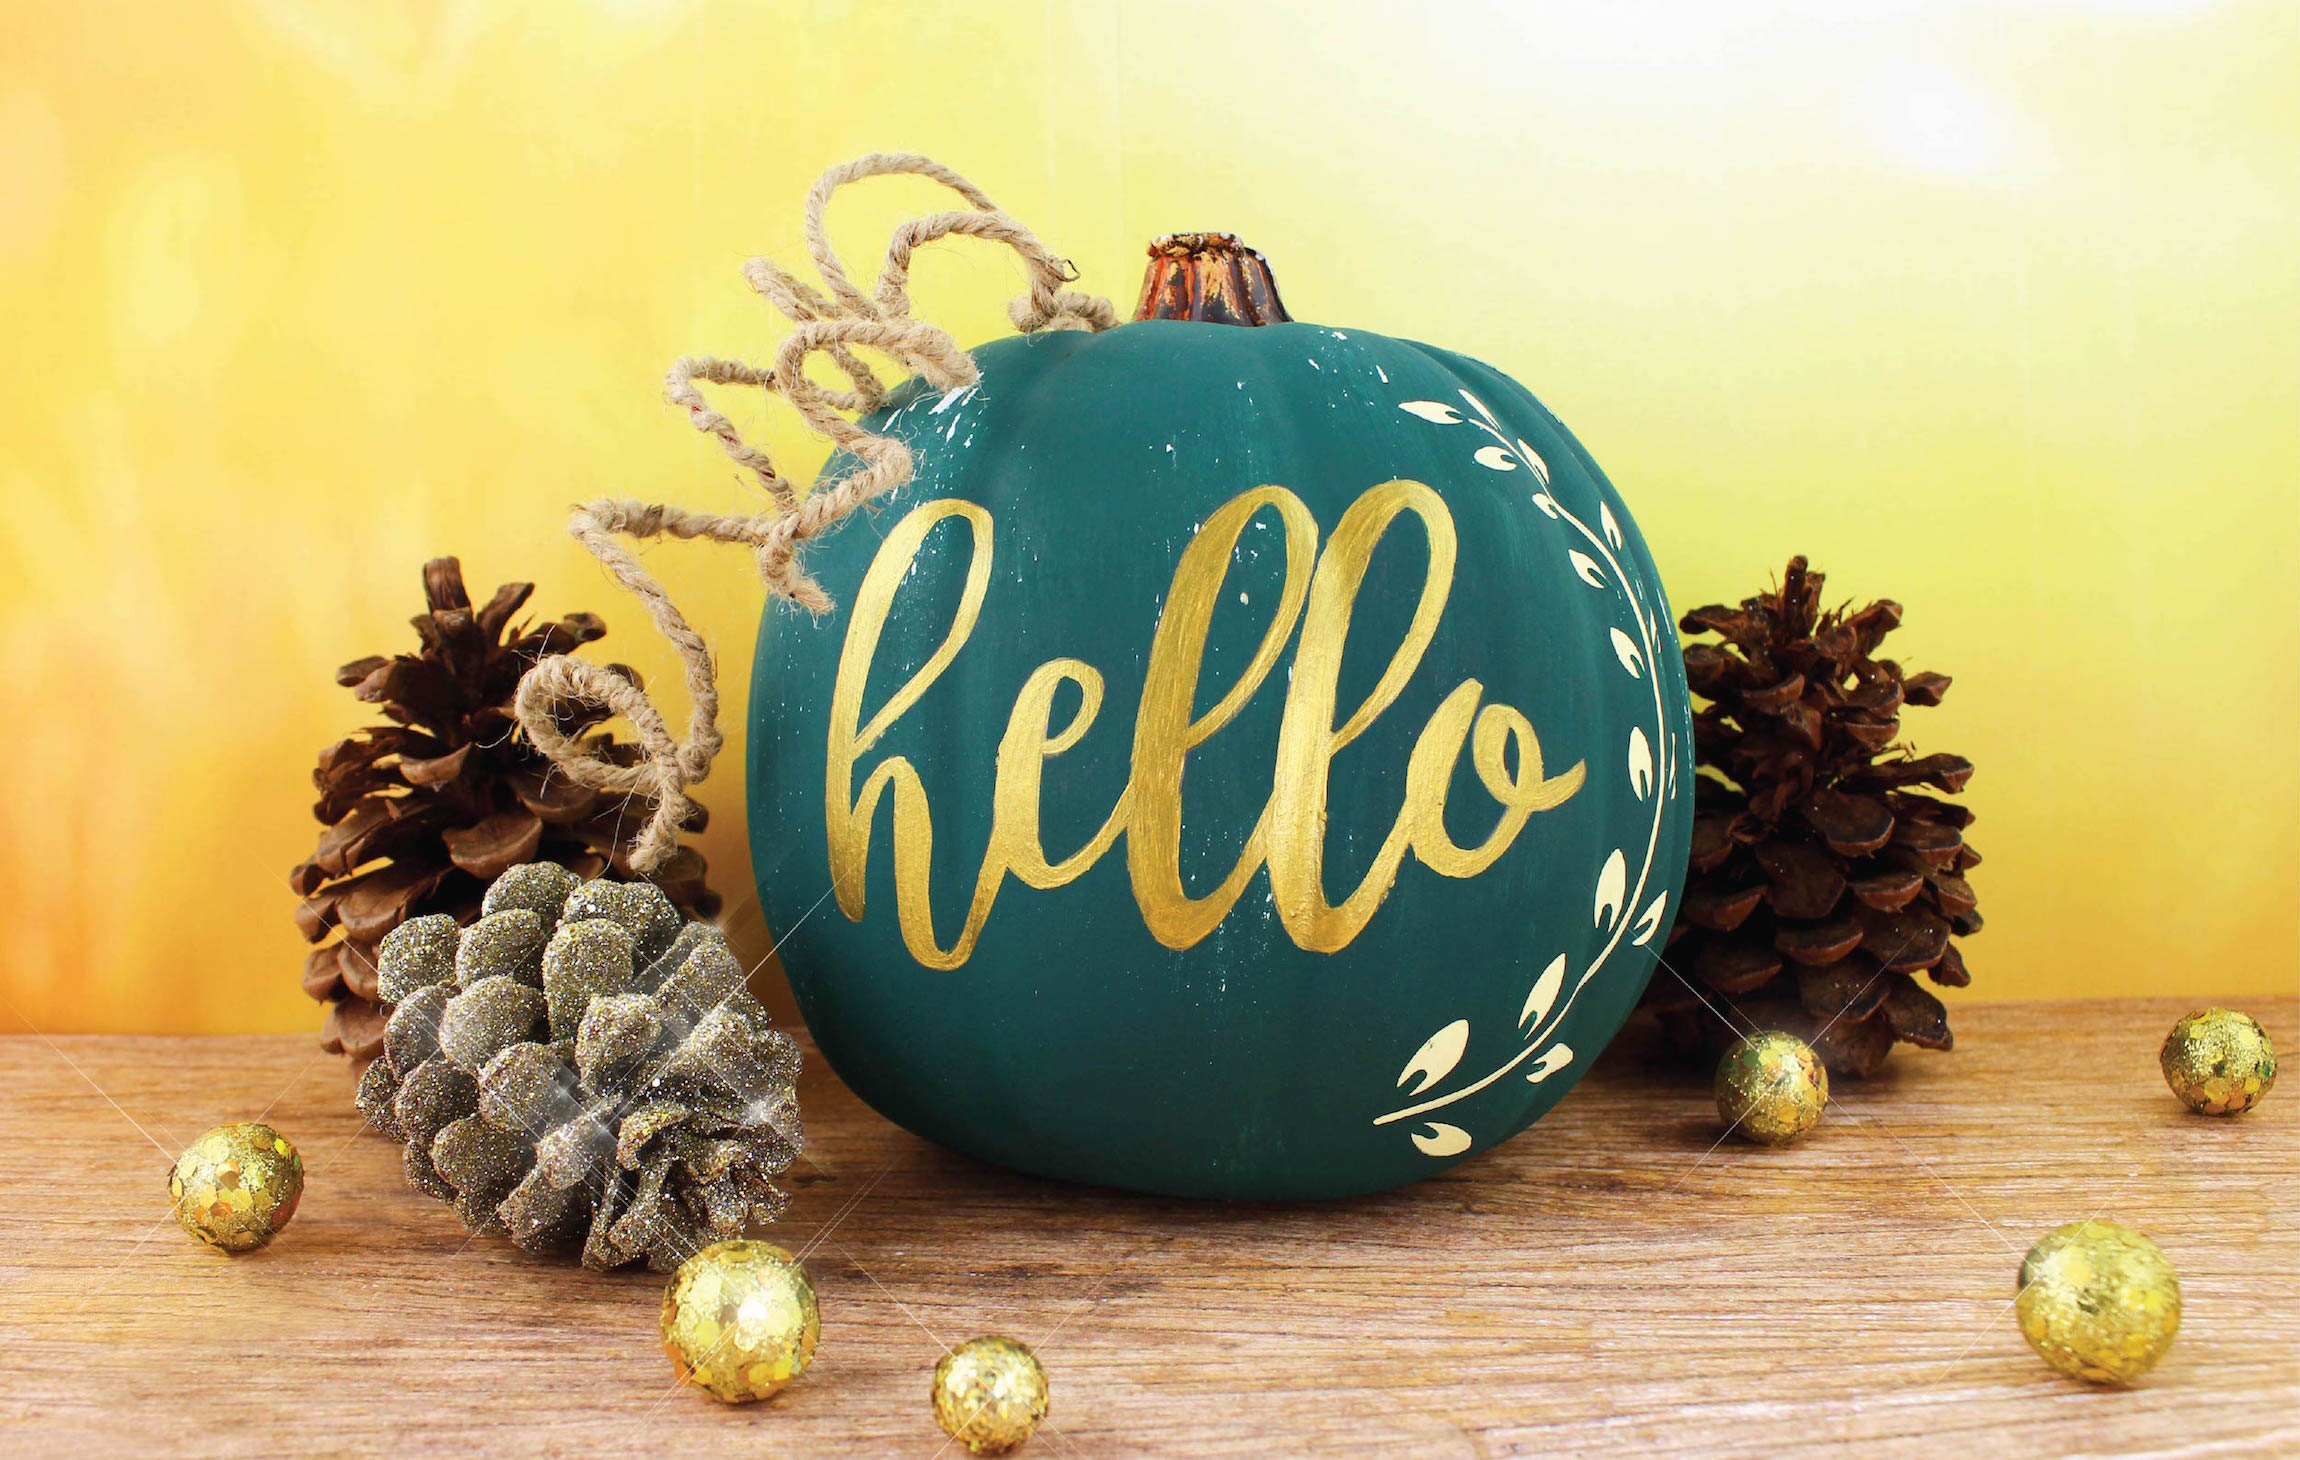
Hello Autumn Pumpkin
Try It Yourself
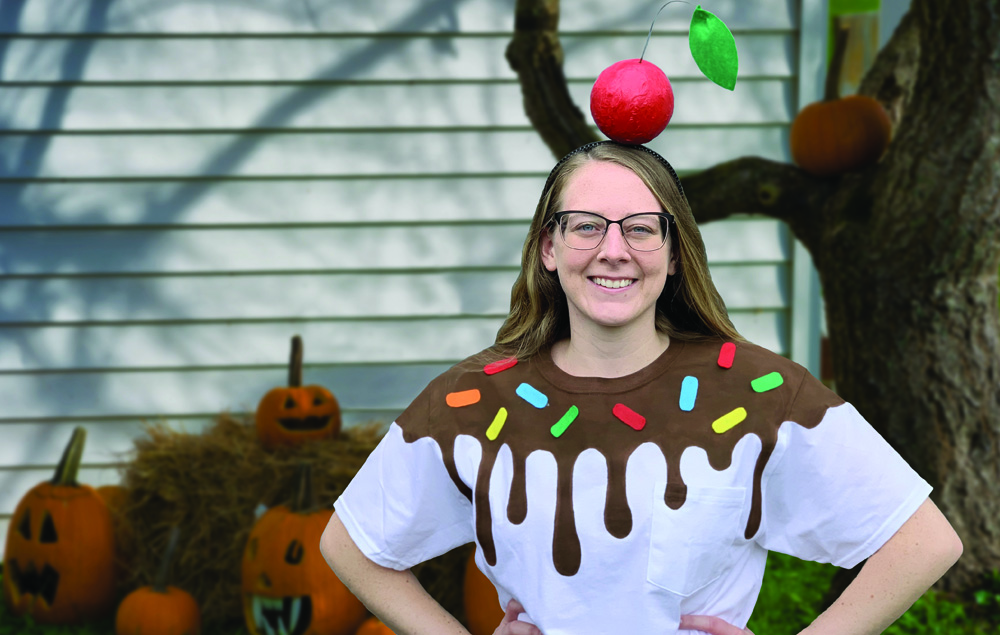
DIY Ice Cream Costume
Try It Yourself
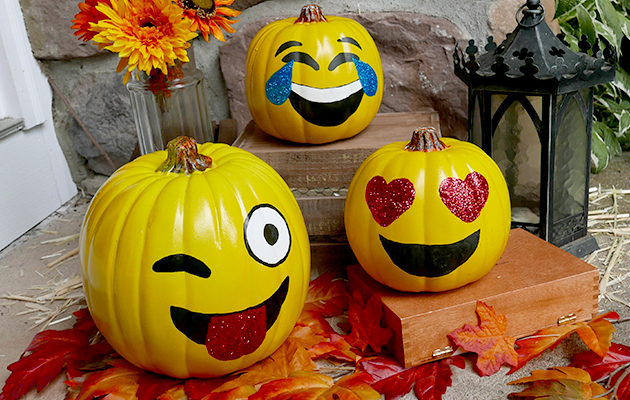
Emoji Pumpkin Squad
Try It Yourself
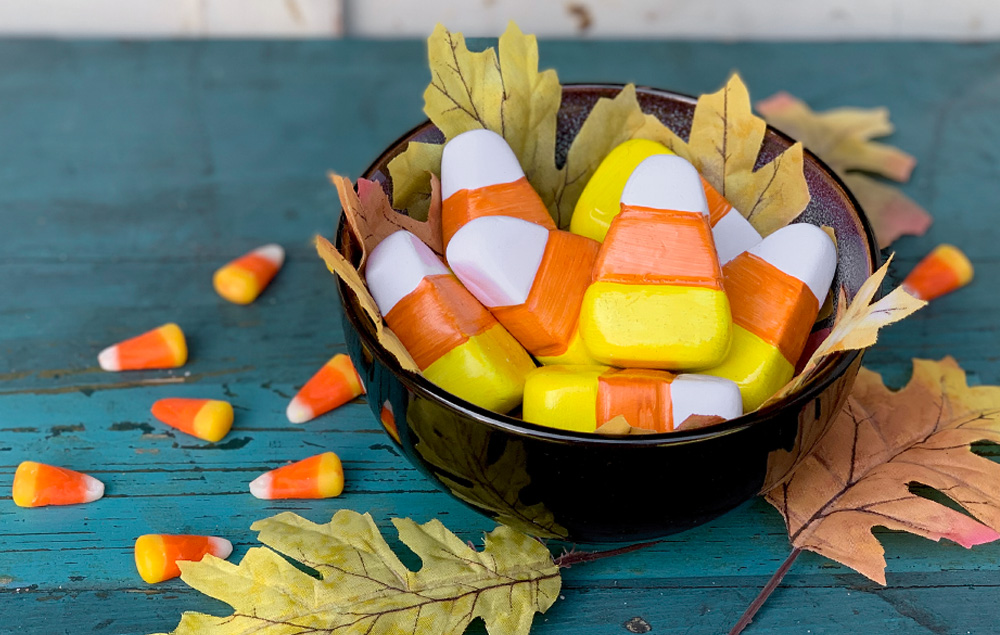
Clay Candy Corn Decor
Try It Yourself
Fall & Harvest Crafts
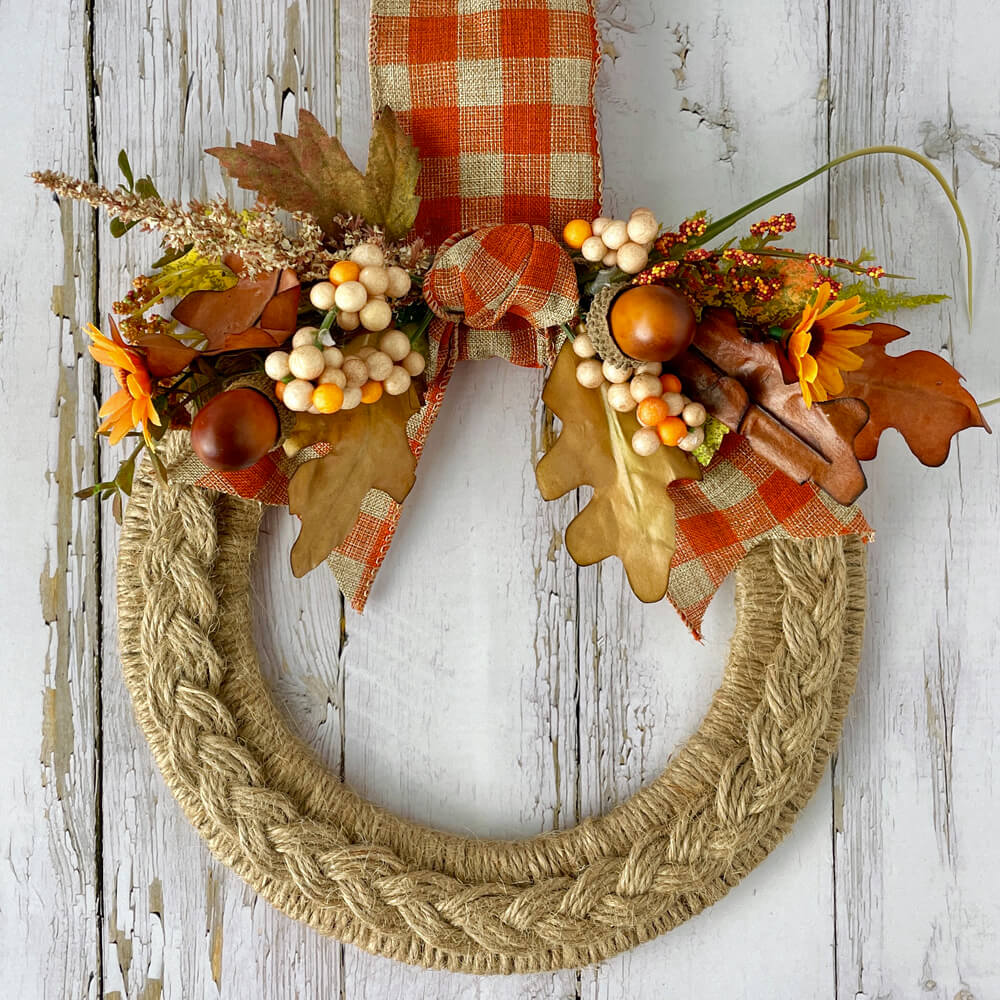
Jute Wreath
Try It Yourself
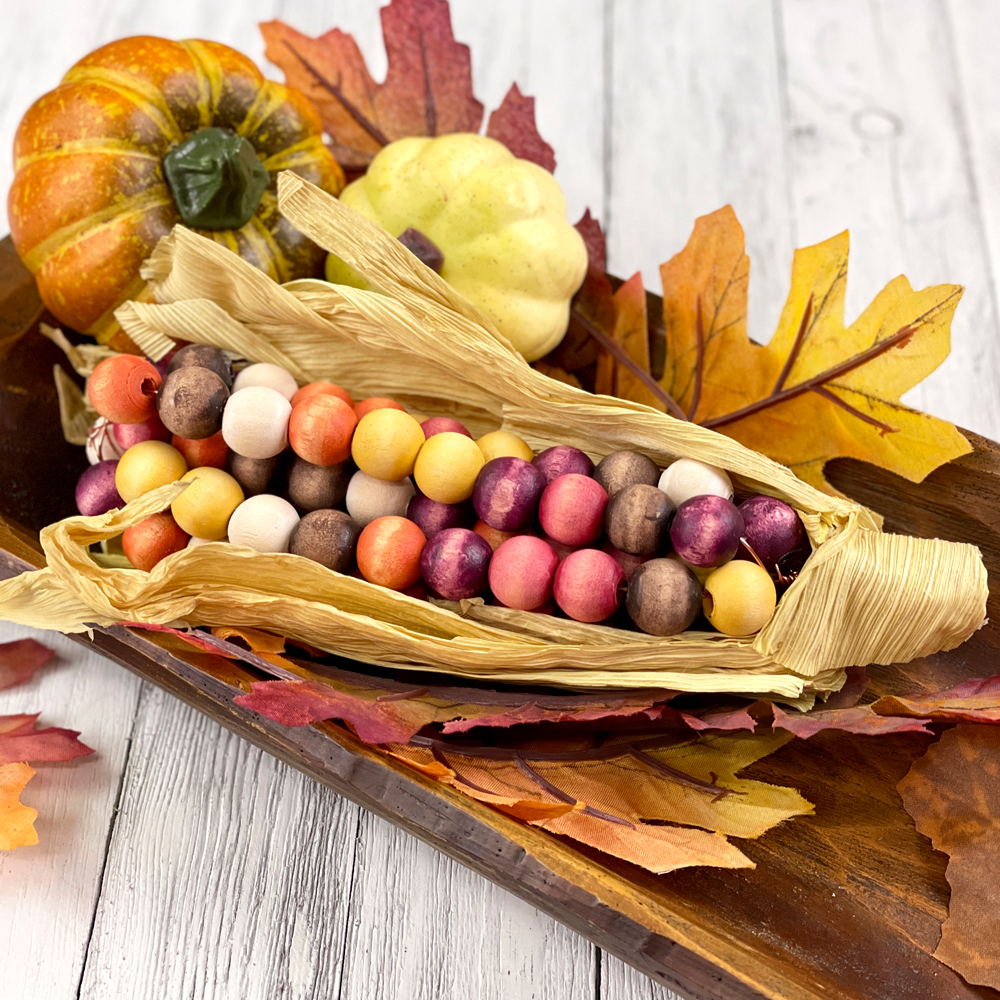
Wood Bead Corn
Try It Yourself
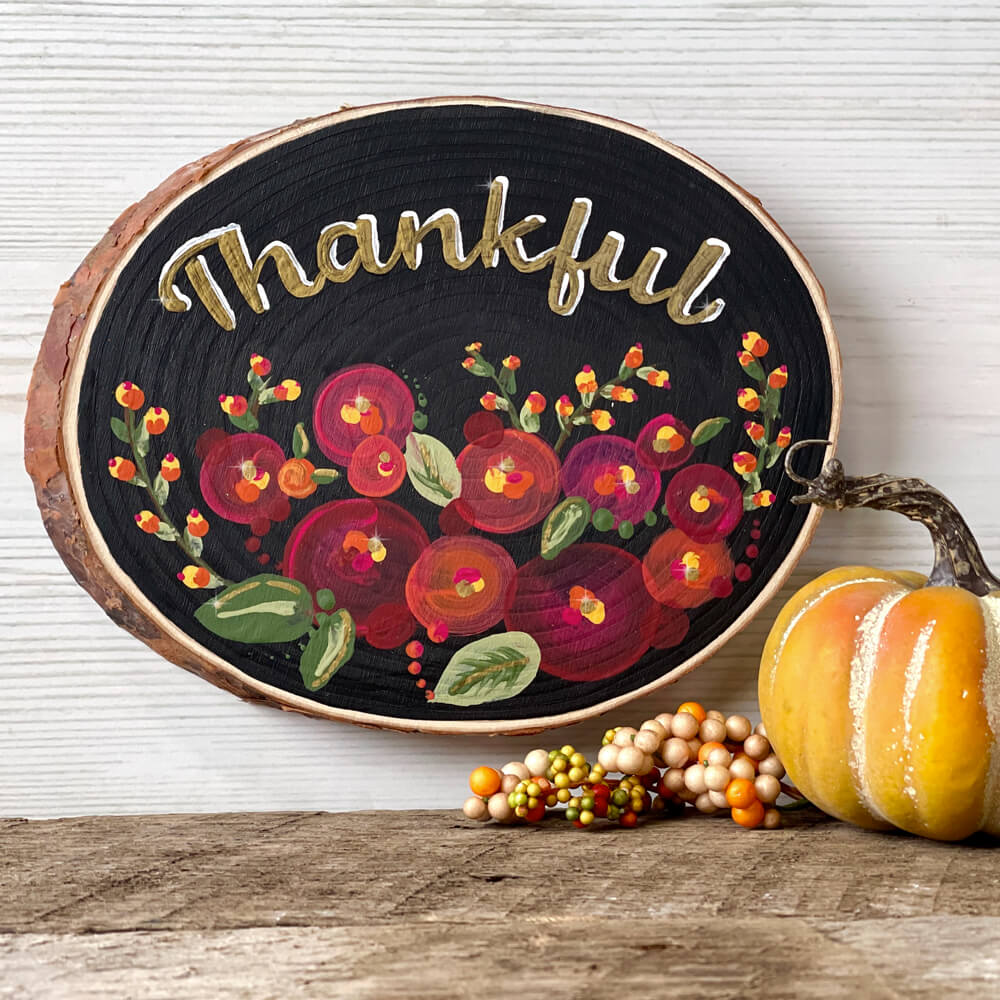
Wood Slice Sign
Try It Yourself
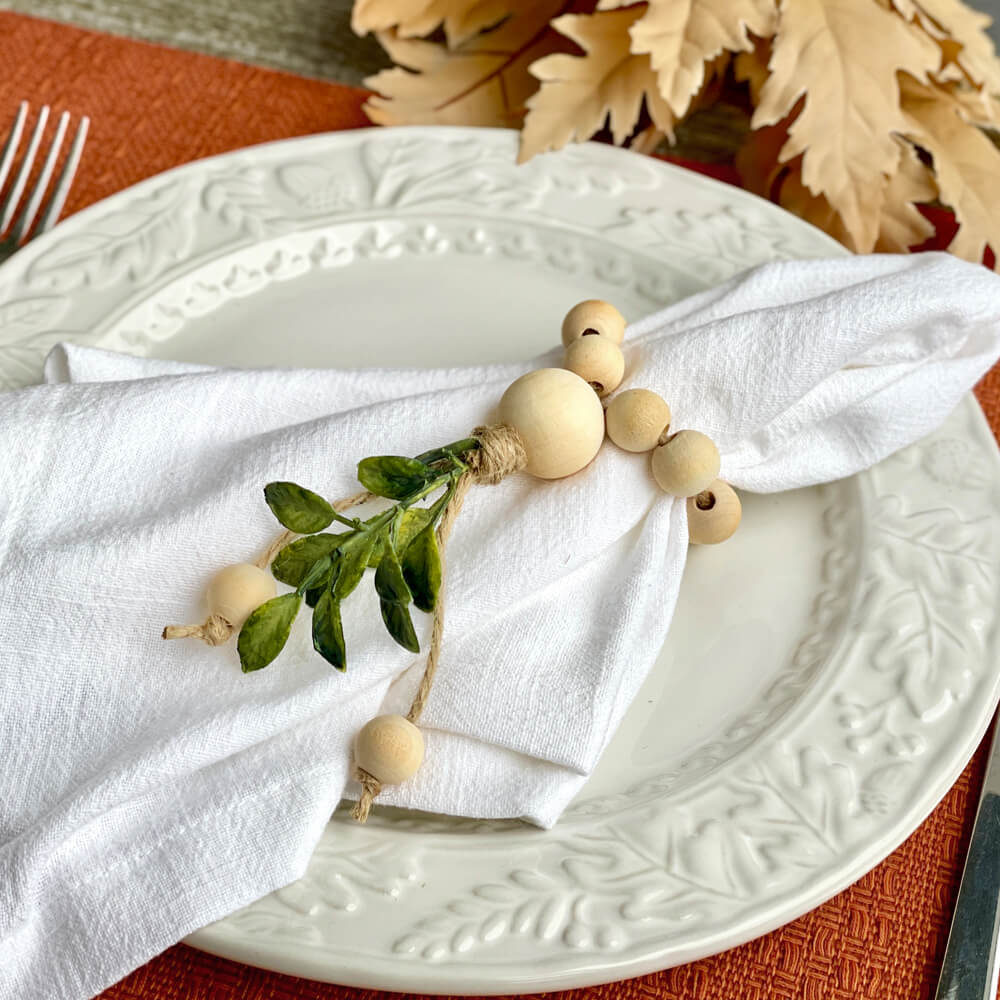
Wood Bead Napkin Ring
Try It Yourself
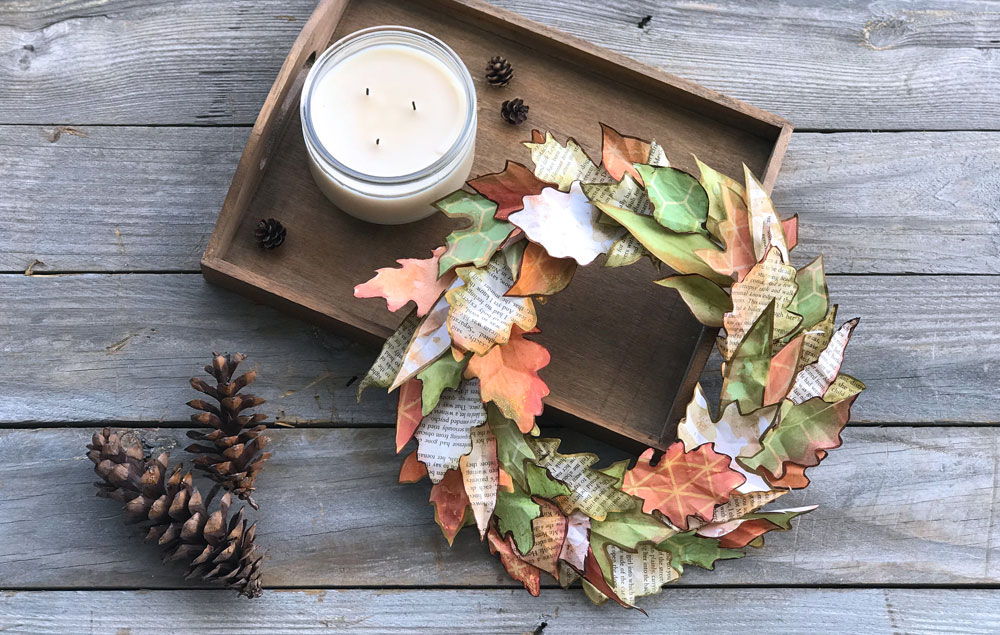
Fall Wreath
Try It Yourself
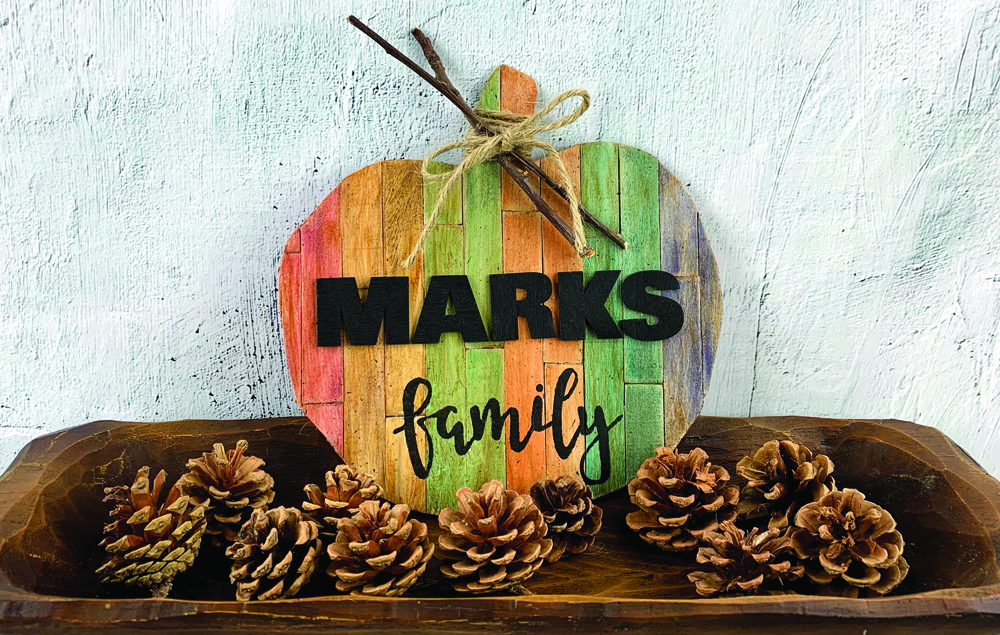
Fall Pumpkin Sign
Try It Yourself
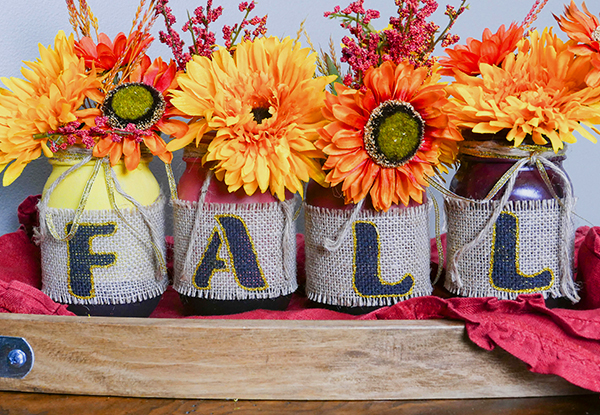
Fall Mason Jars
Try It Yourself
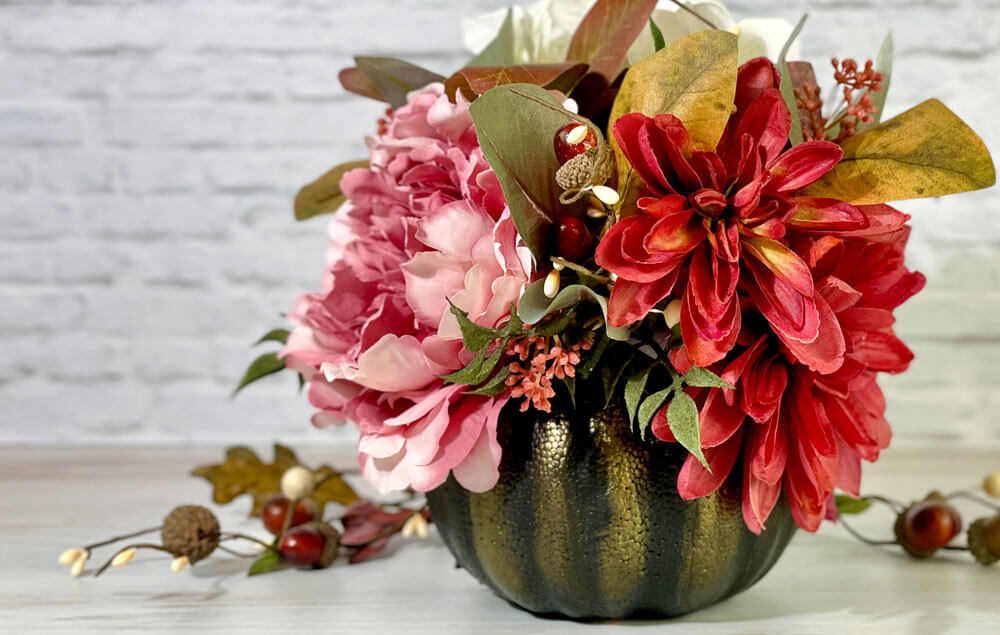
DIY Faux Pumpkin Arrangement
Try It Yourself
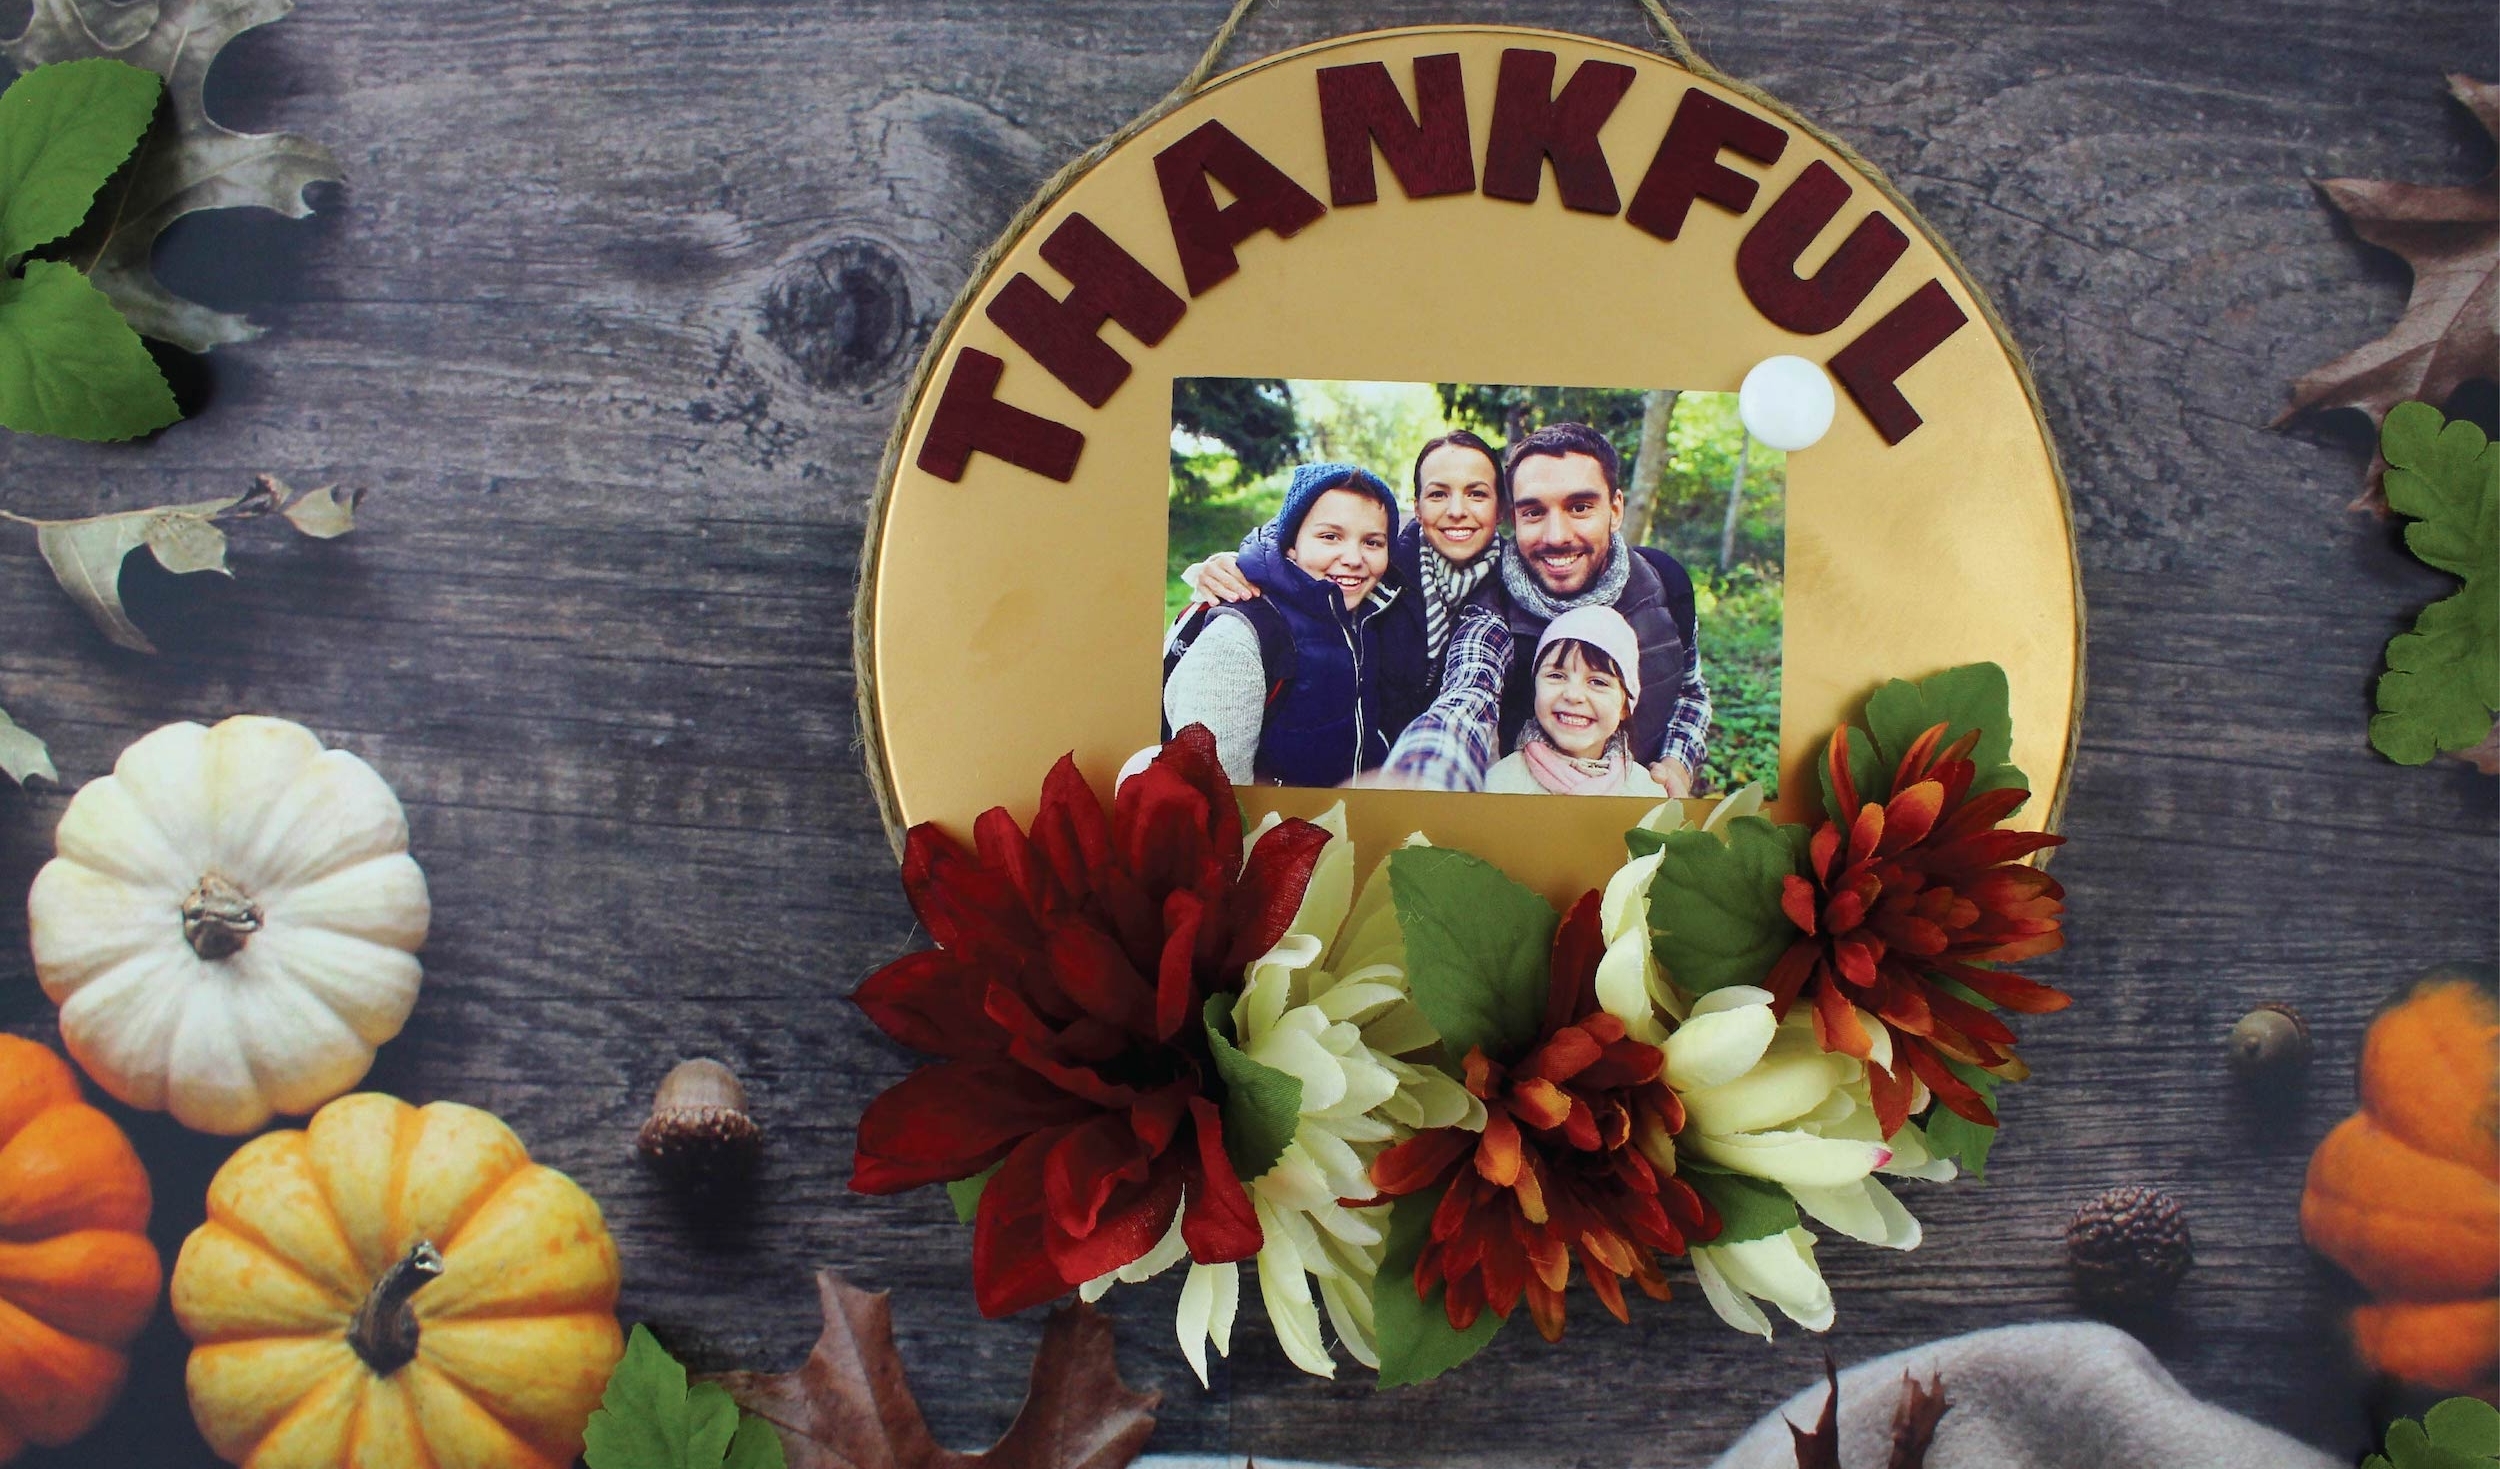
Thankful for Fall
Try It Yourself
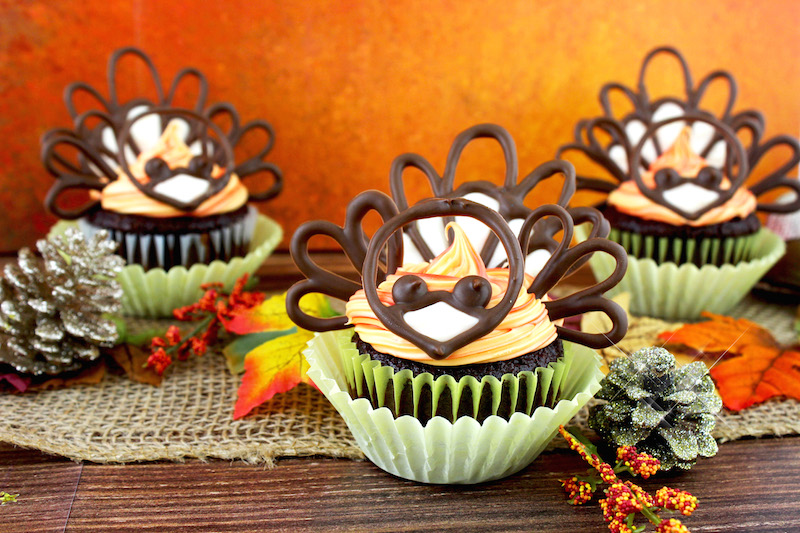
Turkey Cupcakes
Try It Yourself
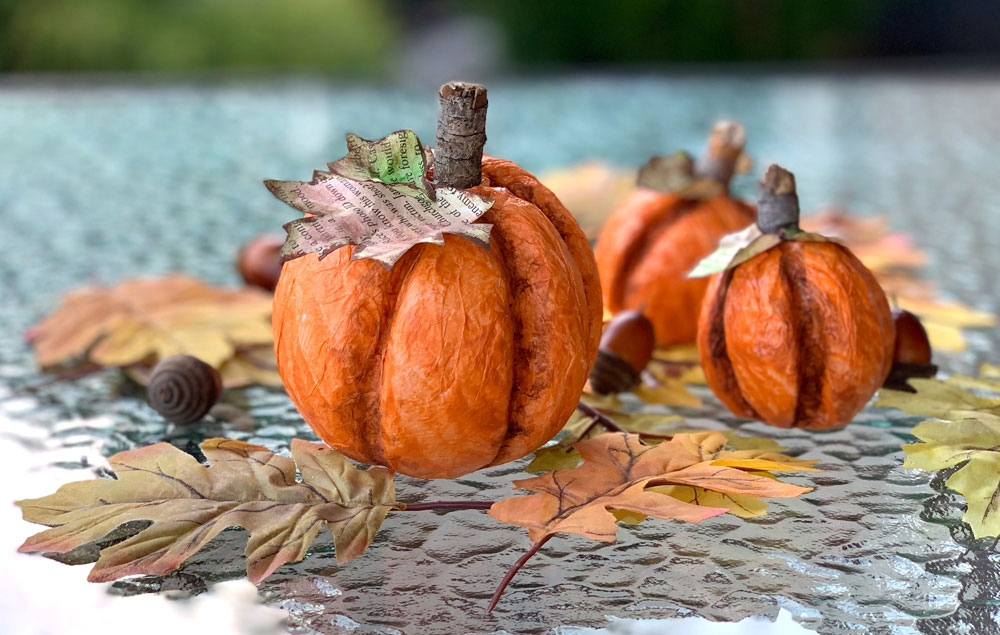
Foam Decorative Pumpkin
Try It Yourself
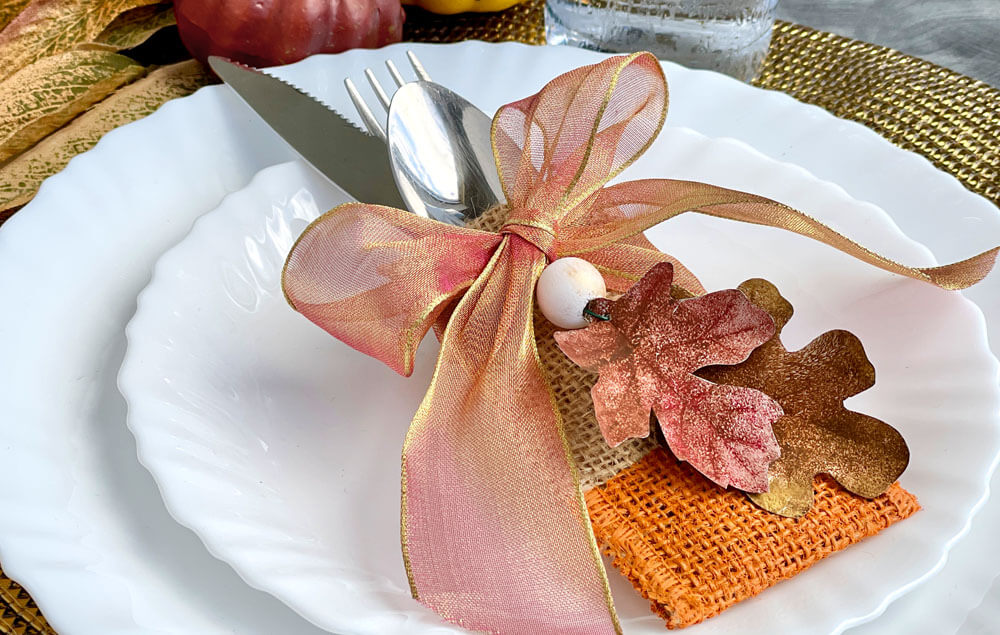
Thanksgiving Place Setting
Try It Yourself
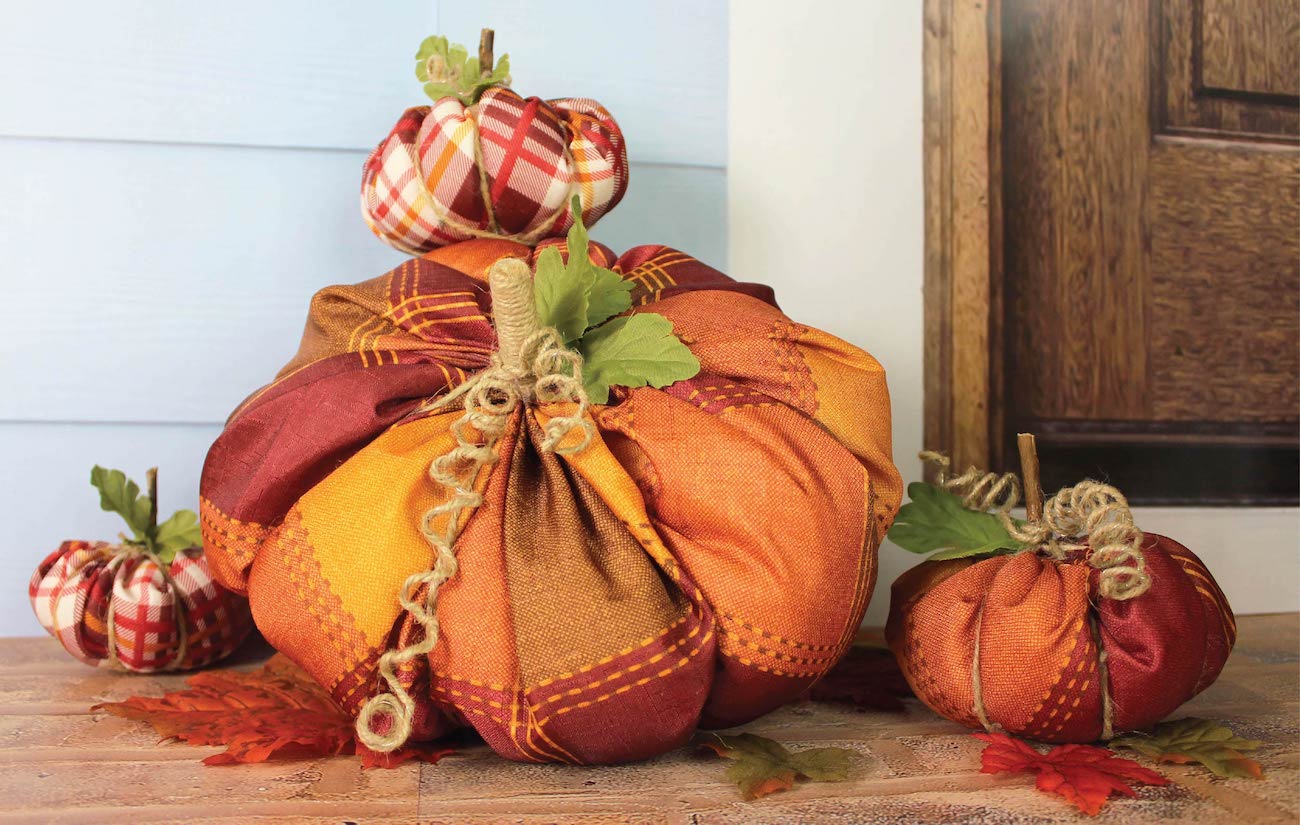
Fabric Pumpkins
Try It Yourself
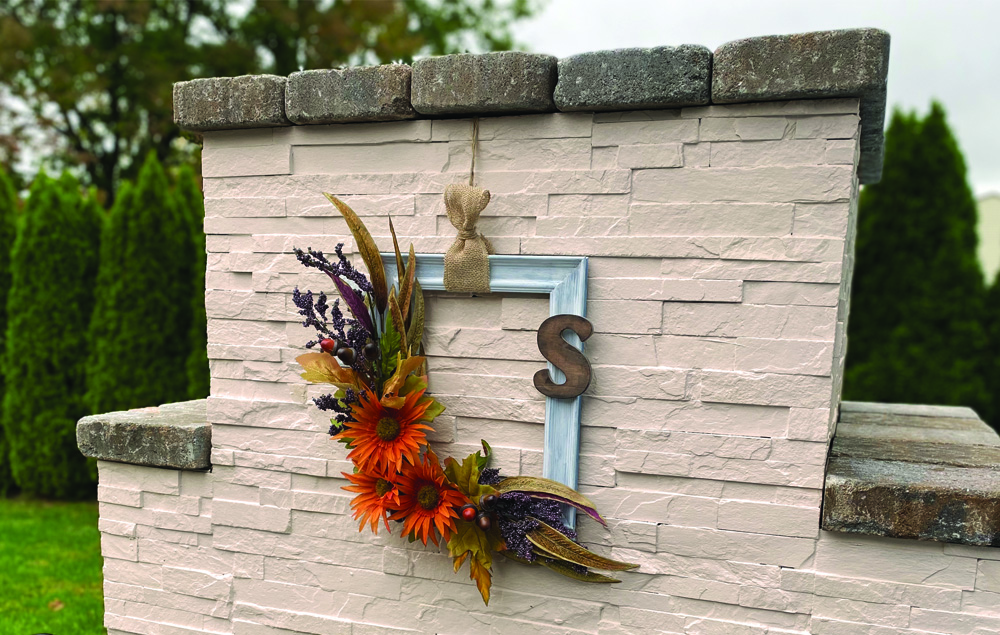
Leaf Frame Wreath
Try It Yourself
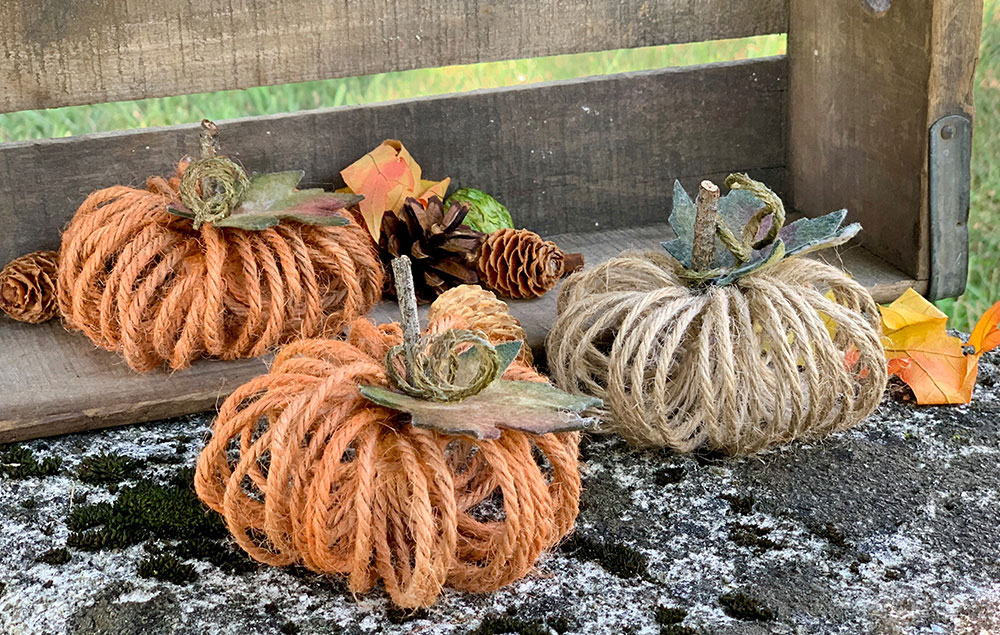
No-Sew Pumpkins
Try It Yourself
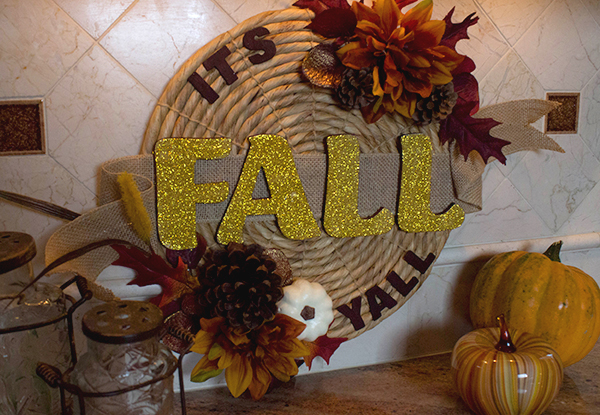
Fall Y'all Decor
Try It Yourself
Winter & Christmas Crafts
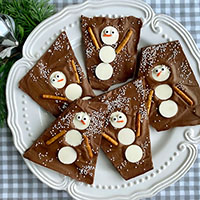
Snowman Chocolate Bark
Try It Yourself
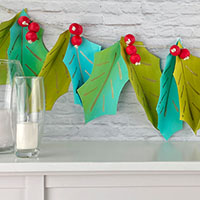
Retro Holly Garland
Try It Yourself
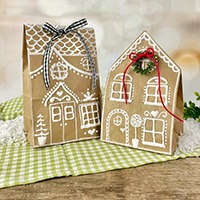
Gingerbread Gift Bag
Try It Yourself
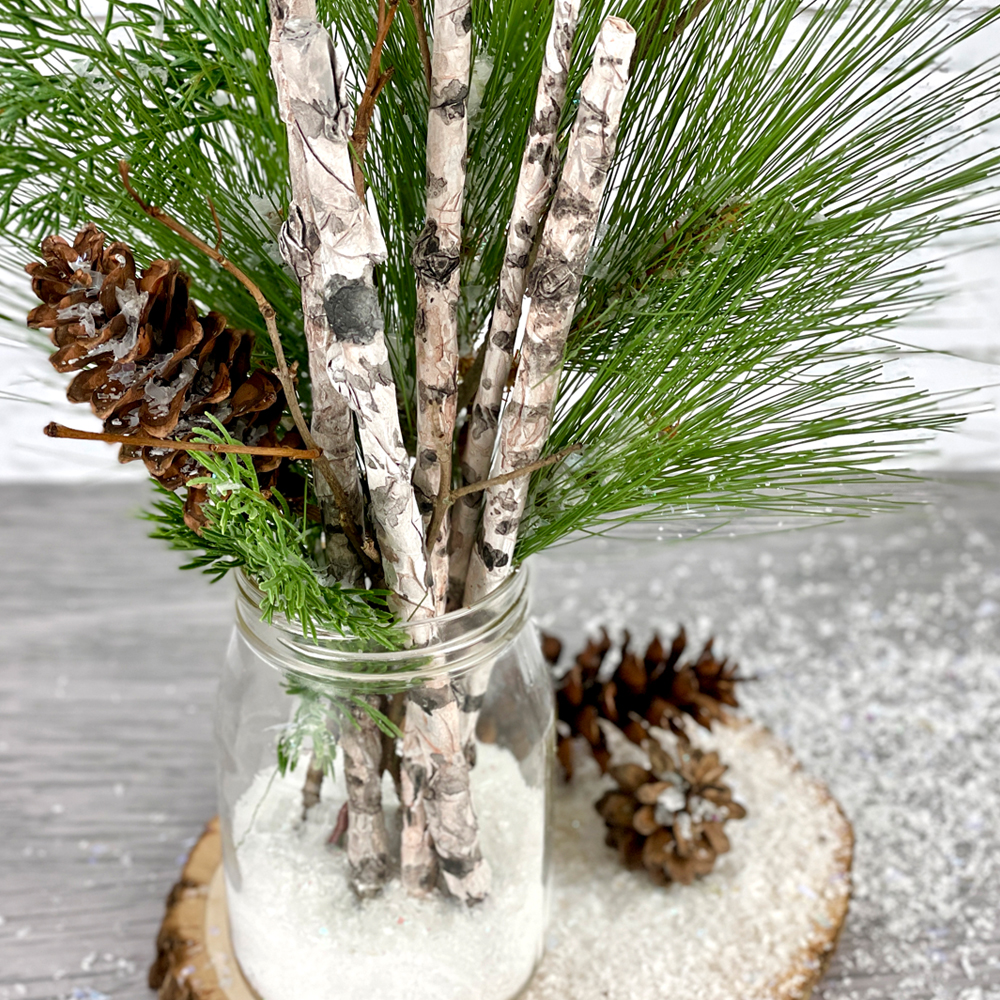
Faux Birch Winter Centerpiece
Try It Yourself
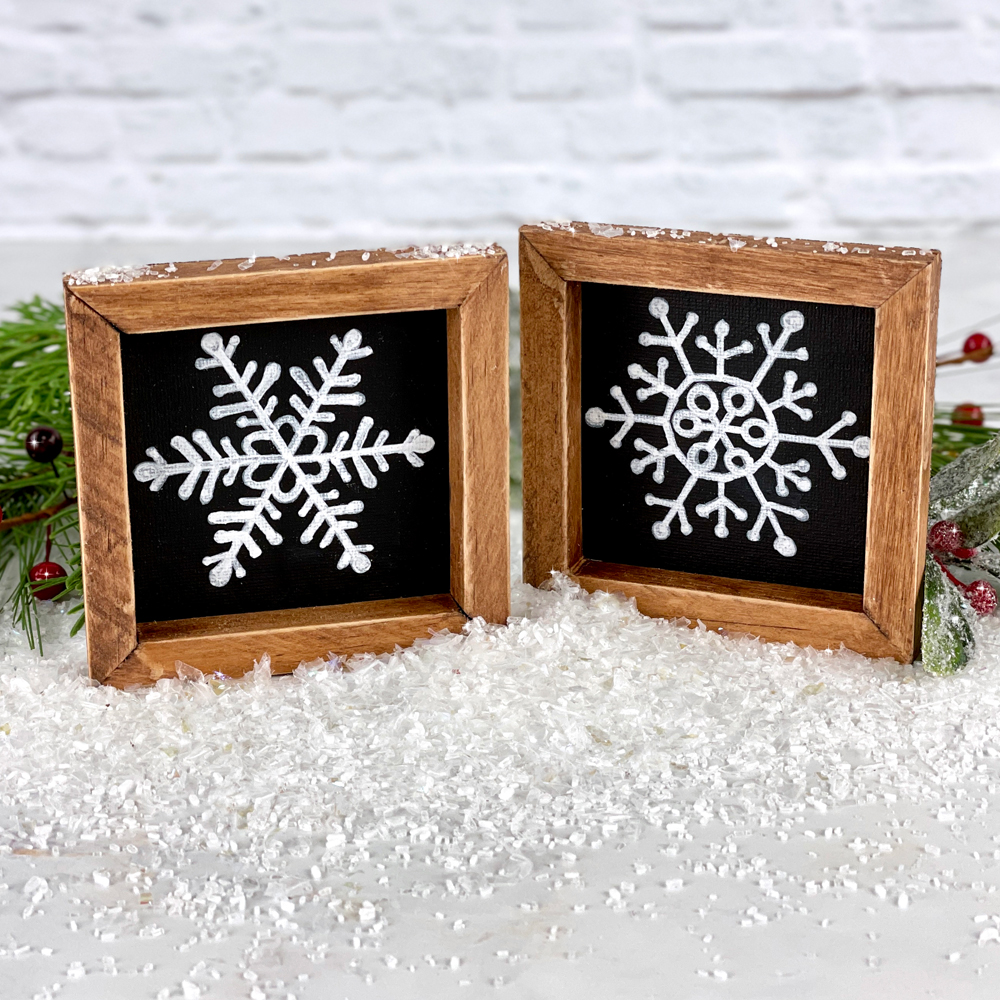
Reverse Canvas Snowflake Art
Try It Yourself
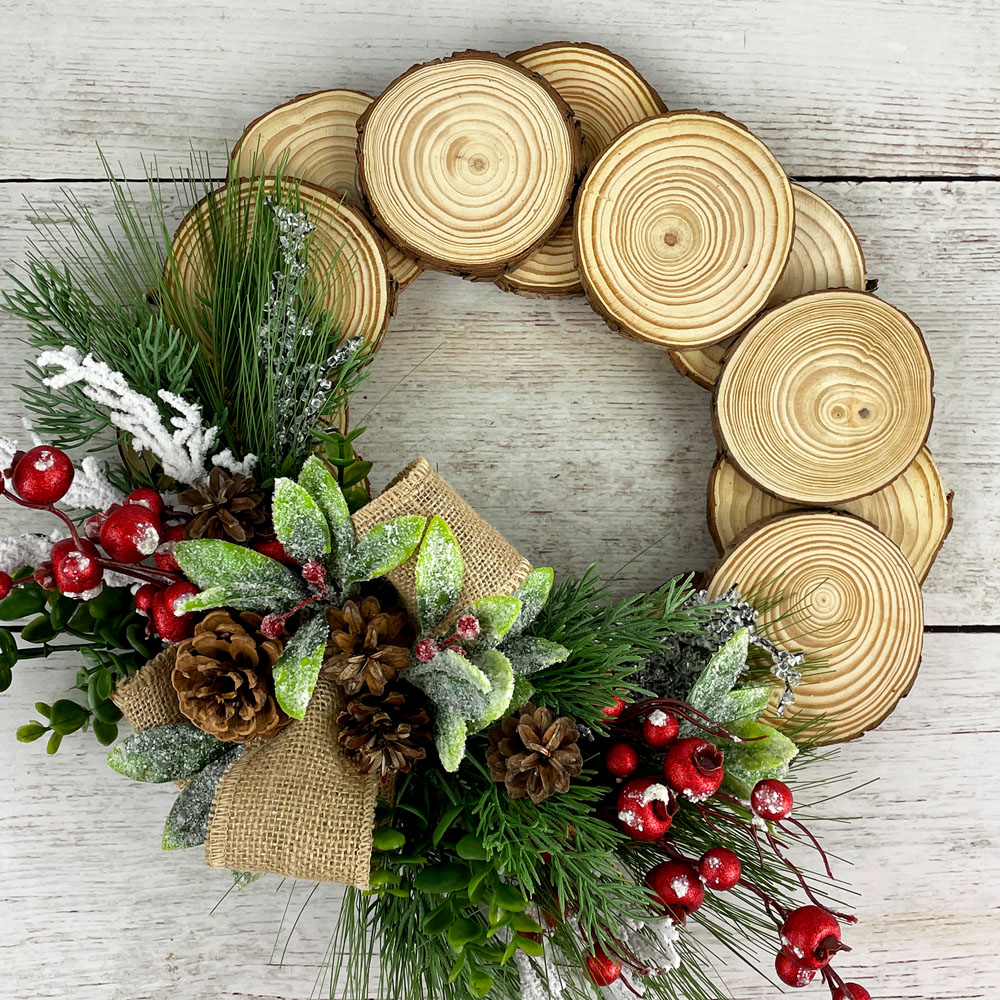
Wood Slice Wreath
Try It Yourself
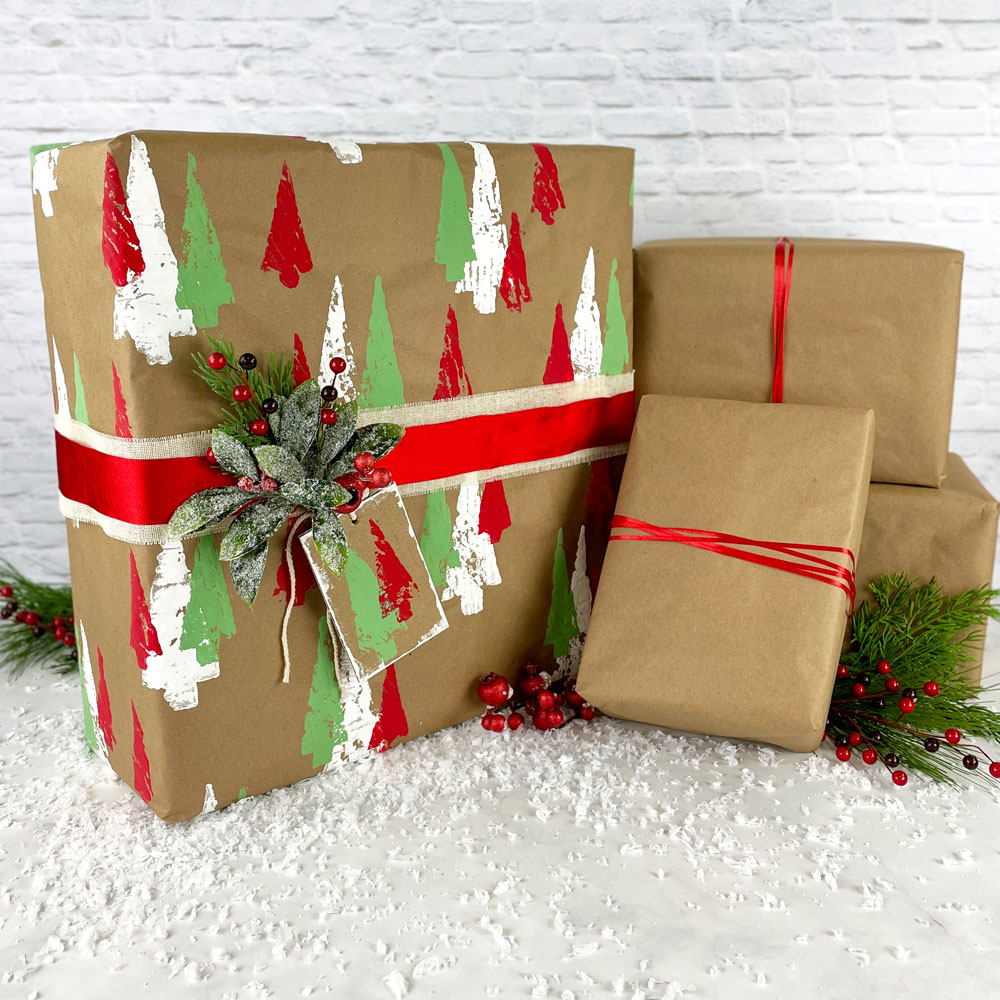
Stamped Wrapping Paper: Xmas DIY Project | Dollar General
Try It Yourself
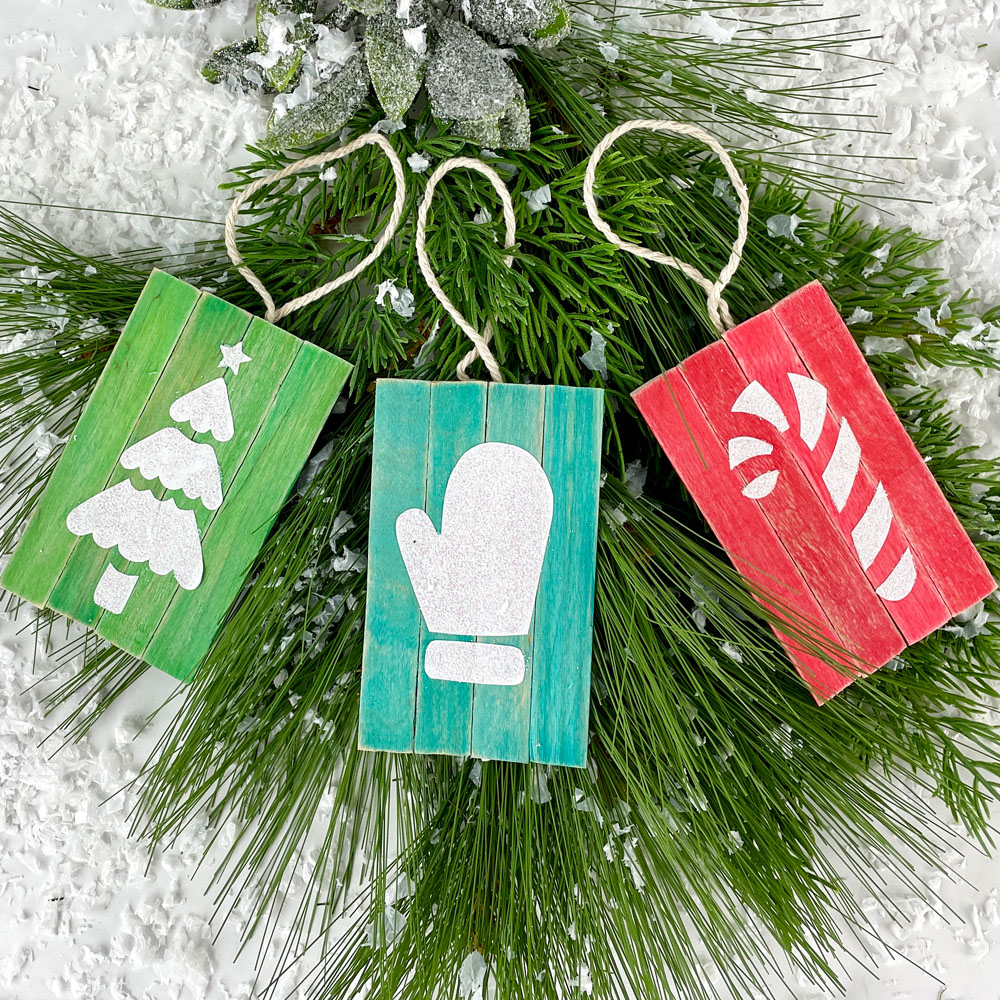
Craft Stick Ornament
Try It Yourself
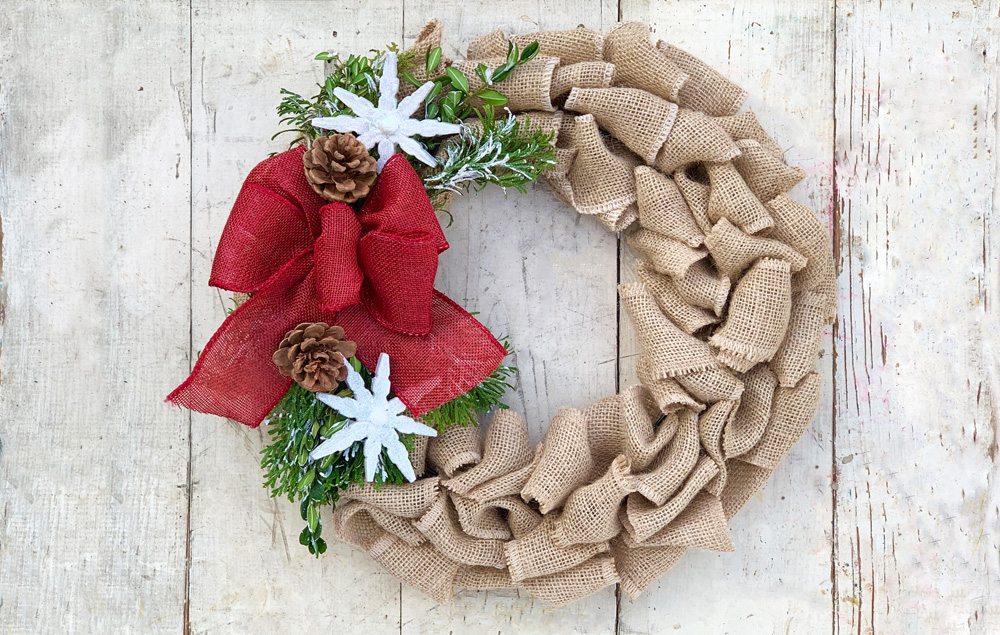
DIY Burlap Christmas Wreath
Try It Yourself
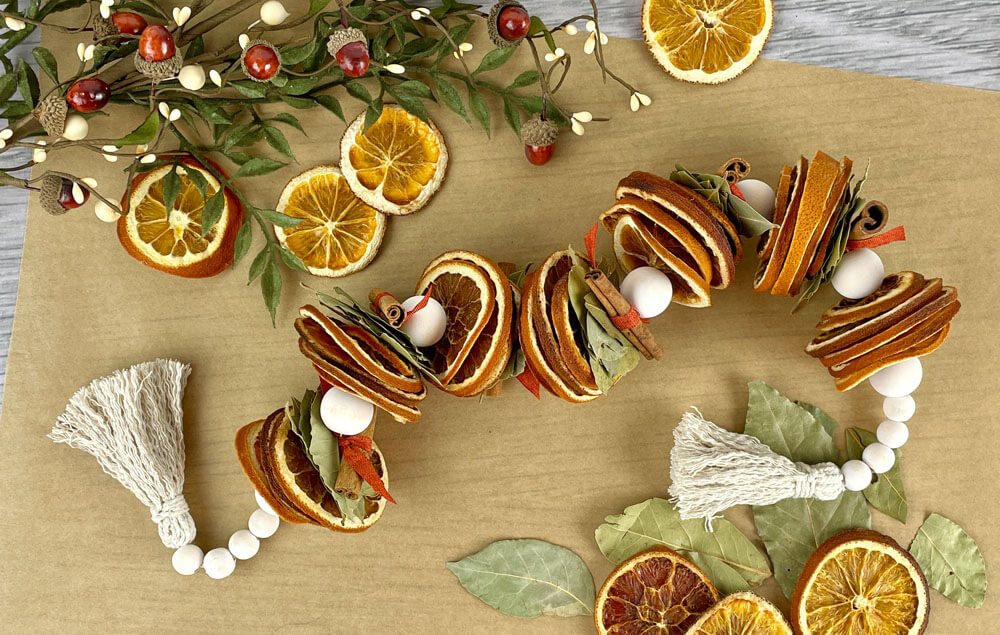
Dried Citrus Garland
Try It Yourself
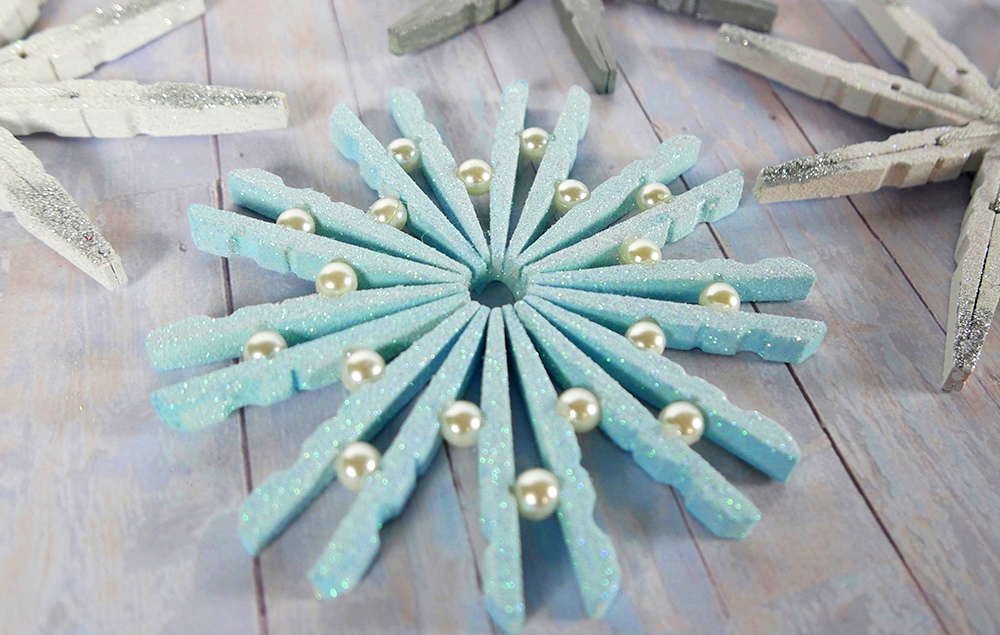
Clothespin Snowflakes
Try It Yourself
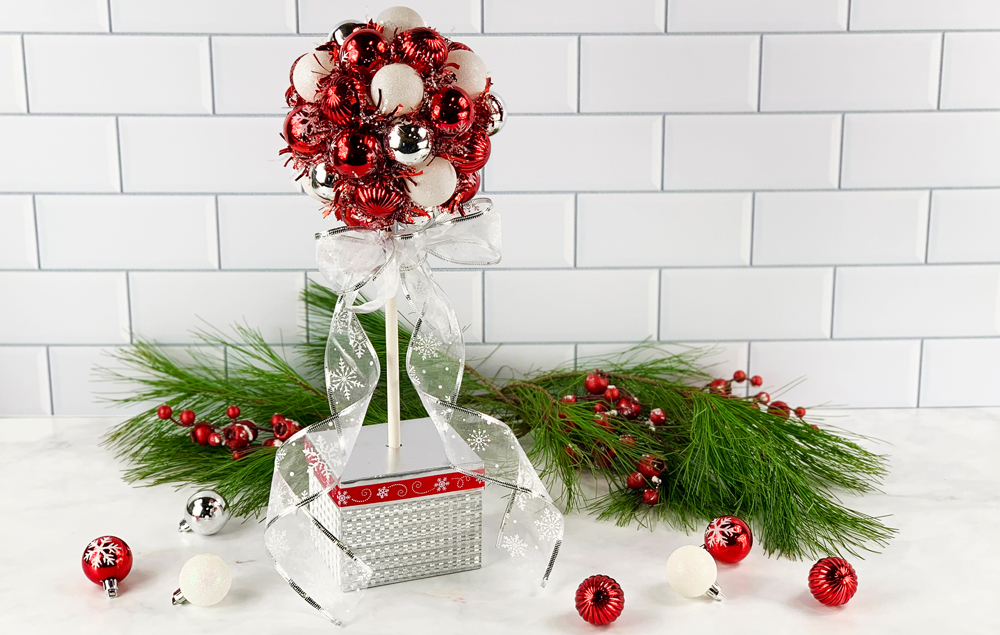
Christmas Ornament Tree
Try It Yourself
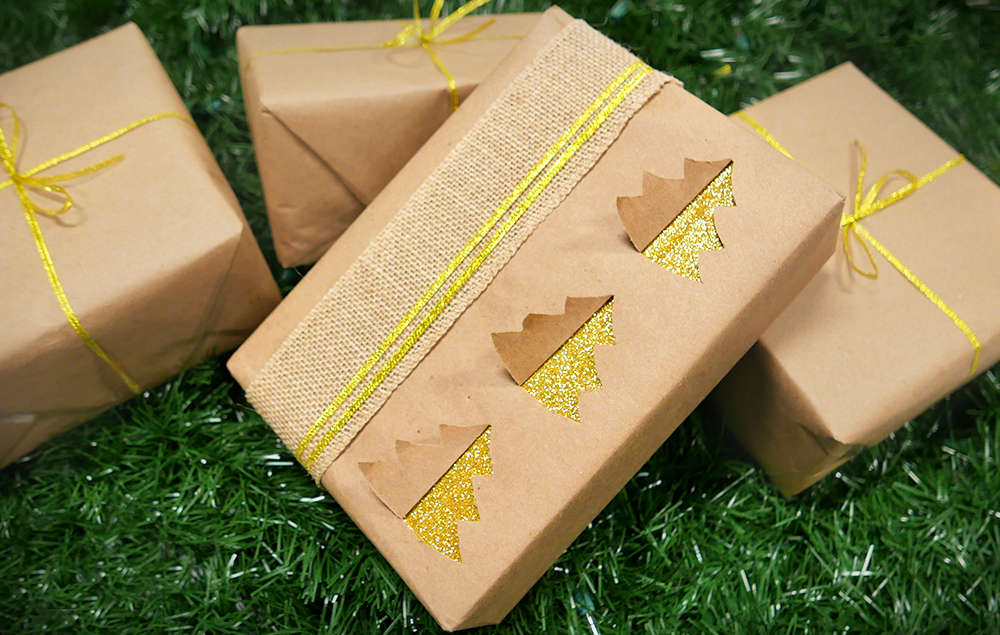
Glitter Tree Gift Wrap
Try It Yourself
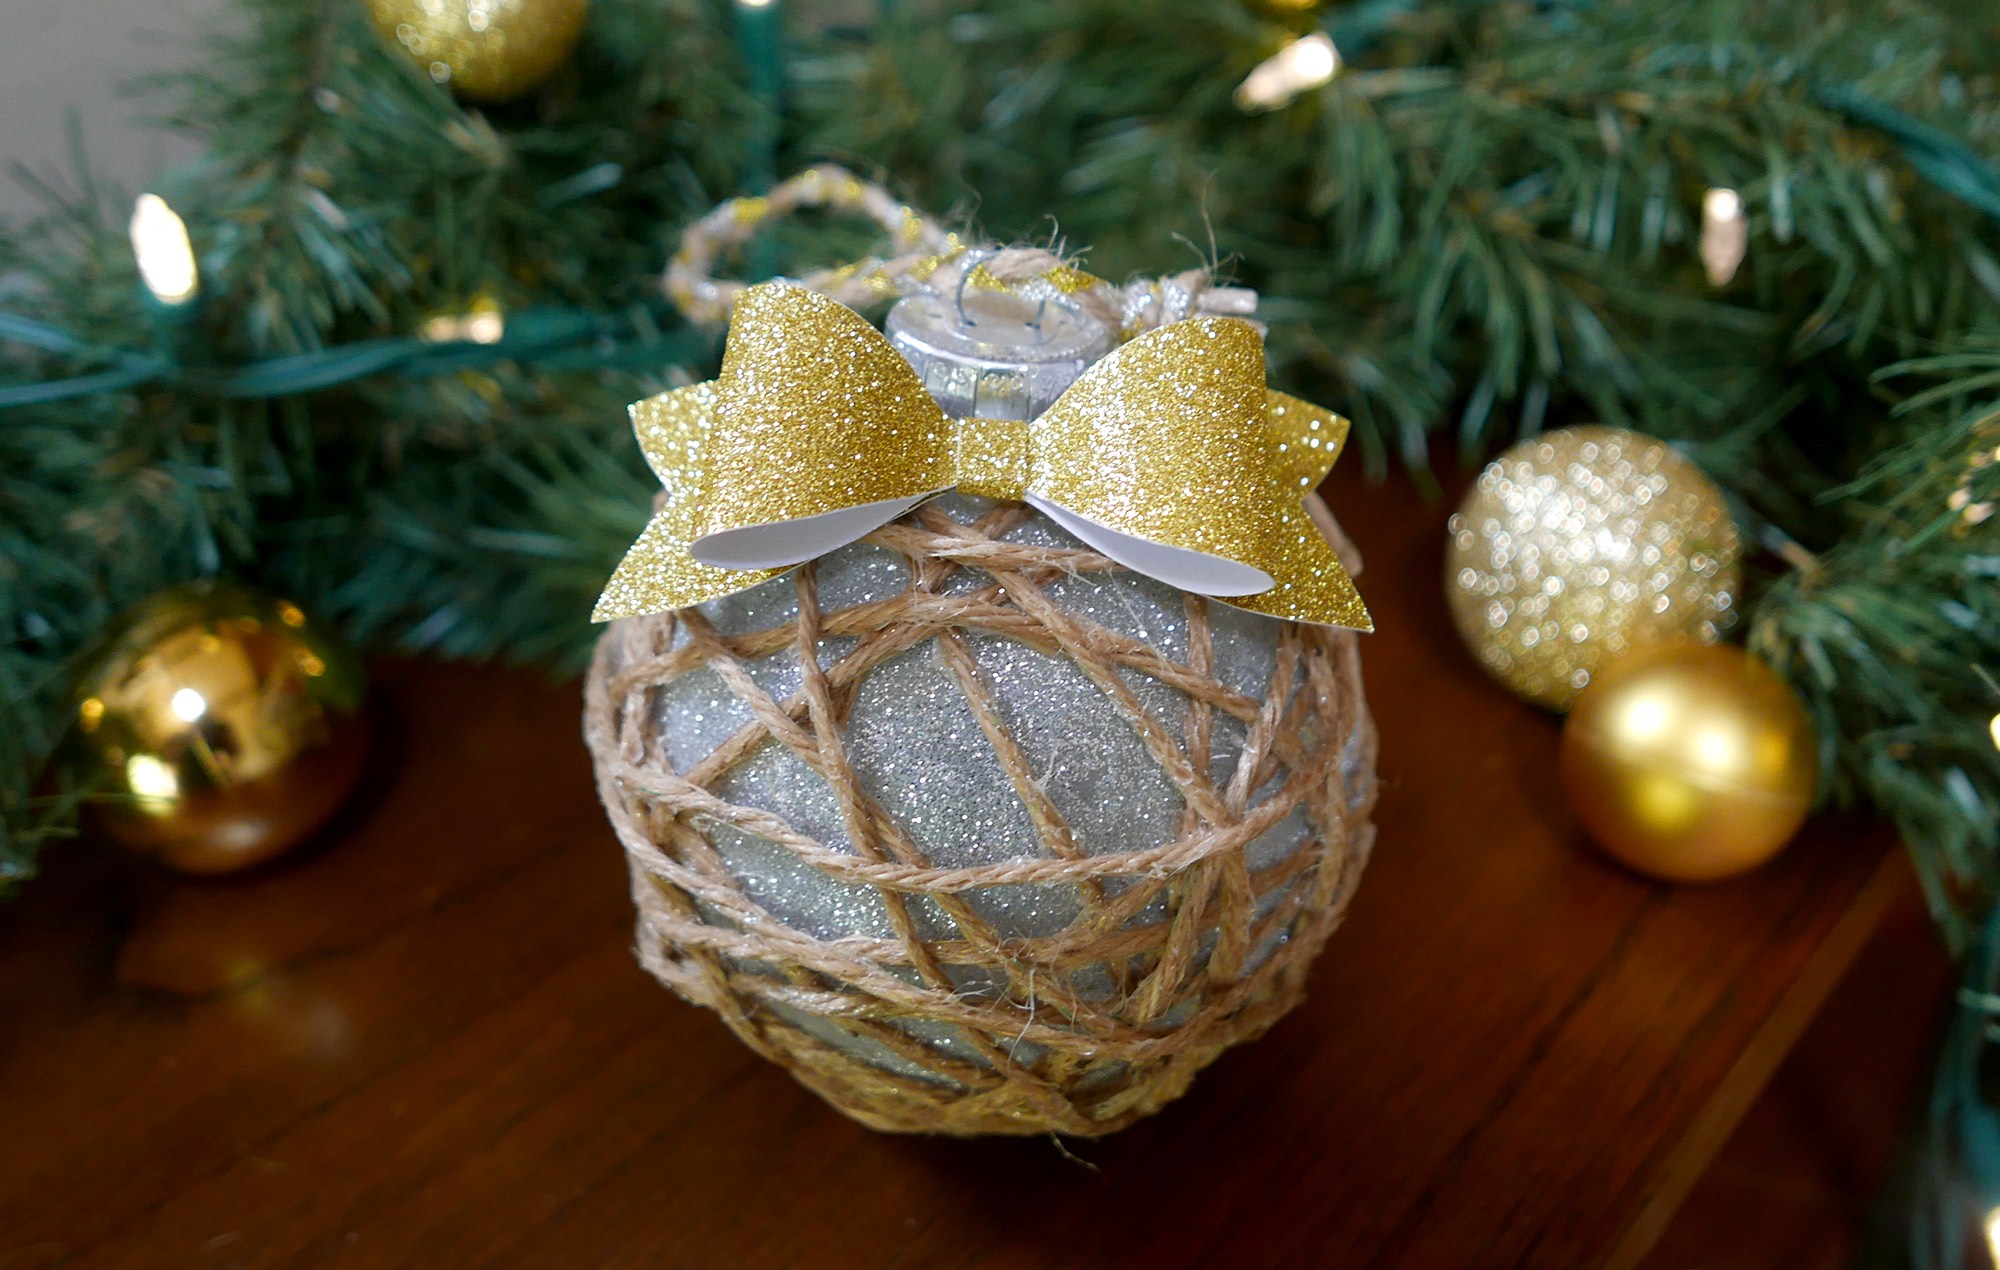
Sparkle and Twine Ornament
Try It Yourself
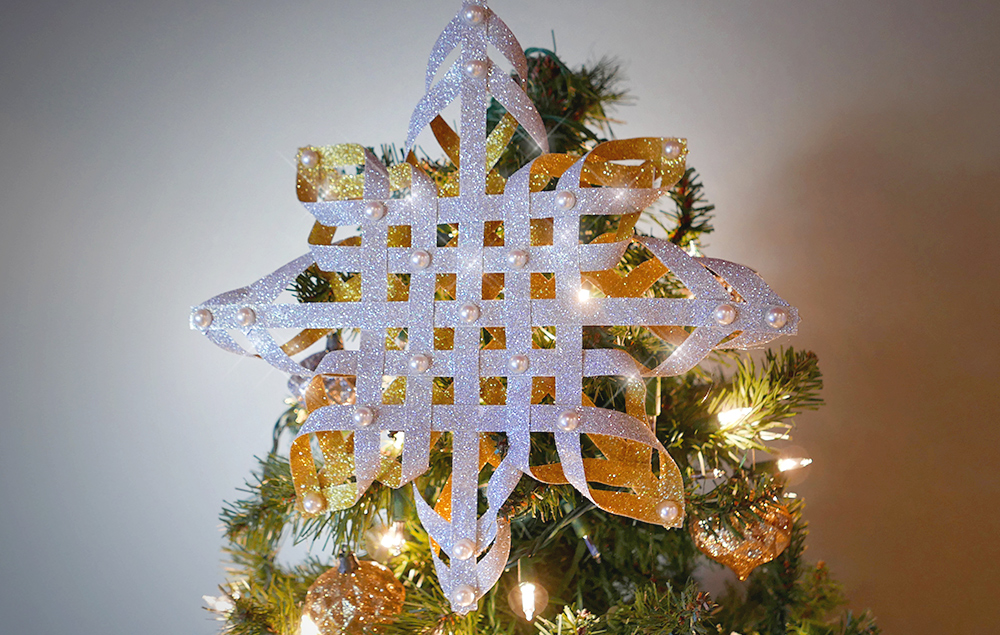
Glitter Star Tree Topper
Try It Yourself
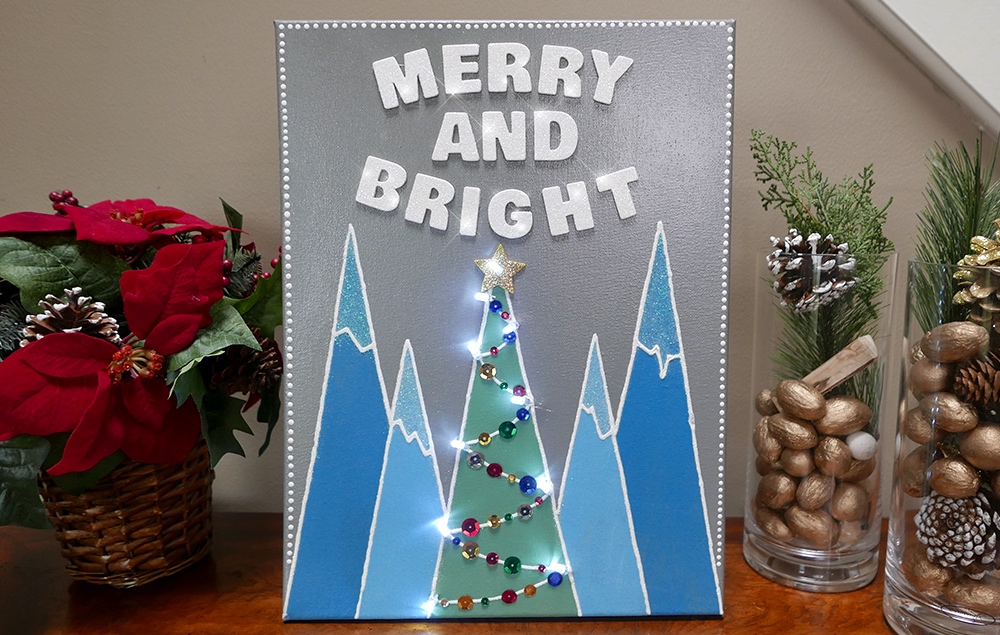
Merry and Bright Canvas
Try It Yourself
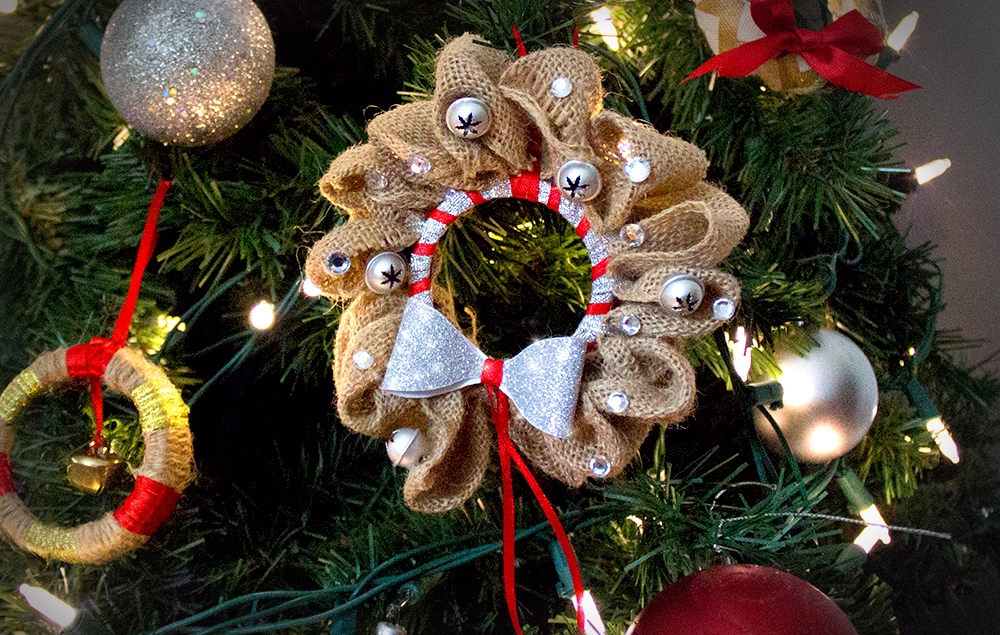
Burlap Wreath Ornament
Try It Yourself
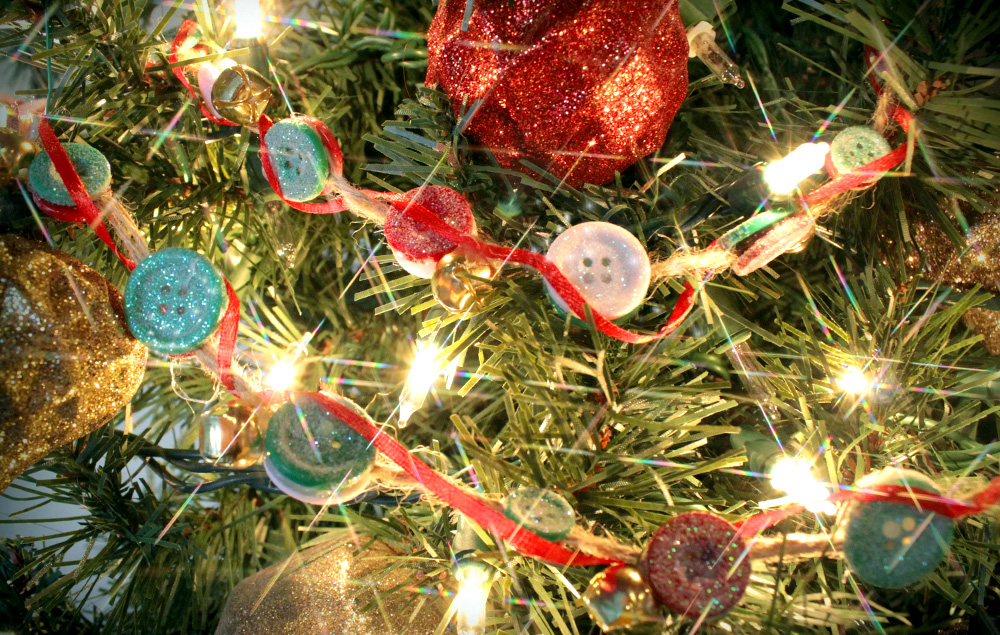
Button Garland
Try It Yourself
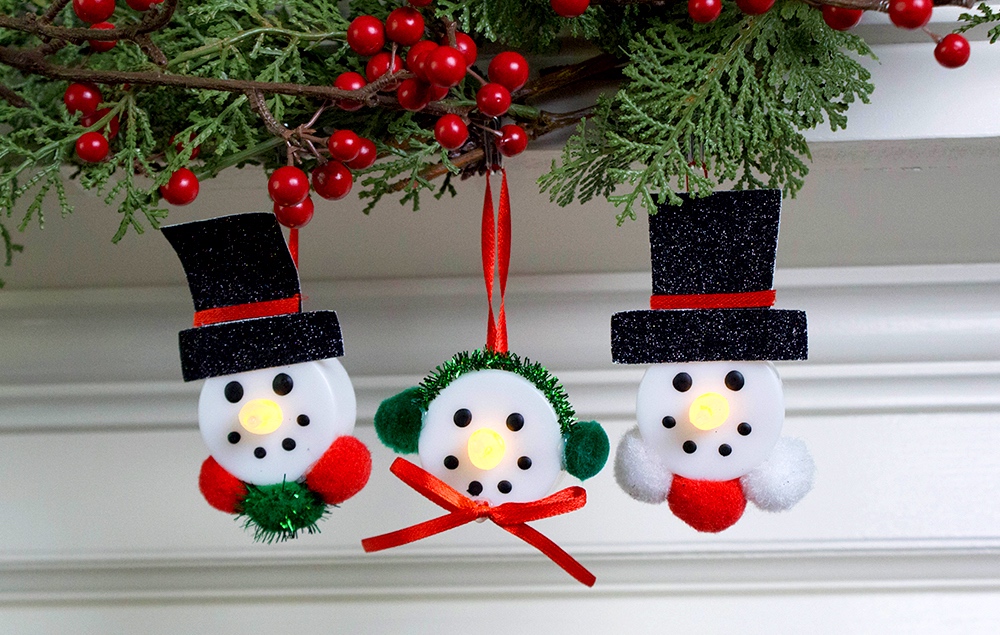
Snowman Tea Lights
Try It Yourself
Valentine's Day Crafts
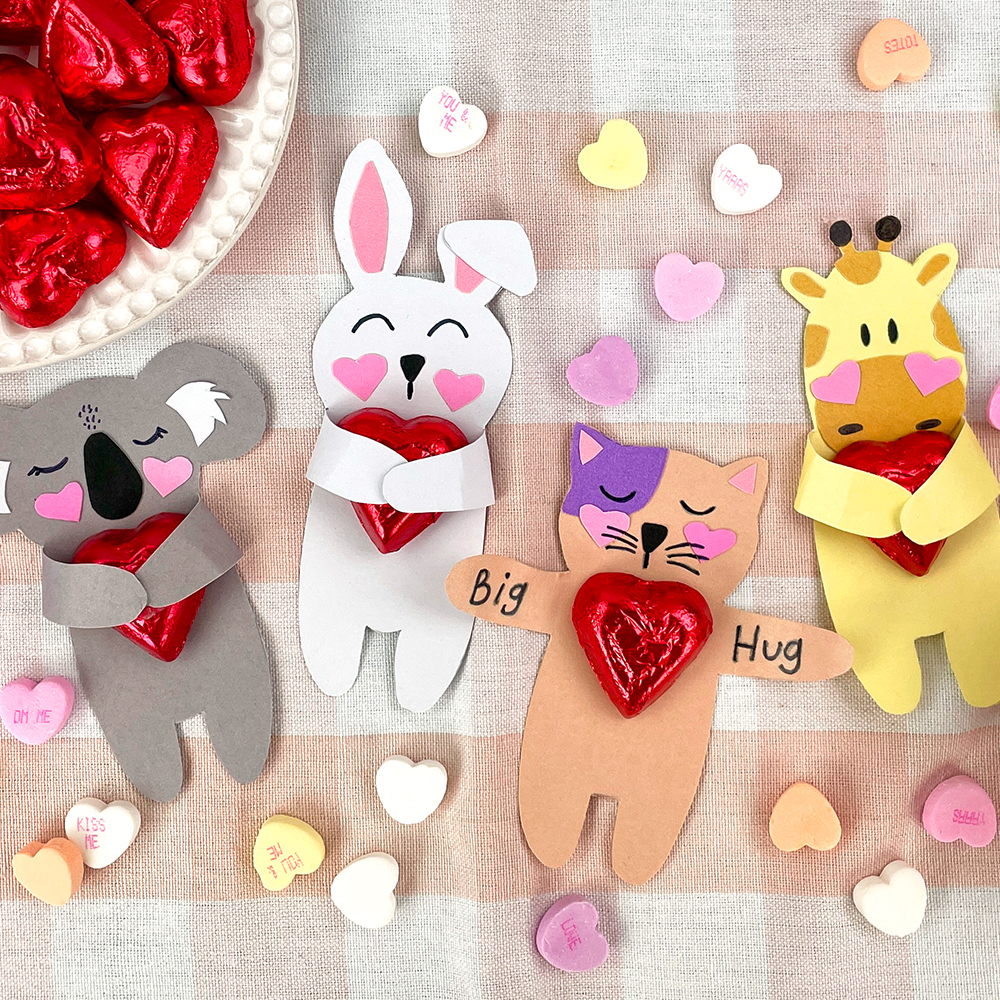
Valentine Candy Huggers
Try It Yourself
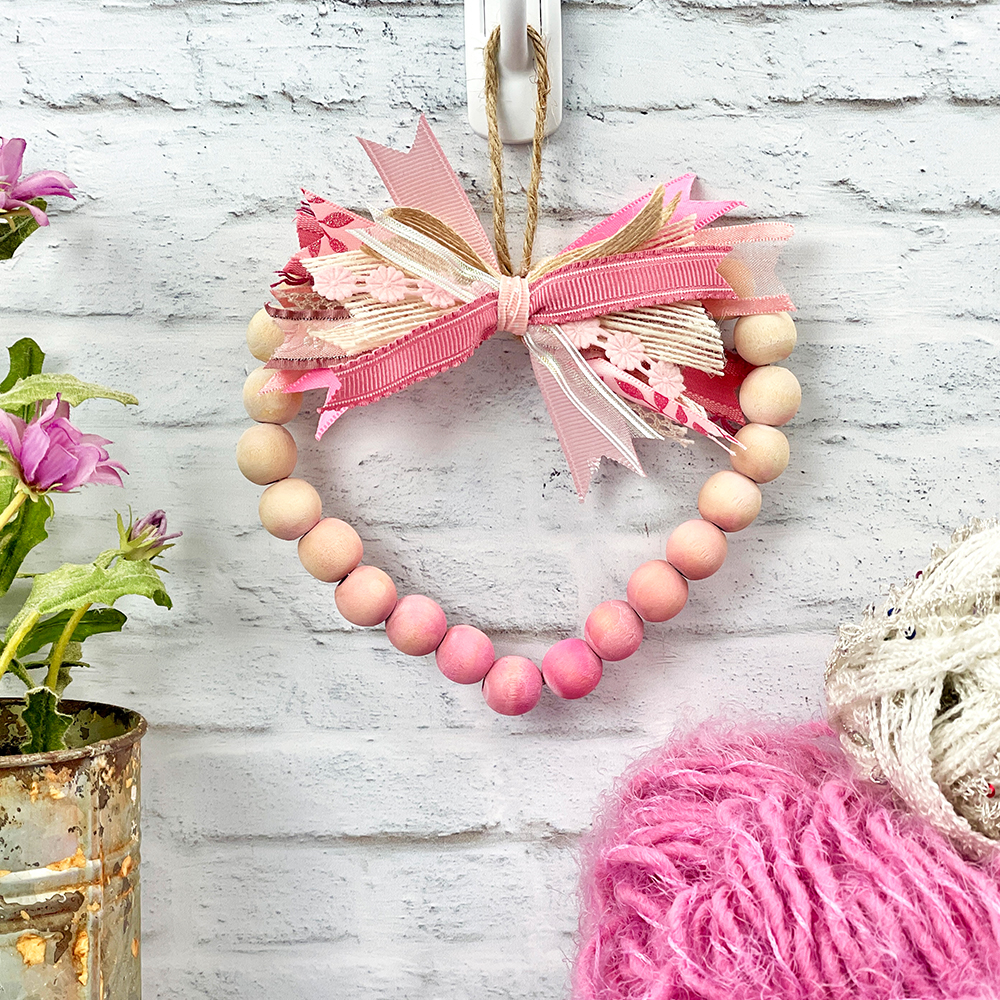
Wood Bead Heart
Try It Yourself

Watercolor Hearts Card
Try It Yourself
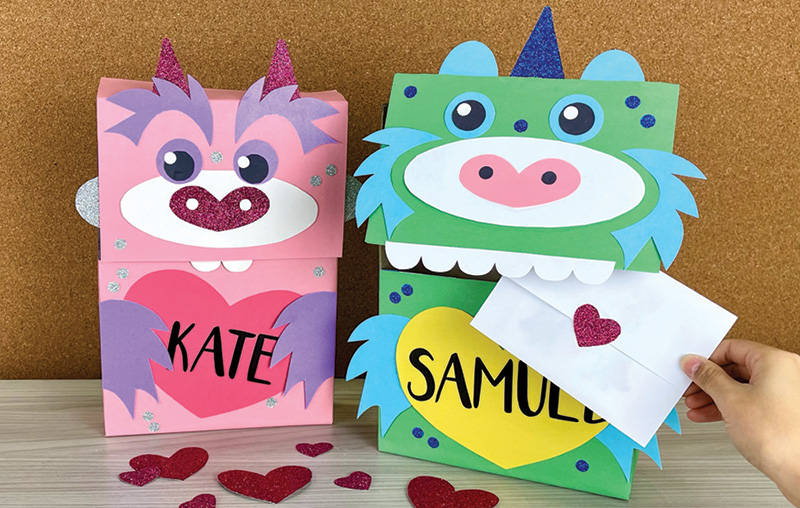
Valentine Box Ideas
Try It Yourself

Heart Valentine Cookies
Try It Yourself
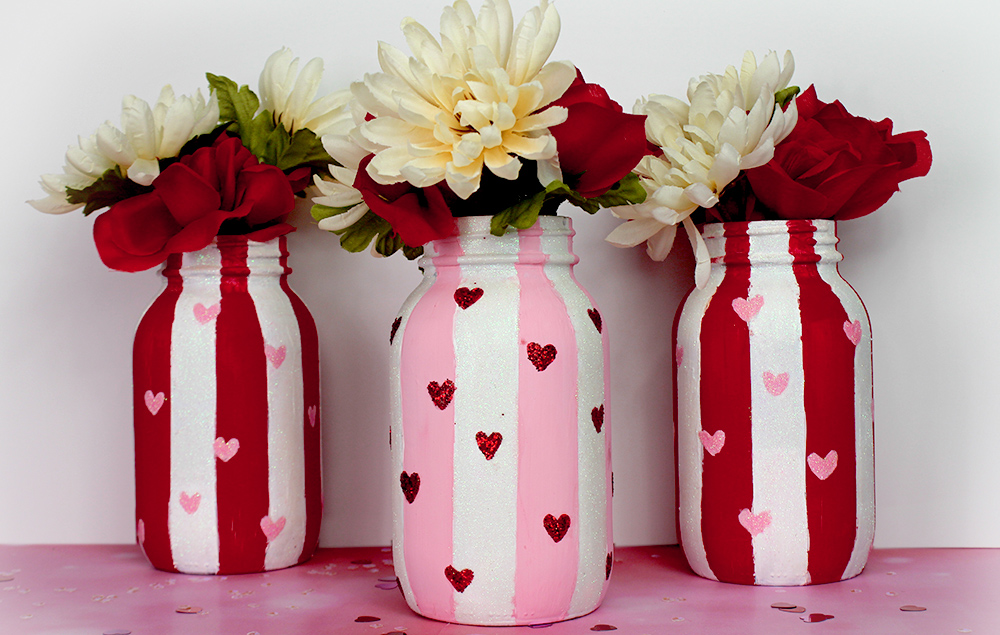
Valentine Mason Jar Vase
Try It Yourself
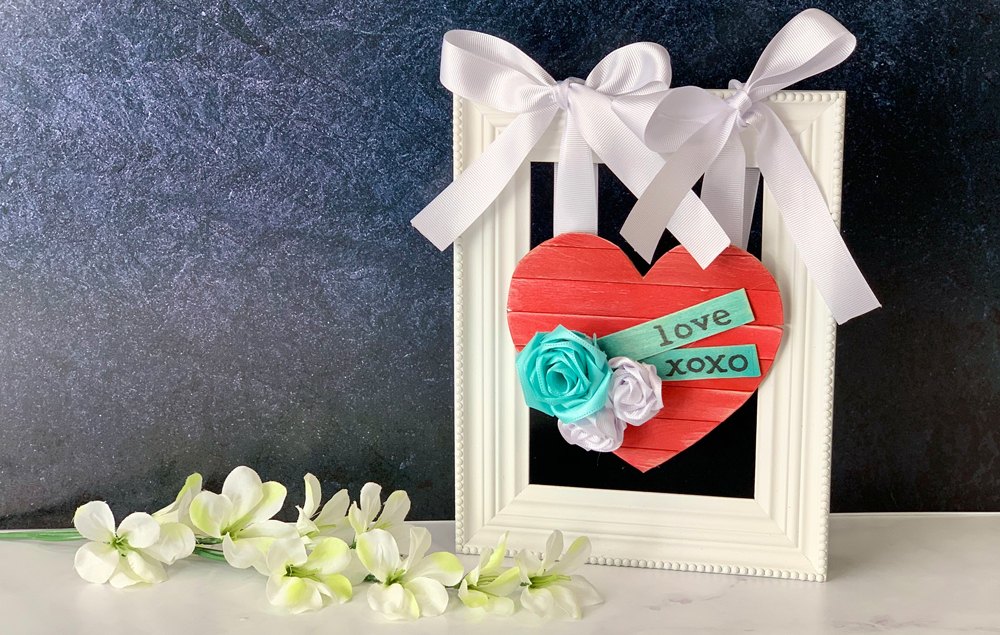
Framed Heart Decor Craft
Try It Yourself
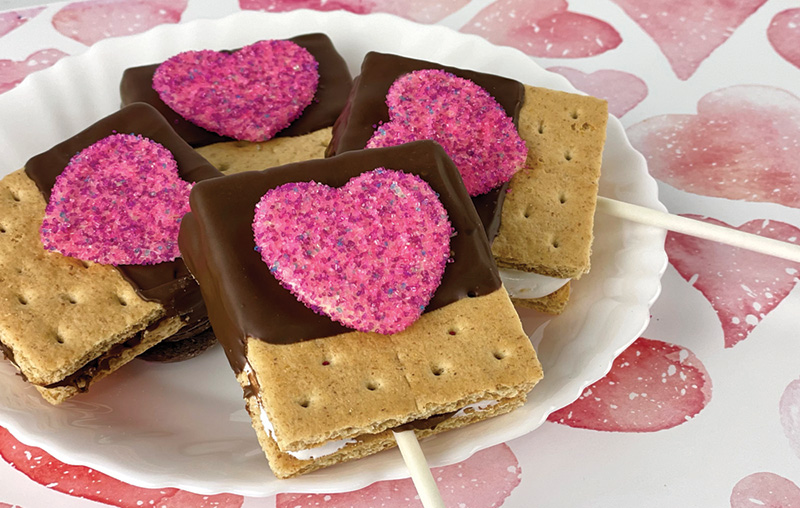
S’mores Pops
Try It Yourself
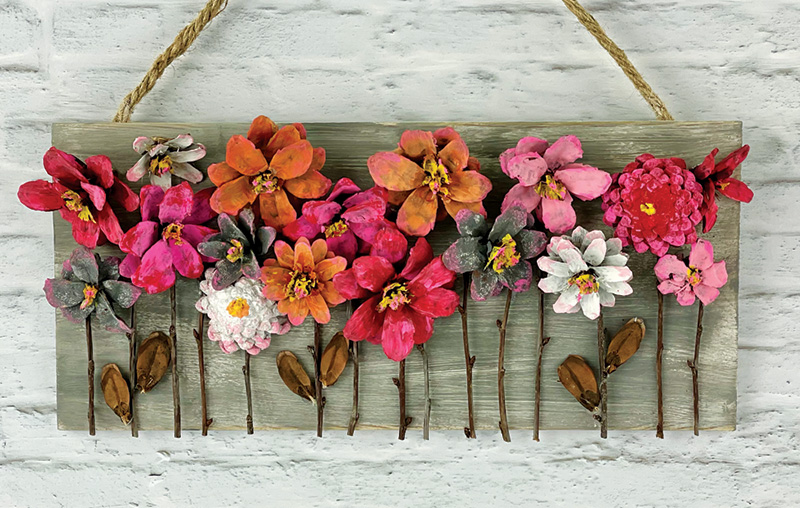
DIY Flower Wall Art
Try It Yourself


