

Baby Shower Basket
How to make a baby shower gift basket
Level of difficulty: Beginner
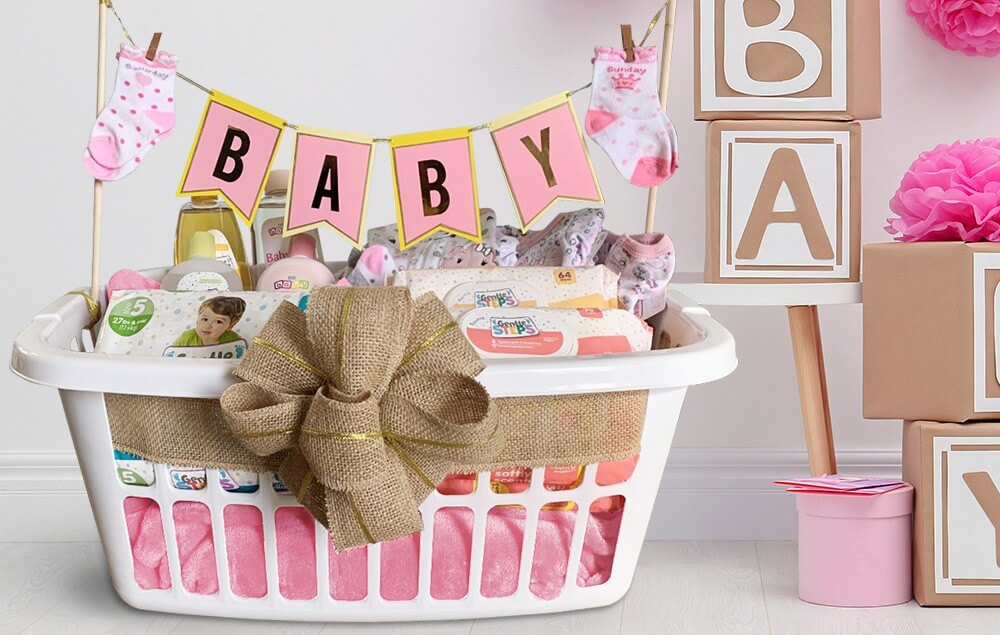
Wow your friends and family with this crafty baby shower basket. It combines practical items with cute craft elements for the perfect gift.
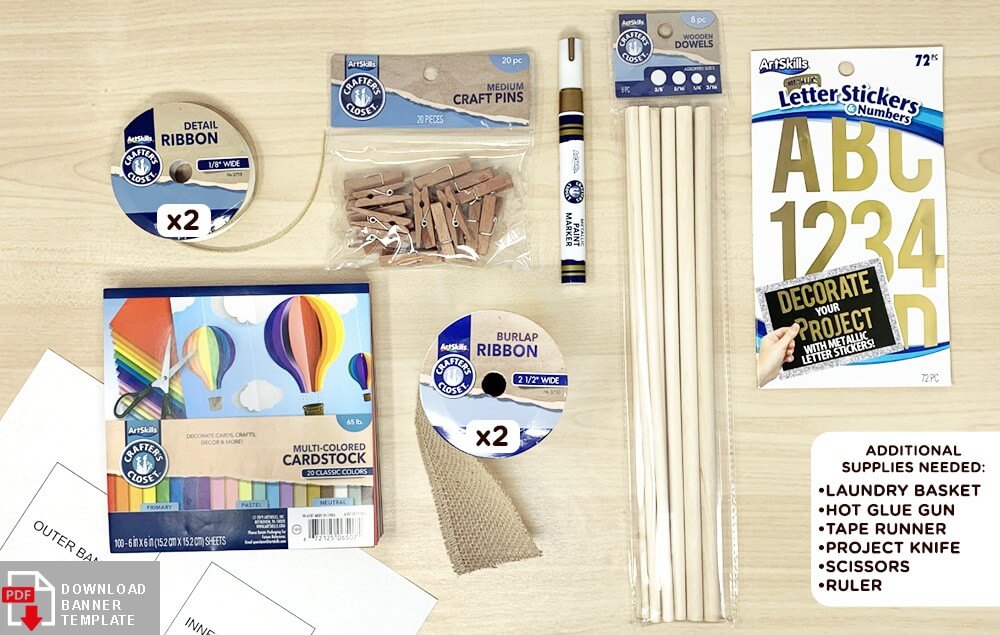
What You'll Need:
- Crafter’s Closet Gold Paint Marker
- Artskills Letter Stickers & Numbers
- Crafter’s Closet Craft Pins
- Crafter's Closet Burlap Ribbon
- Crafter's Closet Hot Glue Gun
- Crafter's Closet Hot Glue Sticks
- Crafter's Closet Precision Scissors
- Crafters Closet Project Knife
- Crafter’s Closet Cardstock
- Crafter’s Closet Wooden Dowels
- Crafter's Closet Gold Detail Ribbon
- Ruler
- Laundry Basket
Let's Do This!
Banner
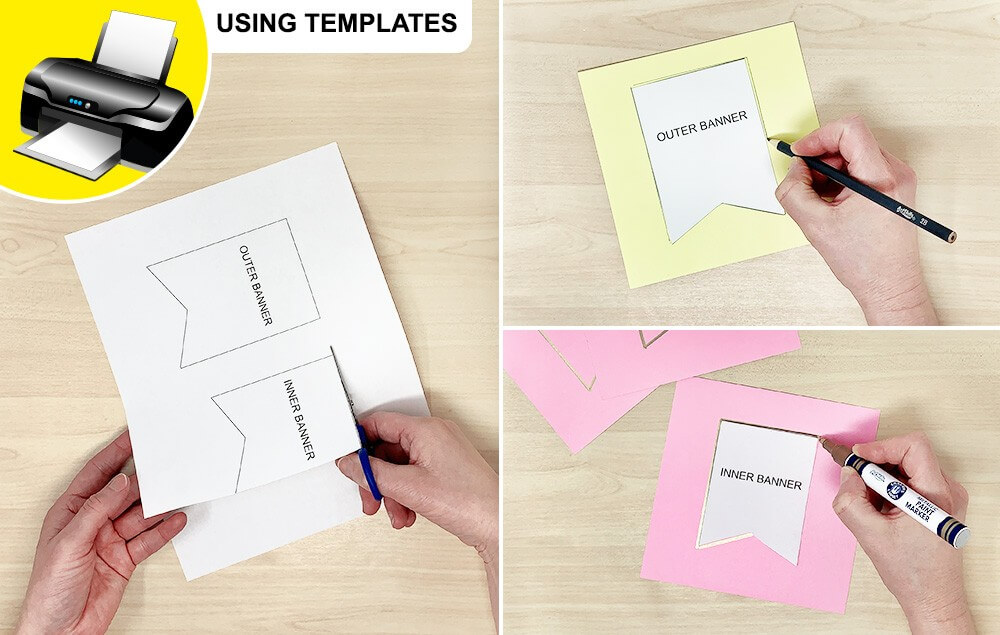
Step 1A: Using Banner Template:
- Download and print the banner templates located at the bottom of the “What You’ll Need” supply list.
- Using a pencil, trace two of the outer banner templates onto light yellow cardstock and two onto dark yellow cardstock.
- Using a gold paint marker, trace four of the inner banner templates onto the pink cardstock using the gold paint marker.
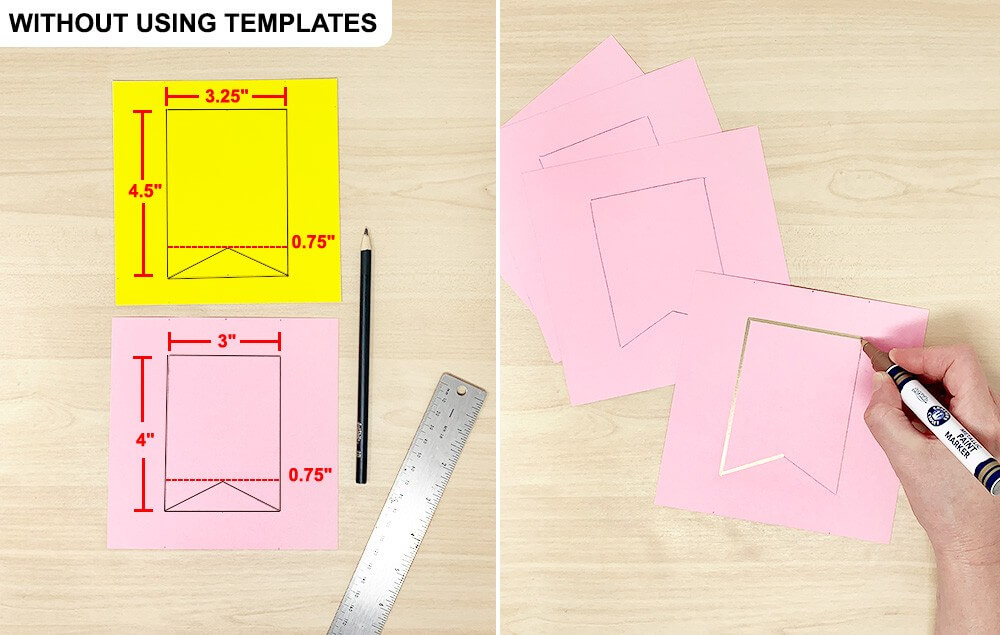
Step 1B: Without Banner Template:
- Draw a rectangle with a ruler that measures 3.25" wide and 4.5" high onto two pieces of light yellow cardstock and two pieces of dark yellow cardstock. Measure 0.75” up from the bottom of the rectangle and draw a peak in the center (approx. 1.6"). Draw a rectangle with a ruler that measures 3" wide and 4" high onto pink cardstock. Measure 0.75" up from the bottom of the rectangle and draw a peak in the center (1.5").
- Trace the pencil line with a gold paint marker to define the edge of the pink banner pieces.
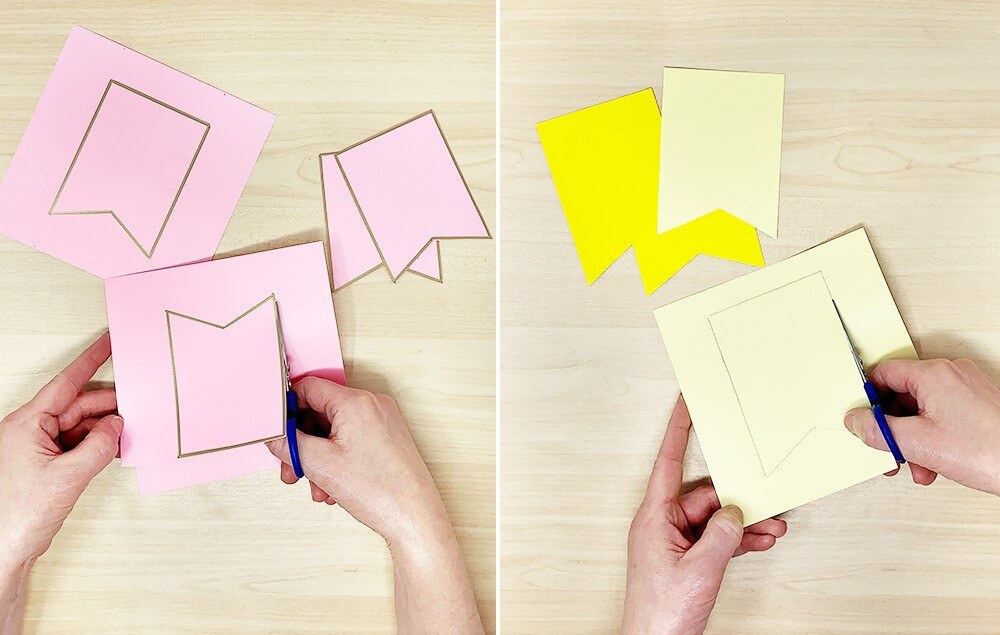
Step 2:
- Cut out pink banner pieces. Make sure to cut along the outer edge of the gold paint marker lines to ensure the gold edge stays on the final banner piece.
- Cut out the yellow banner pieces.
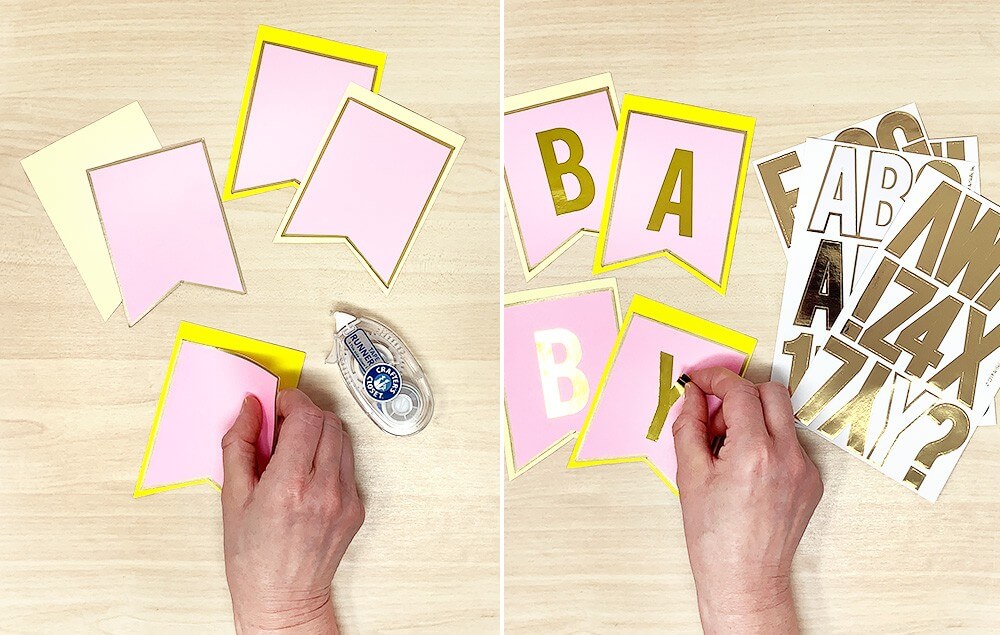
Step 3:
- Adhere the pink pieces to the center of the yellow pieces using a tape runner or double stick tape. Tip: There should be a slightly wider space of yellow left at the top of the banners to allow for the ribbon slits.
- Spell out the word “baby” by placing gold foil stickers onto the center of pink pieces. For perfect placement, use the peak as a guideline to find the center of the banners.
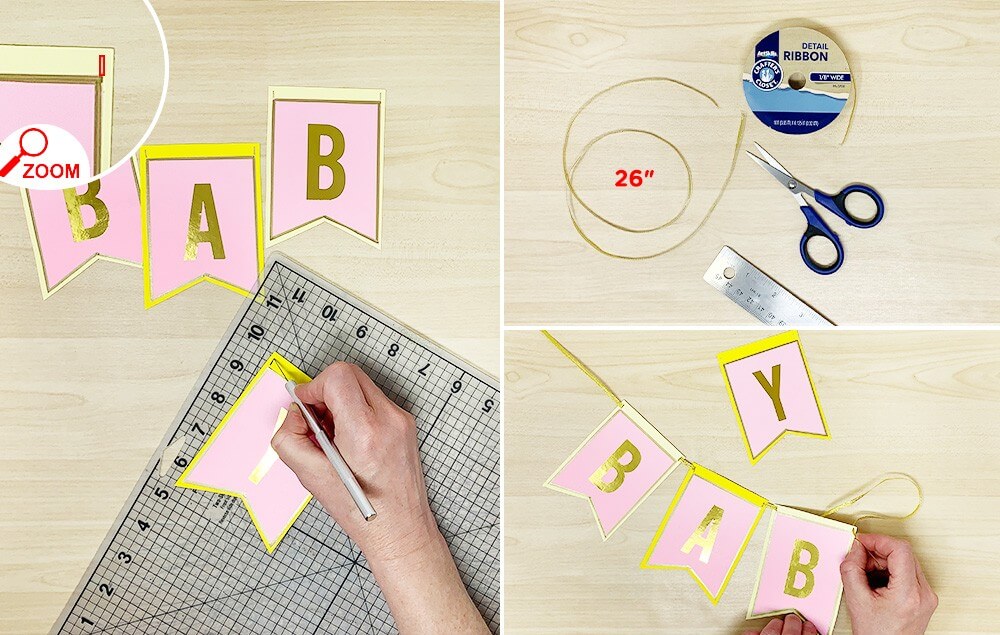
Step 4:
- Using a project knife, cut small vertical slits into the top of the yellow banner pieces. For perfect placement, cut slits right above the left and right corner edges of the pink center piece. These slits need to be wide enough for the gold ribbon to slip through.
- Cut 26" of gold ribbon. The ribbon length may vary depending on the size of the basket.
- Weave the gold ribbon through the slits starting with the “B” banner piece, keeping the ribbon toward the back of each banner. Continue with banner pieces “A,” “B,” and “Y.”
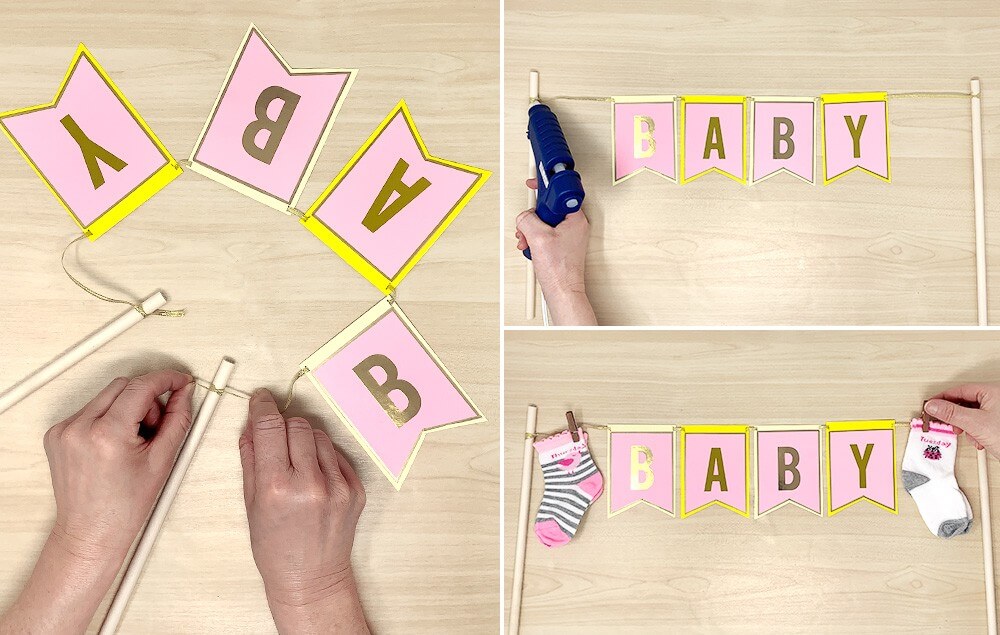
Step 5:
- Tie the ends of the banner ribbon to the top of two dowels (3/8" wide).
- Add a dab of hot glue to each string to ensure it is securely attached to the dowel.
- Place a pair of baby socks on each end of the ribbon with small clothespins. Adjust banner pieces accordingly to even out their placement.
Step 6:
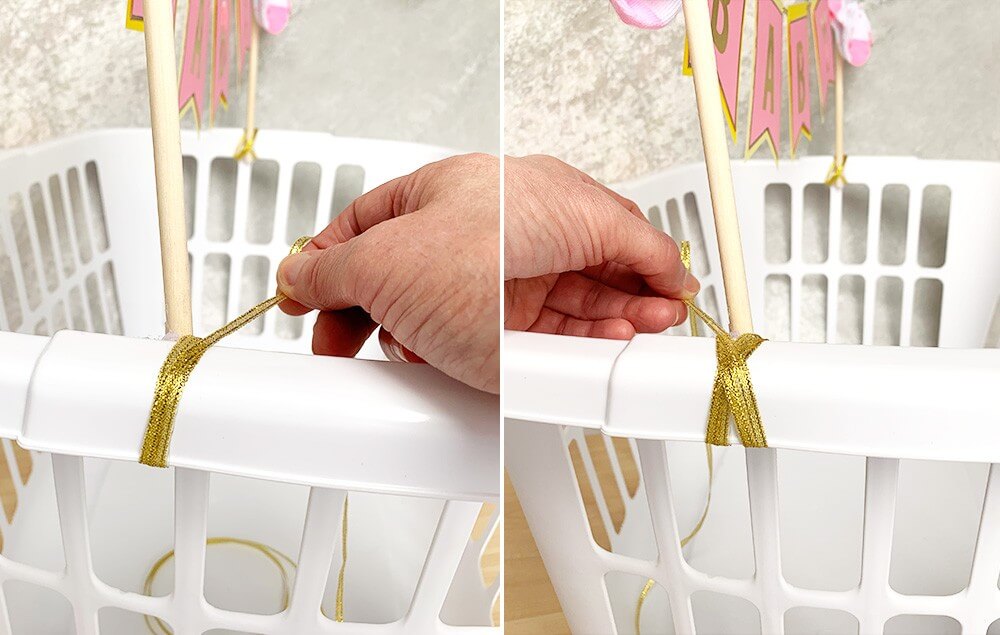
- Place dowel on the inside rim of the laundry basket. Wrap gold ribbon over and across the dowel and through the laundry basket slots from the top right to the bottom left to secure the dowel.
- Wrap gold ribbon from top left to bottom right, completing an “x” of ribbon across the dowel. Tie knot to secure. Repeat on other side.
Bow
Step 1:
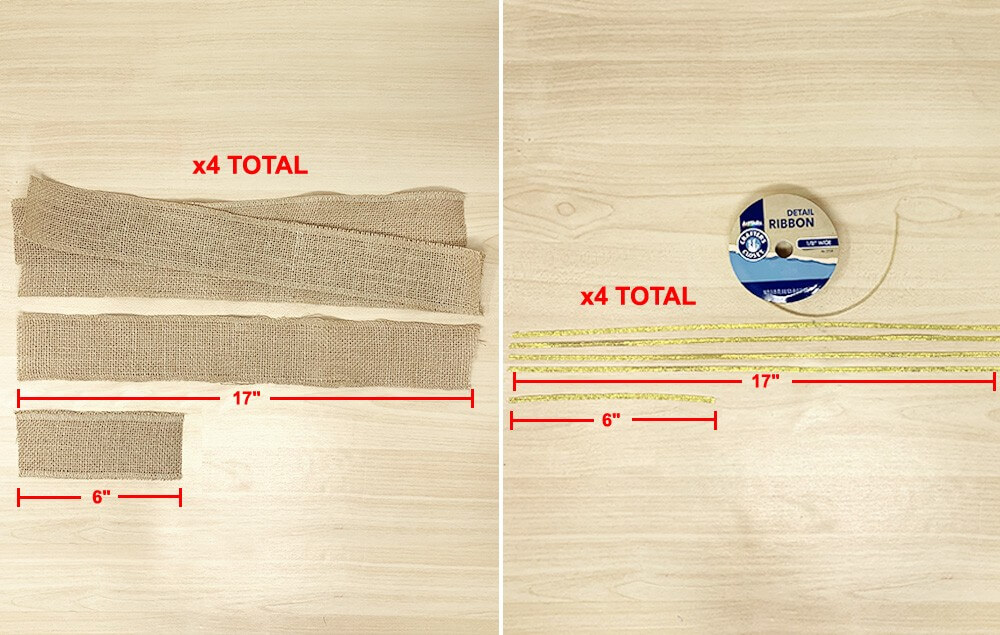
- Cut four 17" and one 6" burlap strips.
- Cut four 17" and one 6" gold detail ribbon strips.
Step 2:
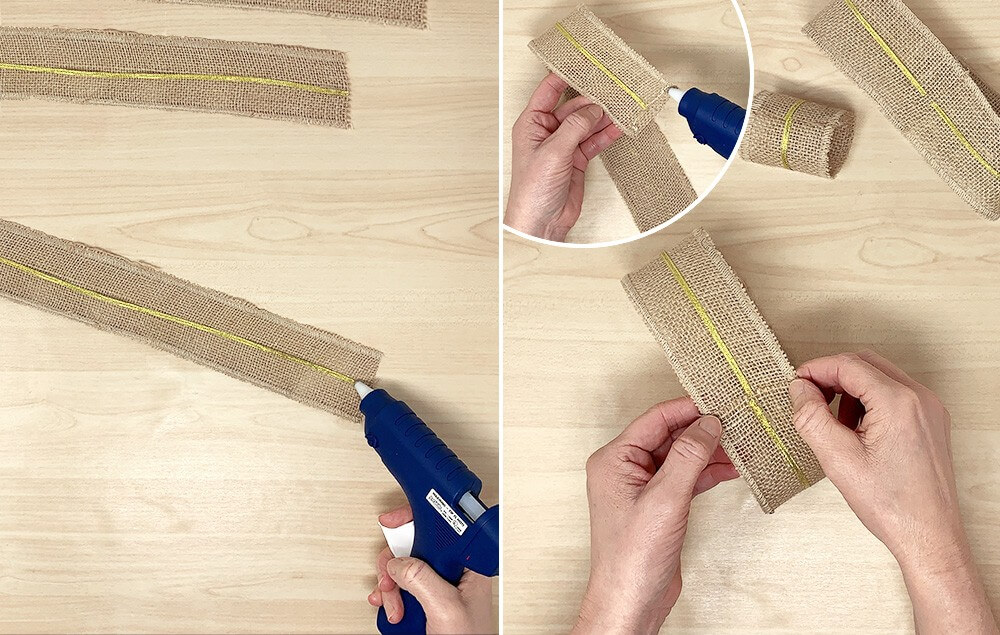
- Hot glue both ends of the gold detail ribbon along the center of the burlap strip.
- Adhere the ends of the strips together with hot glue, making five burlap loops.
Step 3:
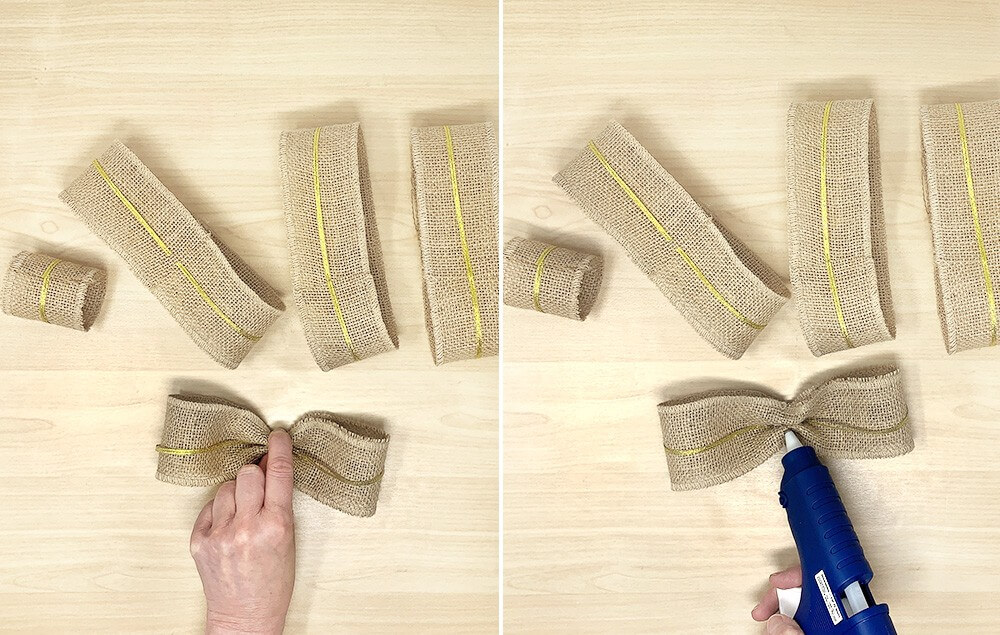
- Lay the glued side of the burlap loops flat, facing the table, and pinch from the sides with fingers.
- Add a dab of hot glue between pinched burlap to hold shape. Do this with all four large loops. Put the small loop aside for later.

Step 4:
- Hot glue two pinched burlap loops together, creating an “x” shape.
- Hot glue the remaining two pinched burlap loops on top of the “x” shape, this time in a “t” shape.
- Finally, add a dab of hot glue to the center of the burlap ribbon and place the final small 6" loop in the center of the bow.
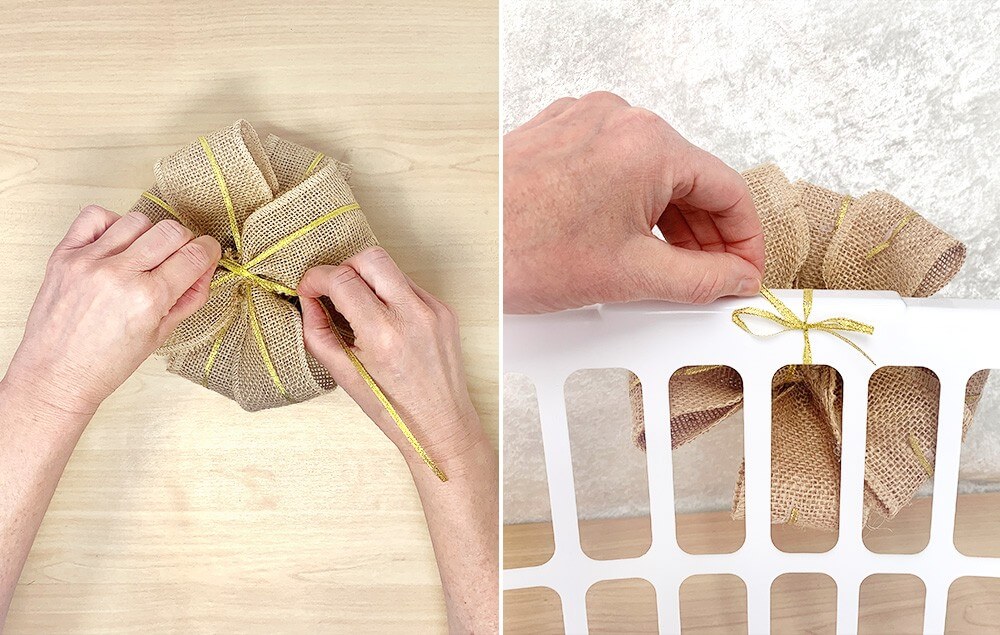
Step 5:
- Flip over the burlap bow and loop gold detail ribbon around one of the back pieces. Use approximately 8" of gold ribbon to make sure there is enough to tie the ribbon to the front of the laundry basket.
- Loop the gold ribbon around the center of the top of the basket. Tie a knot on the inside of the basket to secure the bow.
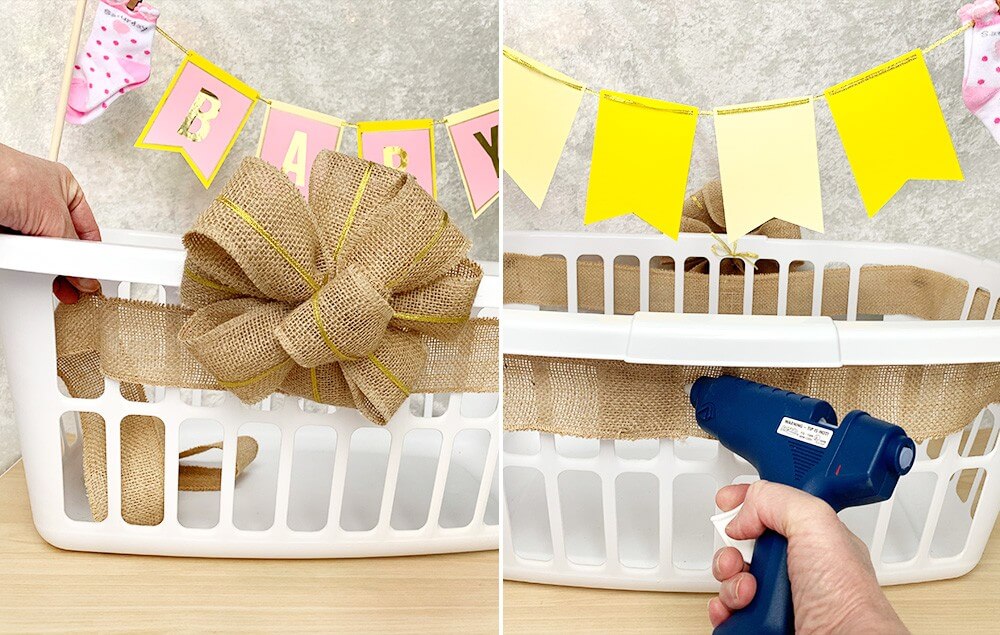
Step 6:
- Wrap burlap around the basket, right below the top rim, weaving the burlap to the inside at each corner of the basket.
- Cut excess burlap and hot glue the two end pieces together. Be sure to have the seam located at the back of the basket.
Filling the Basket (Tips)
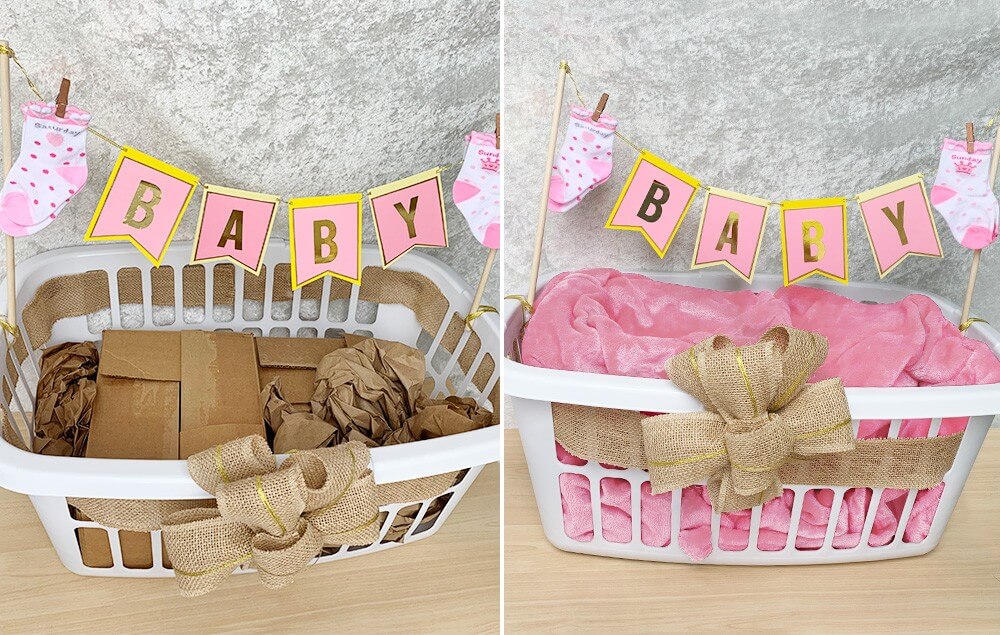
Step 1:
- To make the basket look fuller, re-use cardboard boxes and crumpled paper to build up platforms inside the basket.
- If you have purchased a blanket as part of your gift, place it in first. This works well to hide the built-up platform.
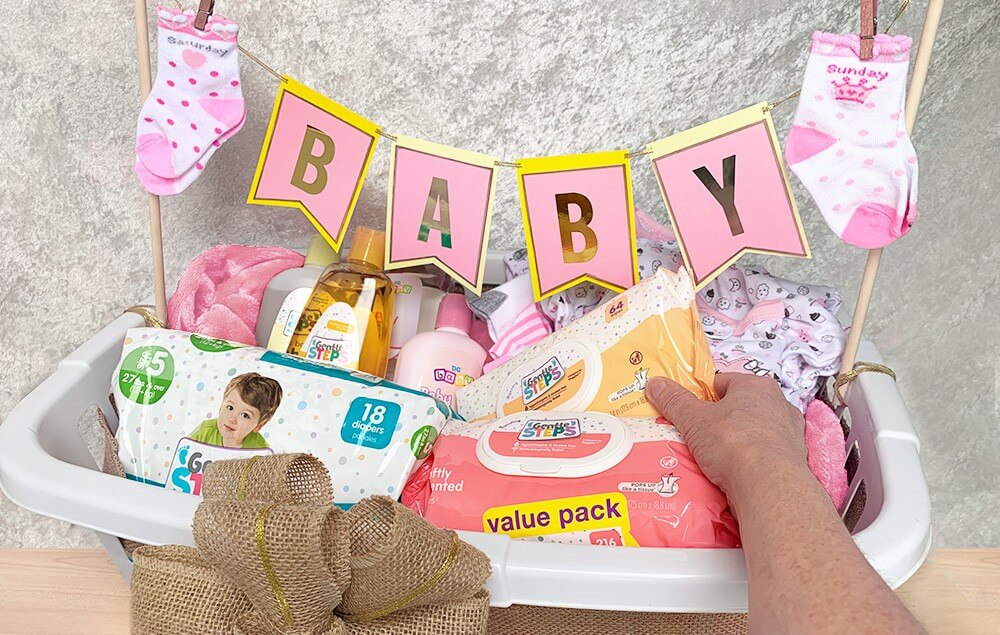
Step 2:
- Gently stack the rest of your gift items on top of the blanket. Place larger items where the platform is lower and smaller items where it is higher.
Download Template
- Filename
- Template-Banner-Baby.pdf
- Size
- 69 KB
- Format
- application/pdf


